All product image guides Reflective product photography

Use the reflection to describe the real surface.

A bright stripe can show a curved surface or hide the label entirely. Photograph the actual product, adjust what it reflects and compare controlled lighting tests. Generating a nicer setting cannot reveal genuine details that glare has erased from the source.

Try a scene from a reviewed reference Two free credits when you sign up. Review the result before publishing.
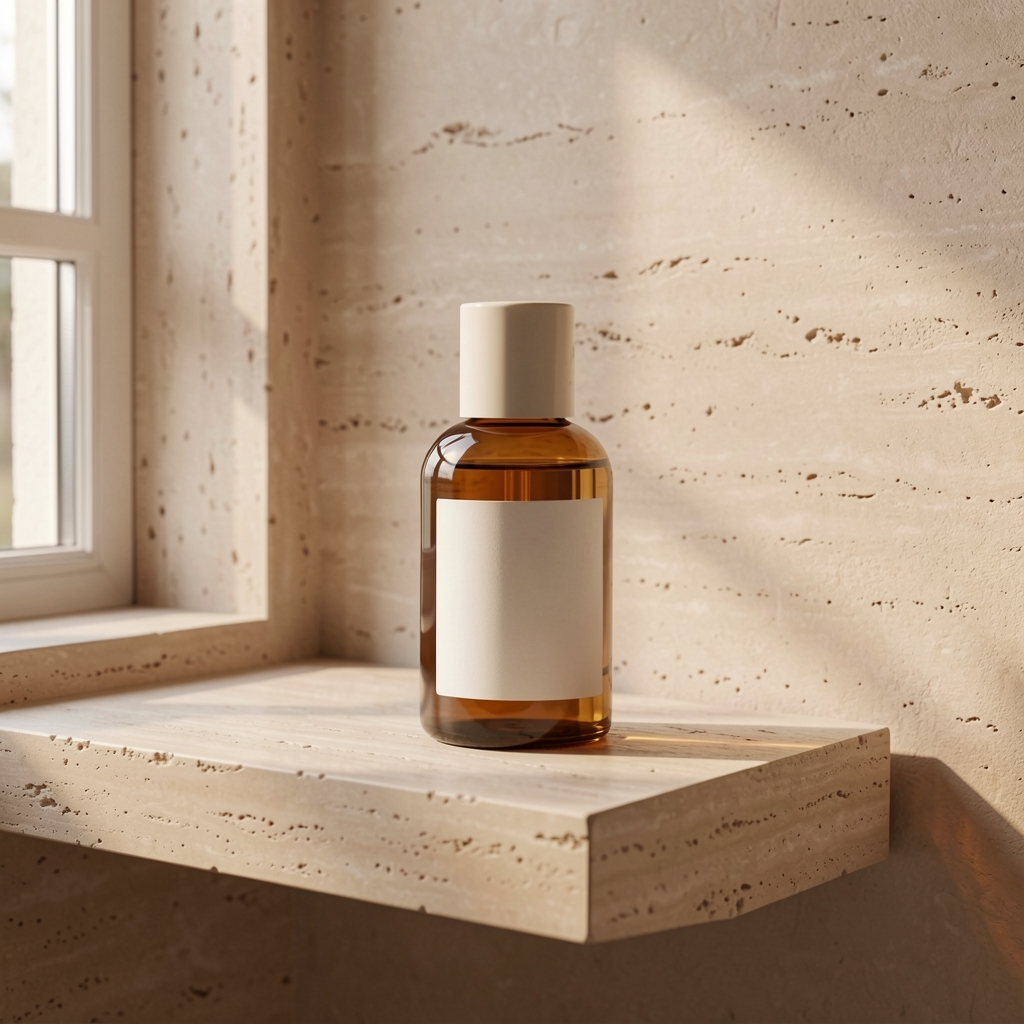
Existing live Fayvoro bottle scene, not a stocked customer product
LIVE FAYVORO RESULT
01 / EXAMPLEGENERATED WITH FAYVORO
What this shows

Scene generation comes after the reference test.

The bottle demonstration shows that the service made a new setting. It does not establish that transparency, polished metal, reflections or a branded label will remain physically accurate. Keep your own controlled source captures for that review.

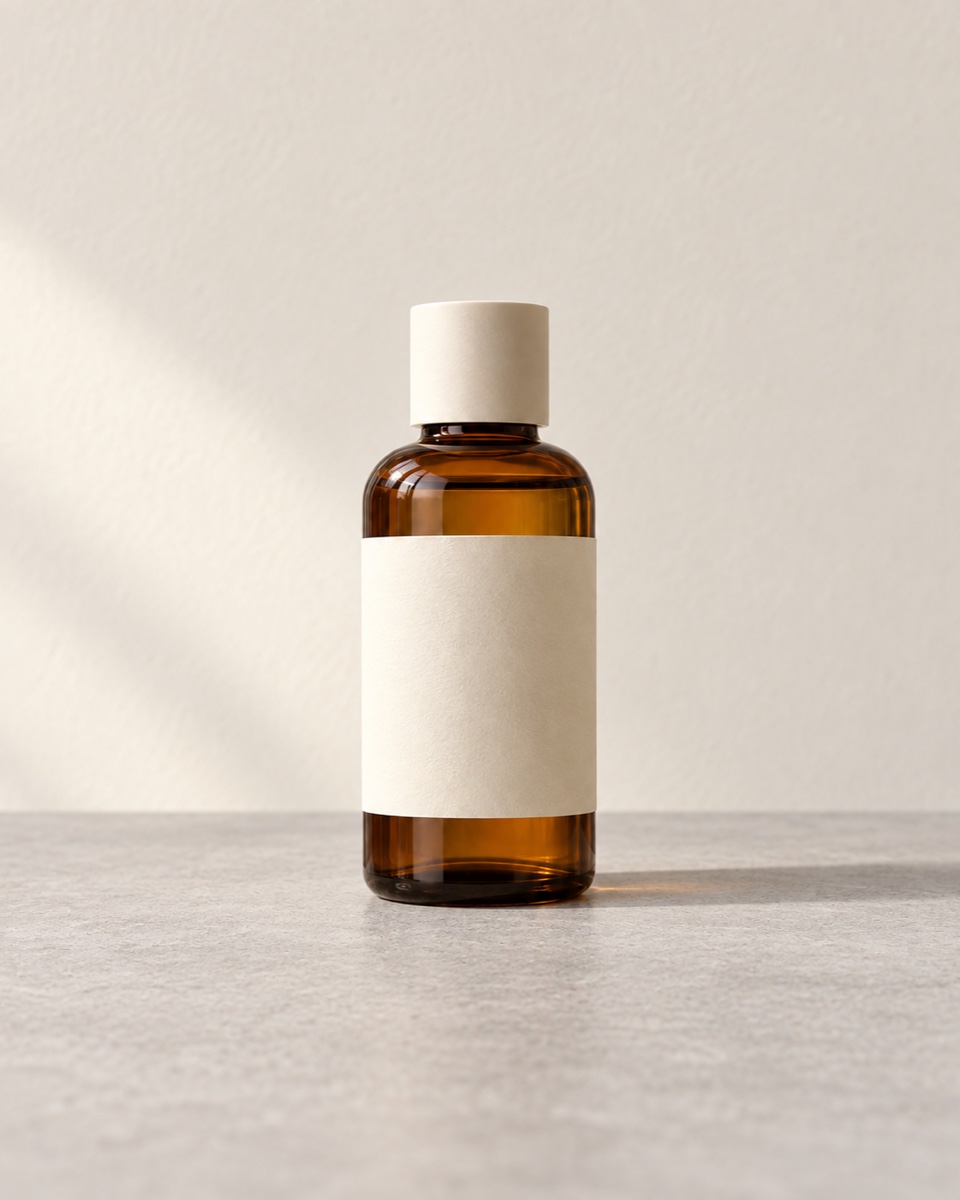
Unbranded bottle reference made for the Fayvoro demonstration
Input photoReference used for this demonstration.
Existing live Fayvoro bottle scene, not a stocked customer product
Live Fayvoro resultAn existing unbranded bottle generation demo, not a tested glass-lighting setup or a metal-fidelity test. The lighting diagrams below are teaching diagrams, not photographs.

This is one demonstration result; your result may differ. AI can change product shape, color, packaging, labels, and text. Check every important detail against the real item.

02 / A PRACTICAL WORKFLOWSTART WITH YOUR PHOTO
01

Identify the detail hidden by glare

Clean the real item, place it securely and make one baseline exposure. Write down whether the problem is a missing edge, an unreadable label, a reflected room object or clipped surface detail. Keep the camera and product position consistent while testing the light; changing every variable makes the result harder to interpret.

Glass transmits light as well as reflecting it. Opaque polished metal primarily shows reflected surroundings. A setup that outlines a clear glass rim is not automatically suitable for a printed bottle label or a shiny watch face. Begin with the surface and detail your buyer needs to inspect.

Capture real sharp detail — Choose the needed focus planes and inspect merged edges rather than inventing detail.

Photograph the exact watch — Keep a readable dial, model reference and actual wear beside a new scene.

Acrylic Keychain Product Photography — Show acrylic charm front and back designs, clear edges, actual hardware and protective-film status.

Hair Claw Clip Product Photography — Show the actual hair claw clip closed and open, tooth layout, hinge and supplied count.

02

Compare two light positions on the same item

For a first test, place a broad diffused source to one side and move it gradually until its reflected highlight sits away from essential text. Keep the camera fixed. Take a second frame, then compare label readability and the surface contour with the baseline. The purpose is to shape a useful reflection, not erase every highlight.

For a clear-glass edge test, try lighting from behind the item with white cards at the sides. Keep the source from shining directly into the camera with a suitable flag, then adjust the cards to reveal the rim. This is a starting experiment, not a guaranteed setup for every vessel. Secure cards and lighting equipment safely; use proper diffusion equipment around lights.

Give the contact shadow a clear job — Separate cast, contact and reflective shadows and check grounding against the real scene.

Sunglasses Product Photography — Plan sunglasses photos with readable lens tint, front shape, folded temples and actual frame markings.

Beverage Can Product Photography — Plan beverage can photos with a readable real label, correct can format and separate cold-serving styling. Keep condensation scenes apart from formulation and performance evidence.

Table Lamp Product Photography — Show the actual table lamp, shade, switch and included bulb status. Keep a real lit demonstration separate from a room concept and from measured light-output claims.

03

Change the reflected environment carefully

A white card can make a bright edge and a dark card can create separation on a bright background. Move one card at a time and inspect the whole outline. A reflection that makes the product look thinner, a dark stripe that hides a closure, or a highlight that changes the apparent finish needs another real test.

Do not paint in unseen engraving or recover a washed-out label by guessing. If one exposure cannot show both the finish and the factual label, retain separate truthful views. Advanced compositing or polarization can require specialist equipment and product-specific review; neither is supplied by the diagram.

Ceramic glaze and detail views — Plan the rim, handle, foot and real glaze views before a styled scene.

Perfume Bottle Product Photography — Photograph the selected perfume bottle size, cap, real atomizer and included box.

Black on Black Product Photography — Plan dark product photos with readable silhouette, controlled edge light and real surface detail.

Plan pet bowl product photographs — Plan pet bowl photos with an empty interior, actual base, capacity record and separately labeled inserts. Keep styled feeding scenes apart from real behavior and safety evidence.

04

Keep the capture and scene decisions separate

Choose the clear reference before a Fayvoro attempt and preserve its original file. Use the scene candidate for atmosphere only after comparing transparency, edge thickness, cap, text and finish against your real captures. If a generated reflection changes the material or hides a fact, use the real image instead.

Fayvoro is not a calibrated relighting tool, a pixel-preserving editor or a reflection-removal service. It creates a new image from a photo reference or description. A single scene output cannot establish material authenticity, exact transparency or color accuracy.

Glass edges and transparency — Inspect the actual rim, stem and base while testing reflected surroundings.

Fountain Pen Product Photography — Show an actual fountain pen, readable nib markings, cap construction and a separately documented writing sample.

Makeup Brush Product Photography — Show the real makeup brush head from front and side, bristle appearance, model marking and supplied count.

Teaching diagrams · top view

Compare the setup
on your real item.

These schematic diagrams explain two starting experiments. They are not measured lighting simulations, product photographs or generated evidence.

Real itemfront / label ↓Fixed cameraSourceDiffusionMove lightbetween test frames
Test A · broad light from the side. Simplified teaching diagram; positions and light output must be tested on the real object.
Keep a useful curved highlight away from the essential label.

Fix the camera and item, move the diffused source gradually, capture a second frame and compare the label with your baseline.

A broad light still reflects in shiny surfaces. Inspect whether its edge hides text or changes the apparent finish.
Take a baseline and compare the new capture. Keep label, surface and shape evidence separate when one view cannot show all three.
Direction to try

A useful starting note.

Use this as a starting point, then adjust it for your own product. No prompt can guarantee exact product details.

Use my reviewed product photo as the reference for one simple secondary scene. Keep the whole item and its essential label visible, with restrained light and no props crossing its edges. I will compare the surface, transparency and reflections with my real captures.
Before you publish

Check the details.

  • The baseline capture and the exact glare problem are recorded.
  • Two light-position tests keep camera and product placement consistent.
  • Useful edge highlights remain without hiding essential facts.
  • A generated scene is compared with real surface and label photographs.
Common questions

A few things to know.

Should every reflection be removed?

No. Reflections can describe curvature and finish. Move glare that obscures necessary detail while retaining a truthful representation of the surface.

Are the diagrams actual product photographs?

No. They are simplified teaching diagrams of starting experiments, with no measured exposure or proven product result.

Can Fayvoro recover a label hidden by glare?

It cannot establish the genuine unseen text. Make a clearer real capture or use a verified precise editing workflow rather than publishing guessed label details.

Make your image
with intention.

Try a scene from a reviewed reference