02 / A PRACTICAL WORKFLOWSTART WITH YOUR PHOTO
01Start from the exact pair
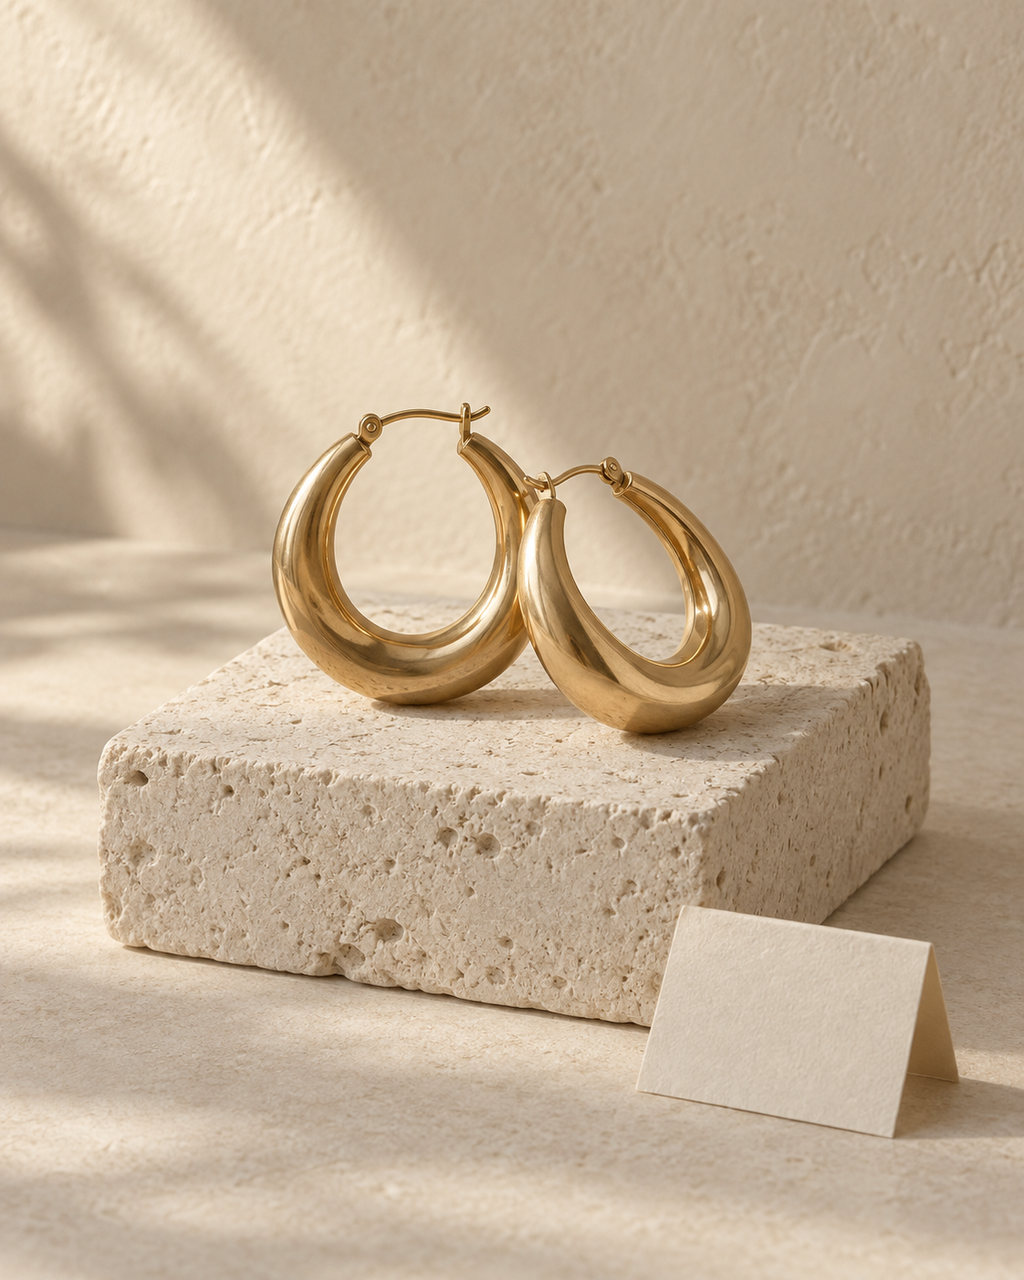
Photograph both earrings in even light, with the closure and any hallmark visible in another real detail shot. If the pair is intentionally asymmetric, record which side is which before creating a scene. AI can make two earrings look symmetric even when the product is not.
Find the source of a color mismatch — Compare the real variant, capture and displayed file before changing its color.
Plan necklace product photographs — Plan necklace photographs showing the full chain, actual clasp, extender and pendant reverse. Keep chain measurements and real worn placement separate from styled imagery.
Use light without inventing sparkle
A pale, matte surface can separate a metal outline from its background. Strong highlights may make a stone appear larger or change the apparent metal finish. Use a scene image to add mood, then keep true close-ups for stones, prongs, engraving, and plating.
- Keep enough contrast to see each earring edge.
- Do not claim a worn scale or fit from a product-only image.
Capture real sharp detail — Choose the needed focus planes and inspect merged edges rather than inventing detail.
Verify the pair before selling it
Count stones and prongs; compare hoop thickness, clasp type, left-right symmetry, and metal tone with the physical item. Scale requires measurements or a verified photograph. Never use generated sparkle as evidence of carat, material, or finish.
Plan ring product photographs — Capture ring band profile, actual setting, inner markings and a separate real size record. Use scene exploration for presentation while retaining factual jewelry close-ups.