All product image guides Sunglasses Product Photography

Show the lenses and the frame without hiding them in glare.

Sunglasses buyers compare lens appearance and frame construction before imagining a summer scene. Photograph the exact color combination and temple details first. Keep protection, polarization and fit claims tied to documented specifications rather than the look of a generated lens.

Explore a scene from your real photo Two free credits when you sign up. Review the result before publishing.
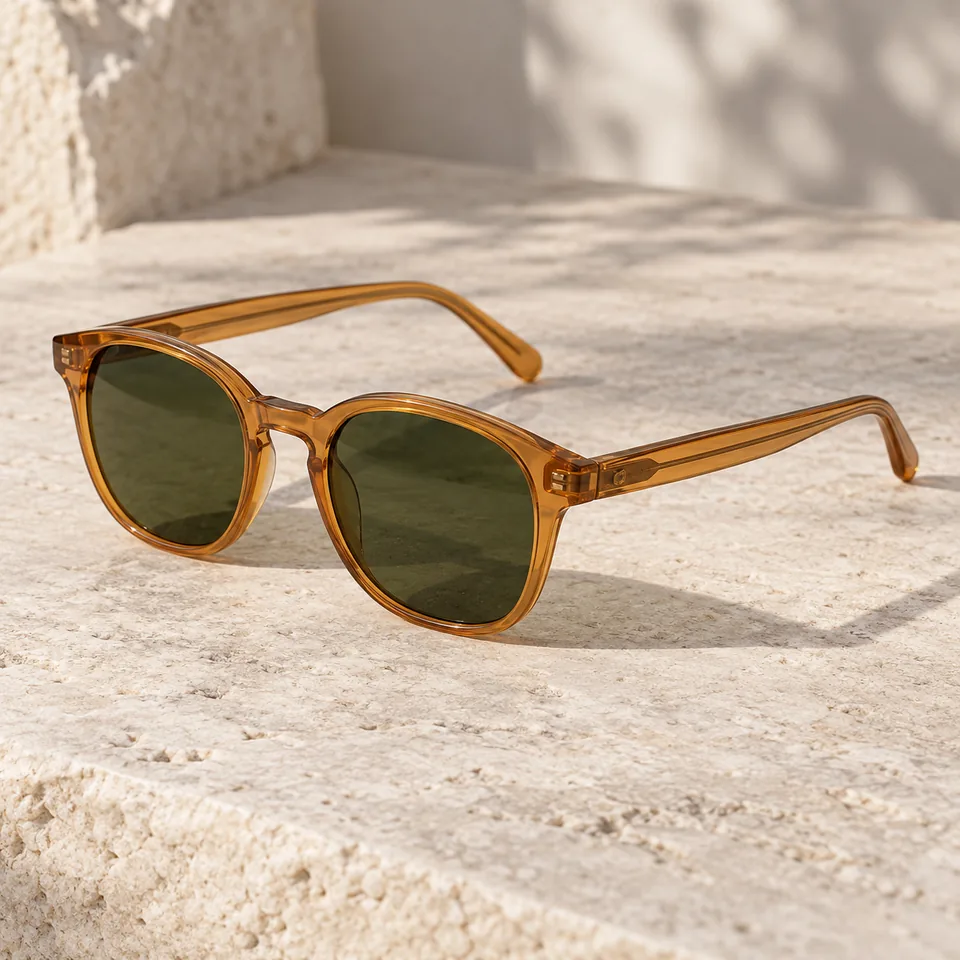
Editorial sunglasses still life illustrating a product-only display direction
EDITORIAL CONCEPTEDITORIAL CONCEPT. Fictional sunglasses for composition planning. Not a lens protection test, fit demonstration or live Fayvoro output.
01 / EXAMPLEILLUSTRATIVE CONCEPT
What this shows

Give each photograph one clear job.

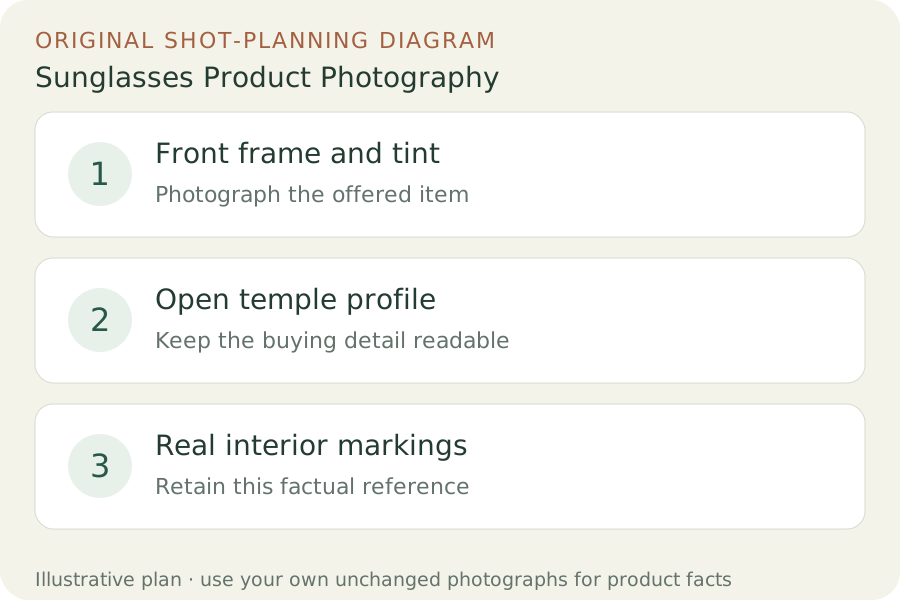
Use the three labeled views to plan your factual gallery. The outlines show composition roles only; they contain no observed dimensions, verified materials or performance measurements. Keep real photographs beside any secondary scene candidate.

Original teaching diagram: Front frame and tint, Open temple profile, Real interior markings
Editorial conceptOriginal teaching diagram for shot planning. Illustrative outlines, not a photograph of inventory, a Fayvoro output or a customer example.

This image is an editorial concept made for the site. It is not a Fayvoro generation or customer result. AI can change product shape, color, packaging, labels, and text. Check every important detail against the real item.

02 / A PRACTICAL WORKFLOWSTART WITH YOUR PHOTO
01

Keep lens and frame variants tied together

Record the frame model, frame color and lens option as one combination. Make a nearly straight-on front photograph with both lenses visible, then an open side view and a folded storage view. Do not pair the front of one tint with the temples of a similar frame. A mirrored lens and a plain tinted lens can need different lighting even when the surrounding frame is identical.

Warby Parker explains that frame measurements commonly appear inside a temple and identify lens width, bridge width and temple length. Photograph the real markings clearly if they help buyers identify your offer. Read the values from the actual frame or its documentation; do not ask a generator to invent a matching inscription. A number string in a picture cannot establish how the frame will fit a particular face.

02

Move reflections until the lens remains readable

Set the glasses on a stable support and use a broad diffuse light. Move a white card or light reflection while keeping the product and camera fixed. Look for a position that describes the curved lens without covering its entire surface. Take a tint-reference photograph under neutral light and a separate dramatic reflection frame if the campaign needs one.

Check the bridge, nose pads, hinge and temple end in the real detail set. Keep both sides of the frame visible enough to recognize whether it is open or folded. If a case or cleaning cloth is included, photograph those in a separate set view. A palm shadow, beach surface or display stand is scene context; it does not tell buyers the frame width or which accessories arrive.

03

Explore a product-only scene and check the geometry

Upload one clear image of the actual sunglasses and request a quiet travel or studio display. Prefer a product-only scene when your objective is composition: this page does not demonstrate accurate virtual try-on or fit for a wearer. Keep the real temple and tint images available alongside the candidate.

Inspect lens symmetry, tint, rim thickness, hinge placement and temple count. Reject invented arms, warped curves, a new logo or a changed reflection that makes the lenses look like another option. A sunny setting does not prove ultraviolet protection or polarization. Any technical lens claim still needs the exact model documentation, independently of the scene.
Direction to try

A useful starting note.

Use this as a starting point, then adjust it for your own product. No prompt can guarantee exact product details.

Use my uploaded photograph of this exact sunglasses frame and lens combination. Place it fully visible on a quiet matte travel-display surface with gentle light. No person, extra lenses, printed markings or added accessories. I will check frame curves, hinges and tint against my original photographs.
Before you publish

Check the details.

  • Front, side and folded views belong to the same frame-and-lens combination.
  • Tint and reflection appearance agree with the neutral-light reference.
  • Temple numbers and logos remain readable only in real detail photos.
  • Included case and cloth are distinguished from scene props.
  • No generated person or sunny background is used as fit or protection evidence.
Common questions

A few things to know.

Can a beach scene prove that the lenses block UV?

No. Verify the exact lens documentation. An attractive sunny image does not establish UV protection, polarization or optical performance.

Should the lenses have no reflections at all?

Use reflections that leave the lens and frame readable. Keep a neutral reference alongside a dramatic campaign view; a completely flat edit may misrepresent the actual finish.

Can I use this workflow for virtual try-on?

This workflow plans product-only scenes. It does not demonstrate accurate face fit, prescription behavior or try-on preservation.

Make your image
with intention.

Explore a scene from your real photo