02 / A PRACTICAL WORKFLOWSTART WITH YOUR PHOTO
01Decide whether a bracket solves the real problem
First try to improve the lighting so important product detail fits into one exposure. If a static subject still has necessary highlights and shadow detail that cannot coexist in the chosen capture, record which features need separate exposure evidence.
A bracket is not a license to generate missing detail. Use the actual stationary item and retain a normal reference. It is different from focus bracketing, where the focus distance changes between frames.
Capture a consistent exposure series
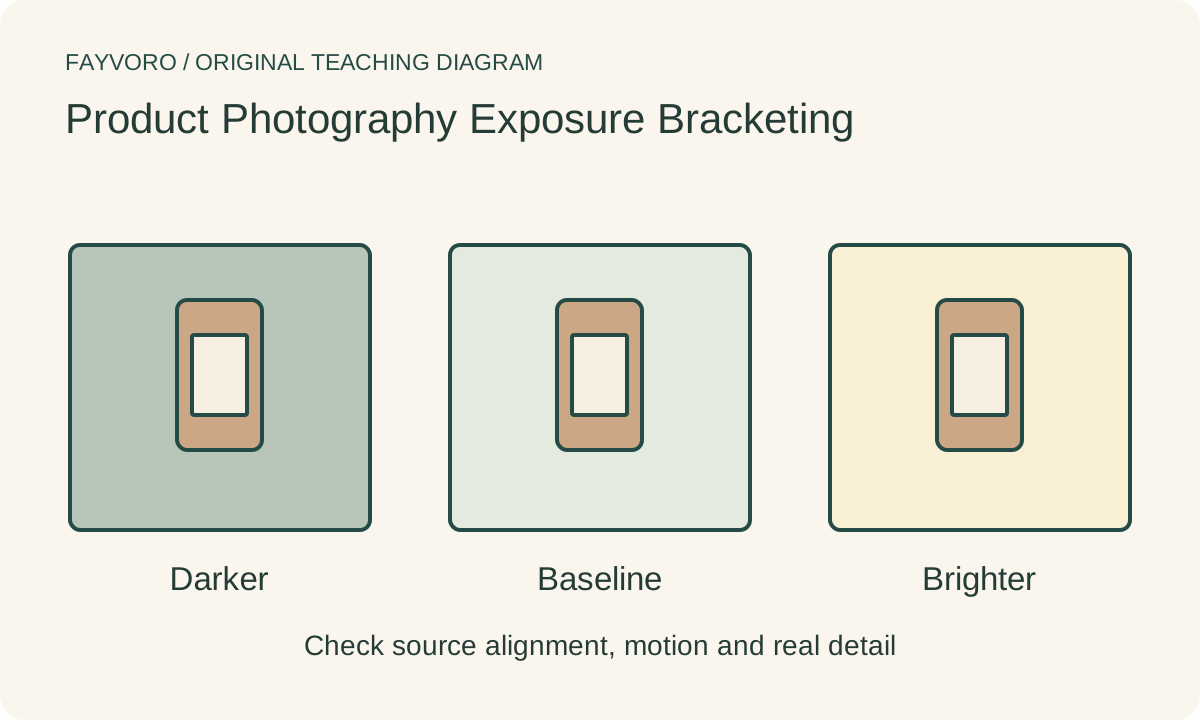
Use stable camera support and the camera’s documented exposure-bracketing method. Keep position, focal length, focus and white balance consistent. Where the equipment permits, vary shutter time while retaining aperture and ISO, so the depth and noise behavior are easier to compare.
Check the individual files rather than assuming the sequence completed. Label the series and record exposure values. A candle flame, swinging tag or moving liquid can change between frames even when the camera is fixed.
Inspect alignment and the merge result
Adobe Lightroom documents HDR merging, alignment and deghosting controls for exposure-bracketed files. Use your own suitable editor and inspect the actual output around edges, lettering, reflections and anything that moved. Keep the component frames available for comparison.
An attractive tone-mapped result may exaggerate finish or flatten the lighting that describes the object. Compare it with the physical product and a normal real capture. Reject halos, duplicate contours, transparent-looking moving parts or altered product text.
Do not transfer the merge claim to Fayvoro
Fayvoro does not capture exposure brackets, merge HDR files or certify dynamic range. Export an approved real photo for an optional secondary scene. Inspect the generated product independently; no camera bracket or HDR result is supplied by this page.