All product image guides Table Lamp Product Photography

Show the lamp itself before the light it seems to cast.

A glowing room image can hide the lamp’s switch, shade and supplied parts. Build a factual unlit gallery and a separately identified real lit example. A generated room may explore decoration, but it cannot predict illumination or certify bulb compatibility.

Explore a scene from your real photo Two free credits when you sign up. Review the result before publishing.
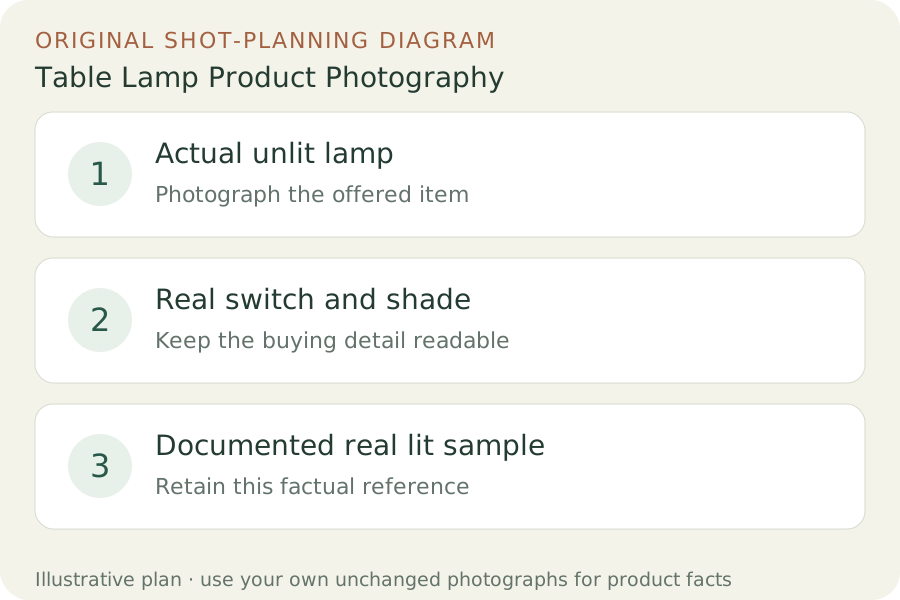
Original teaching diagram: Actual unlit lamp, Real switch and shade, Documented real lit sample
EDITORIAL CONCEPT
01 / EXAMPLEILLUSTRATIVE CONCEPT
What this shows

Give each photograph one clear job.

Use the three labeled views to plan your factual gallery. The outlines show composition roles only; they contain no observed dimensions, verified materials or performance measurements. Keep real photographs beside any secondary scene candidate.

Original teaching diagram: Actual unlit lamp, Real switch and shade, Documented real lit sample
Editorial conceptOriginal teaching diagram for shot planning. Illustrative outlines, not a photograph of inventory, a Fayvoro output or a customer example.

This image is an editorial concept made for the site. It is not a Fayvoro generation or customer result. AI can change product shape, color, packaging, labels, and text. Check every important detail against the real item.

02 / A PRACTICAL WORKFLOWSTART WITH YOUR PHOTO
01

Identify the assembled offer and the bulb status

Record the actual lamp model, finish, shade and supplied components. Photograph it assembled as offered, with the whole base and shade in view. State whether a bulb is included, sold separately or part of the demonstrated sample. Keep lampshade-only, base-only and complete-lamp offers separate rather than mixing their photographs.

IKEA’s ÅRSTID example names a pull switch and separately sold bulb. The useful buying distinction is inclusion and control location; your own lamp needs its own documented specifications. Photograph the real switch or dimmer in a closer frame and retain exact maker information for electrical and bulb compatibility. An image of a familiar socket or warm glow cannot establish either.

02

Give the unlit form and the real lit example different jobs

Use controlled room light for an unlit photograph that reveals the shade texture, base finish and cord route. Take a real detail of the switch and any relevant assembly point without hiding the cord entirely if it is part of how buyers use the lamp. Do not alter shade transparency or add a missing control to make the design simpler.

For a lit demonstration, use the actual assembled lamp and documented appropriate bulb, then record the bulb and photograph the real result. Label it as an example under those conditions, not a universal brightness prediction. Exposure and the room affect its appearance in a photograph. If measured light output matters, keep that specification or real test separate from the visual example.

03

Explore decoration without treating generated glow as a test

Choose one actual lamp photograph for a Fayvoro room-display attempt. An unlit product source is useful when the task is the setting and object form. Request no invented light beams, controls or new shade. Keep the real unlit construction and lit demonstration images available.

Check shade geometry, base, switch, cord, finish and apparent size. Reject a different shade or extra bulb. If a concept shows glow, explicitly keep it separate from the actual lit example and any light-output claim. This workflow does not simulate room illumination, measure lumens or verify electrical compatibility; the scene supports decoration after review.
Direction to try

A useful starting note.

Use this as a starting point, then adjust it for your own product. No prompt can guarantee exact product details.

Use my actual unlit table lamp photograph for one quiet room-display composition. Keep the existing shade, base and visible controls unobstructed in soft ambient light. Add no glow, light beams, new bulb or switch. I will compare the lamp with its factual photographs; this is not an illumination or compatibility test.
Before you publish

Check the details.

  • Base, shade and bulb inclusion match the actual offer.
  • Real switch and cord route are independently visible.
  • Unlit form is documented before a glowing scene.
  • Actual lit sample records the real lamp and bulb used.
  • Generated glow is never reported as measured light output.
Common questions

A few things to know.

Can a generated room show how bright the lamp will be?

No. Use exact product specifications or appropriate real measurements. A scene and its exposure cannot predict illumination in the customer’s room.

Should I show the bulb even when it is sold separately?

Make the inclusion status clear and identify any bulb used in a real demonstration. A lit image should not silently imply a supplied bulb.

Can the scene verify socket or dimmer compatibility?

No. Check the exact maker’s documentation for the actual lamp and bulb. Generated hardware or glow is not electrical evidence.

Make your image
with intention.

Explore a scene from your real photo