All product image guides Product photography shot list template

Build a product image set that answers questions.

A beautiful scene is only one part of a useful product gallery. Plan the main view, physical details, scale, and each real variant before deciding where a generated scene can add context.

Make a secondary scene Two free credits when you sign up. Review the result before publishing.
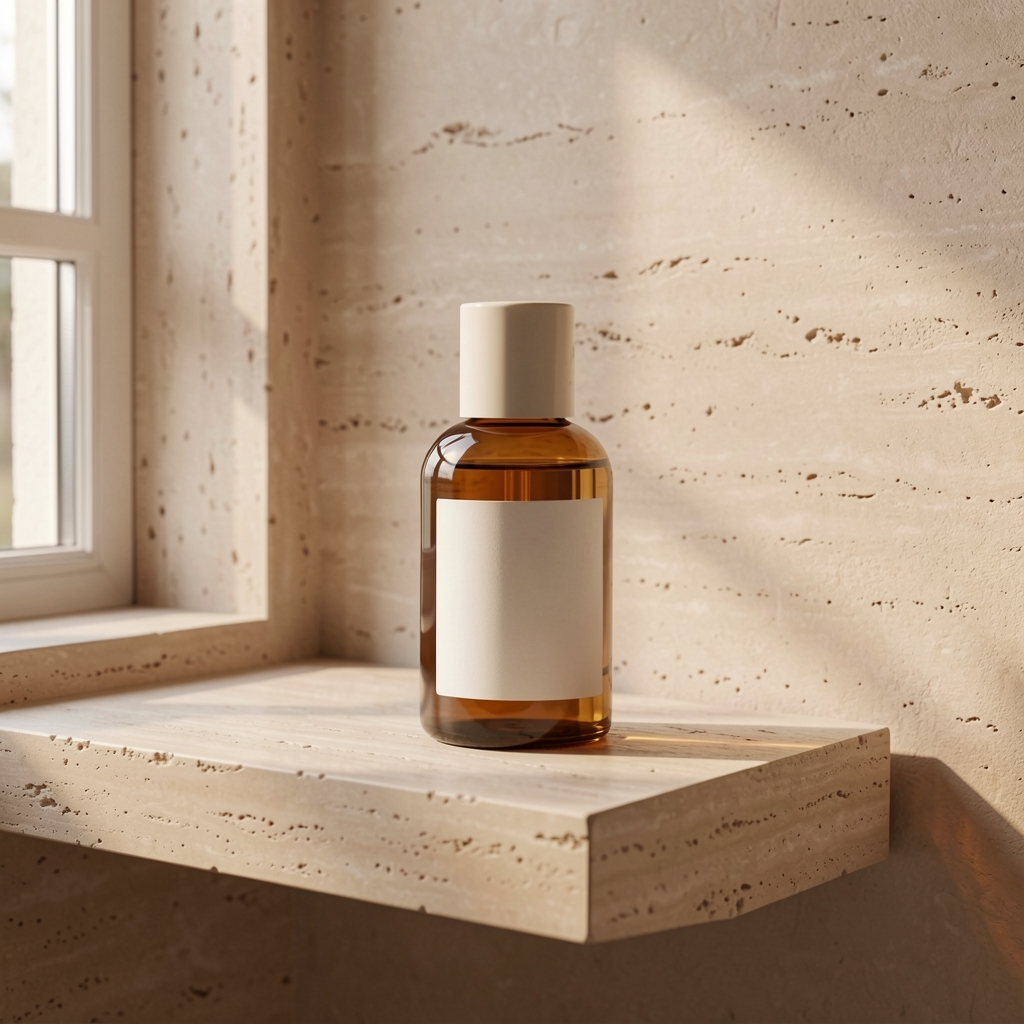
One Fayvoro generated lifestyle scene from the bottle input
LIVE FAYVORO RESULT
01 / EXAMPLEGENERATED WITH FAYVORO
What this shows

Two roles in a larger image set.

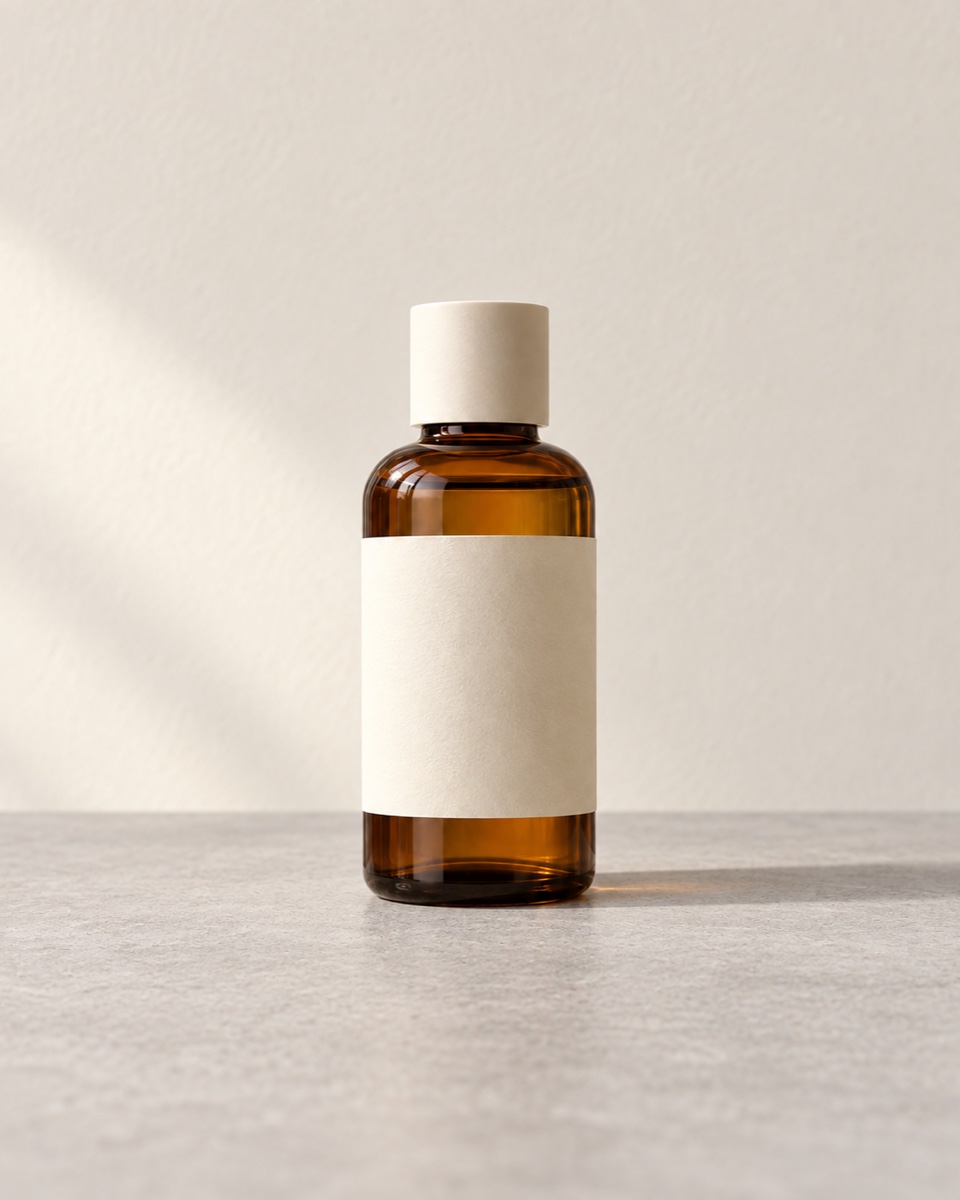
The simple bottle input helps show what the generator started from. The live warm interior adds context. Neither image supplies verified dimensions, all angles, label details, or every stocked variant.

Unbranded bottle demonstration input used as one product reference
Input photoReference used for this demonstration.
One Fayvoro generated lifestyle scene from the bottle input
Live Fayvoro resultThis pair fills a reference-view and optional-scene slot only. It is not a complete SKU image set or a customer gallery.

This is one demonstration result; your result may differ. AI can change product shape, color, packaging, labels, and text. Check every important detail against the real item.

02 / A PRACTICAL WORKFLOWSTART WITH YOUR PHOTO
01

Write the buyer question above the shot

A front view can identify the item. A detail photo can answer how a cap, clasp, texture, or finish looks. Scale and dimensions need measured product information or a truthful physical reference. For every color or package variant, photograph the actual SKU.

Use the worksheet below for one product. Mark an image as required, optional, captured, or still missing before you upload anything to the store.

Plan a real product-spin sequence — Record views and publish a real sequence when shoppers need to rotate the item.

Select a real detail view for the buyer question — Capture the closure, surface or construction fact that a shopper needs to inspect.

02

Keep accurate views anchored to the object

Shoot the main image and important close-ups from the real product. Capture angles that reveal anything a buyer could otherwise misunderstand. Keep the original files, product specifications, and variant labels with the image set.

A generated image cannot reveal an unseen back, interior, sole, or ingredient panel from a single source photo. Add those as real shots rather than asking the model to invent them.

Arrange a useful overhead view — Check overlap, inclusion and crop before using props around the actual product.

Review a supporting furniture scene — Keep verified dimensions, hardware and finish photographs beside the room inspiration.

03

Add one reviewed scene for context

When the factual views are covered, use a clear source image to try an additional lifestyle scene. Choose a setting and format for the intended placement, then inspect the result against the real SKU. Put it after the photos that establish what the customer receives.

Verify the pictured bundle contents — Count the real included pieces and separate them from decorative props.

Plan luggage product photographs — Plan luggage images with actual wheels, collapsed handle, interior and measured closed dimensions. Keep room or travel scenes separate from airline fit and durability evidence.
One-SKU planning sheet

Pick the shots
you still need.

Tick the roles your product needs. This checklist stays only in this page while it is open; it does not create photos or save a plan.

NeedBuyer questionEvidence to capture
What will I receive?Photograph the actual SKU.
What is its construction?Capture the unseen side on the real item.
How do the label, material, and finish look?Use a real close-up with readable detail.
How large is it?Use verified measurements or a truthful physical reference.
Which color or package will arrive?Photograph each real SKU; do not generate a new variant from another.
How might it fit into a setting?Try Fayvoro from a clear photo, then review against the SKU.

0 of 6 image roles selected. Capture real product facts first; use a generated scene as an additional visual only after review.

Direction to try

A useful starting note.

Use this as a starting point, then adjust it for your own product. No prompt can guarantee exact product details.

Use the uploaded product as a reference for one secondary lifestyle image. Place it on a simple surface with soft window light. Keep its full outline visible and leave negative space; do not invent unseen product details.
Before you publish

Check the details.

  • The main image shows the actual SKU clearly.
  • Close-ups cover the details buyers use to decide.
  • Scale and variant claims come from real measurements and photos.
  • The optional generated scene passes a source-versus-result check.
Common questions

A few things to know.

Can one photo generate my full listing gallery?

No. Fayvoro makes individual images. A single reference cannot verify unseen angles, exact dimensions, or other SKU variants.

Which shot should I generate first?

First capture accurate product and detail views. Then test a secondary context image where a new setting would help the buyer.

Is this a marketplace compliance checklist?

No. Check the current requirements of each sales channel separately before publishing any image.

Make your image
with intention.

Make a secondary scene