All product image guides Ring Product Photography

Show the ring setting without turning sparkle into a specification.

A front-facing ring image can hide the gallery beneath a stone, the band profile and interior marks. Give shoppers factual views of those features before exploring a styled display.

Explore a scene from your ring photo Two free credits when you sign up. Review the result before publishing.
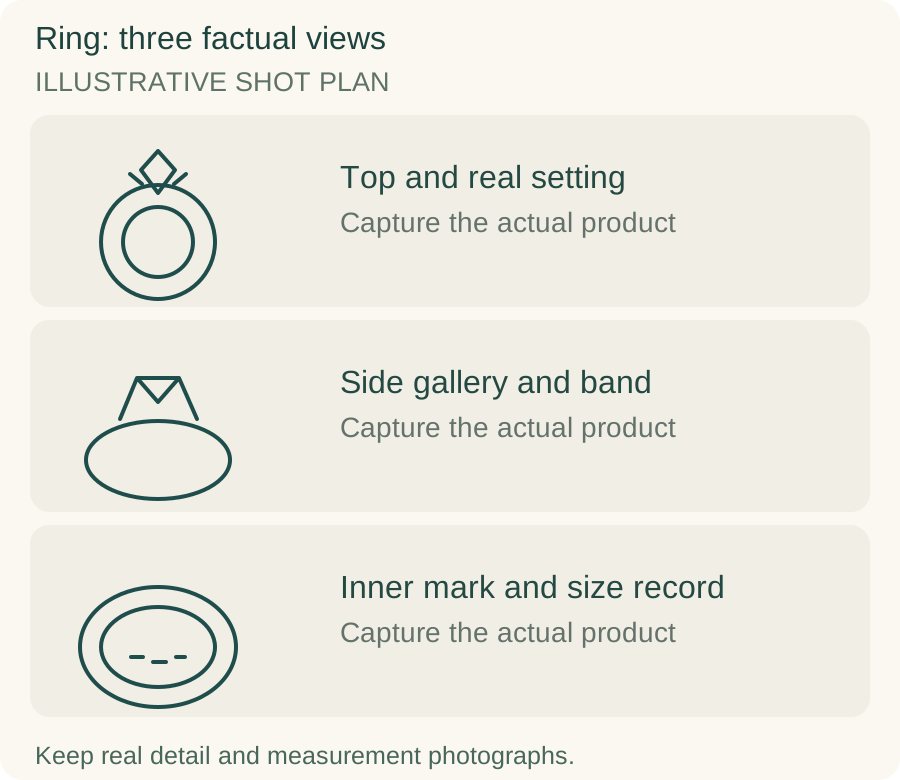
Original teaching diagram for ring: Top and real setting, Side gallery and band, Inner mark and size record
EDITORIAL CONCEPTOriginal illustrative shot plan. These outlines are not photographs of stock, measured technical drawings, a Fayvoro output or a customer example.
01 / EXAMPLEILLUSTRATIVE CONCEPT
What this shows

Three different jobs for a ring gallery.

Use the top and real setting, side gallery and band and inner mark and size record panels to plan separate actual-product captures. The teaching outlines contain no observed dimensions, verified specifications or tested performance. They do not replace your real photographs.

Original teaching diagram for ring: Top and real setting, Side gallery and band, Inner mark and size record
Editorial conceptOriginal illustrative shot plan. These outlines are not photographs of stock, measured technical drawings, a Fayvoro output or a customer example.

This image is an editorial concept made for the site. It is not a Fayvoro generation or customer result. AI can change product shape, color, packaging, labels, and text. Check every important detail against the real item.

02 / A PRACTICAL WORKFLOWSTART WITH YOUR PHOTO
01

Separate the top design from the band construction

Photograph the ring from above, from the side and from underneath with a stable support. Keep the support clear of prongs and engravings. A slight change in camera angle can conceal an open gallery beneath a setting, so choose a dedicated side frame. For a plain band, show both outer profile and the inside edge rather than relying only on an upright circle.

Count visible stones and prongs in the actual ring and make a separate detailed photograph if the setting is small. Broad diffused light helps reveal the metal boundary; an additional controlled highlight can show finish without erasing it. Keep the two purposes separate instead of sharpening a bright reflection until it resembles a new facet or an extra stone.

02

Keep size and personalization tied to a real record

Record the offered ring size and the sizing system used. If you show a measurement photograph, use a real tool and describe what it measures. Tiffany’s printed guide requires a correctly scaled print and uses an existing fitting ring as one method. An on-screen circle, a generated ruler or a photograph with unknown magnification cannot replace a calibrated size reference.

Use a genuine close-up for an interior hallmark or an actual engraving. A personalization preview should be labeled as a preview and should not suggest that a stock ring already carries the buyer’s chosen wording. Keep material, stone grade and carat claims connected to appropriate documentation. The brightness of a scene image is not evidence of those properties.

03

Explore a display while checking every small feature

Use an unobstructed real ring photograph to explore a pale stone or simple display scene in Fayvoro. The tool does not document metal purity, identify a gemstone, measure ring size or preserve engraving exactly. Keep factual top, side and interior photographs in the listing, and do not use an imagined hand as worn-scale evidence.

Review the candidate beside the source at close zoom. Check prong count, stone outline, band width, gallery height and any notch or seam. Generated reflections can hide a changed setting, so inspect darker areas as carefully as the bright face. If a personalization mark is altered or the shank becomes thicker, reject the image as a faithful product representation.
Direction to try

A useful starting note.

Use this as a starting point, then adjust it for your own product. No prompt can guarantee exact product details.

Use my actual ring photo for one secondary still life on pale matte stone. Keep the visible setting and band outline unobstructed. Add no gemstone, engraving, hand or second ring. I will compare every prong and band edge with the original.
Before you publish

Check the details.

  • Stone and prong counts agree with the actual setting.
  • Side photograph shows the gallery and band profile.
  • Size uses a documented system and a real calibrated reference.
  • Hallmark or engraving is shown in an unchanged factual close-up.
  • Sparkle is not treated as carat, clarity or material evidence.
Common questions

A few things to know.

Can a ring image tell a shopper the correct size?

No. State the actual size system and use an appropriate calibrated method. Image magnification and generated scale cues do not establish fit.

Can I generate an engraving preview?

Treat any imagined wording as an illustrative preview, not a finished engraving or an exact typography guarantee. Photograph the completed item when its lettering needs to be verified.

Why include a side view?

The side shows band thickness, setting height and hidden construction that a top image can conceal. A scene generated from the top does not document those unseen features.

Make your image
with intention.

Explore a scene from your ring photo