All product image guides Necklace Product Photography

Let a necklace buyer inspect the chain as well as the pendant.

A pendant close-up can leave the chain and fastening unexplained. Photograph the necklace as a complete offer, then separate its clasp, extender and reverse construction before trying a display scene.

Explore a scene from your necklace photo Two free credits when you sign up. Review the result before publishing.
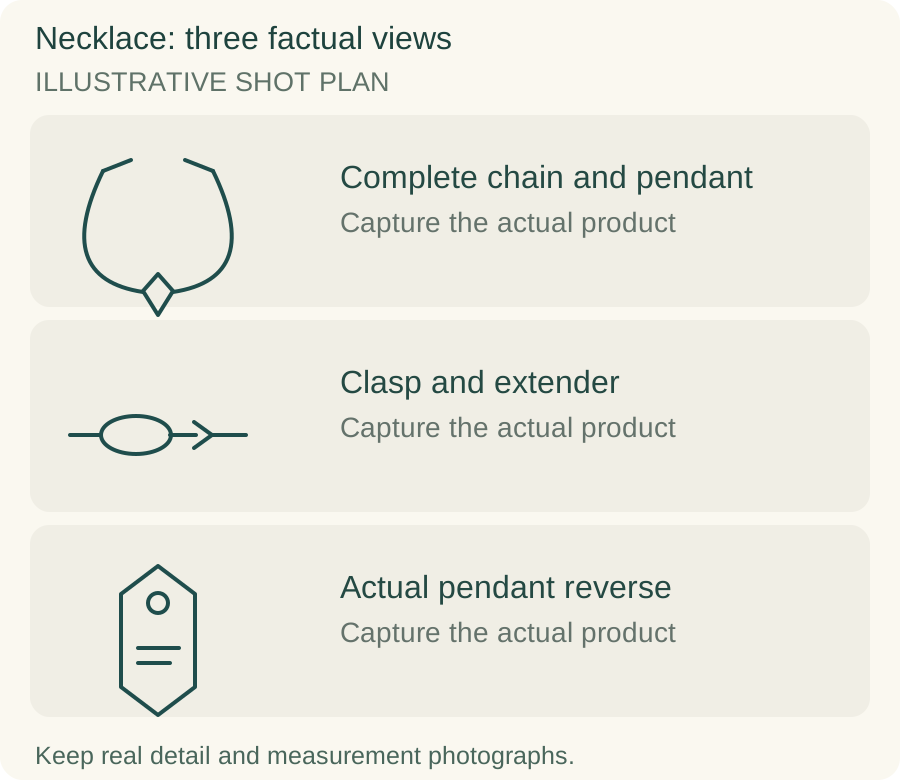
Original teaching diagram for necklace: Complete chain and pendant, Clasp and extender, Actual pendant reverse
EDITORIAL CONCEPTOriginal illustrative shot plan. These outlines are not photographs of stock, measured technical drawings, a Fayvoro output or a customer example.
01 / EXAMPLEILLUSTRATIVE CONCEPT
What this shows

Three different jobs for a necklace gallery.

Use the complete chain and pendant, clasp and extender and actual pendant reverse panels to plan separate actual-product captures. The teaching outlines contain no observed dimensions, verified specifications or tested performance. They do not replace your real photographs.

Original teaching diagram for necklace: Complete chain and pendant, Clasp and extender, Actual pendant reverse
Editorial conceptOriginal illustrative shot plan. These outlines are not photographs of stock, measured technical drawings, a Fayvoro output or a customer example.

This image is an editorial concept made for the site. It is not a Fayvoro generation or customer result. AI can change product shape, color, packaging, labels, and text. Check every important detail against the real item.

02 / A PRACTICAL WORKFLOWSTART WITH YOUR PHOTO
01

Arrange the real chain without hiding its ends

Lay the necklace on a plain surface and trace the chain so both its ends and pendant connection can be understood. Keep links untangled and do not tighten a delicate chain into a shape it cannot hold in use. Take a full overview before a pendant close-up. If the chain is optional or the pendant can be bought alone, give each offer its own clear contents image.

Photograph the actual clasp open and closed, then any extender, jump ring or connector in detail. Use a separate reverse photograph for a pendant whose back contains an opening, maker’s mark or different finish. A decorative front display cannot document a hidden reverse. Avoid using a generic clasp close-up just because it resembles the one fitted to your batch.

02

Distinguish chain length from where it falls

State the chain measurement method, including whether a listed length includes its clasp and extender. Keep a real measured record with the SKU. Tiffany’s guide notes that neck circumference and pendant size affect how a necklace sits. This makes a length number useful, but it does not establish identical placement on every wearer.

For an on-person photograph, obtain permission and state the photographed chain length. Use the actual necklace and avoid cropping away the point where it falls. A mannequin image can explain styling when clearly labeled, but it is not an individual fit prediction. Do not let a generated neck, pendant size or chain drape replace real scale information.

03

Explore a flat display while preserving link detail

A simple product-only source is suitable for exploring a tabletop scene in Fayvoro. Keep the intended display modest enough that the chain remains visible. A generated scene does not verify metal composition, clasp security or the exact number of links, and it should not reconstruct a back view from the pendant front.

Inspect link pattern, chain thickness, clasp type, pendant attachment and front-to-back orientation in the candidate. Watch for a continuous chain that lost its clasp, a duplicated pendant and a charm that has become larger. Keep the actual fastening and length photographs even if the scene is accepted, so the listing still answers construction and size questions directly.
Direction to try

A useful starting note.

Use this as a starting point, then adjust it for your own product. No prompt can guarantee exact product details.

Arrange the necklace from my photo on a simple pale display surface in soft diffused light. Keep the visible chain and pendant together without new charms, engraving or a person. I will verify the link pattern, attachment and clasp against the real necklace.
Before you publish

Check the details.

  • The pictured chain is included in the selected offer.
  • Actual clasp, extender and connection points have real detail views.
  • Chain length states its measurement method and extender status.
  • Pendant reverse is photographed rather than imagined.
  • Worn placement is demonstrated with a permitted real photograph when needed.
Common questions

A few things to know.

Does a standard chain length guarantee collarbone placement?

No. Neck circumference, pendant size and body proportions affect placement. State the actual length and use a genuine worn example as illustration, not a universal fit promise.

Should the clasp appear in the main image?

It should be easy to find somewhere in the gallery. A full-chain overview and a dedicated fastening close-up usually explain more than hiding the clasp behind a display stand.

Can a generated necklace scene establish material or security?

No. Metal composition and fastening performance require verified information. A scene supports presentation after the actual chain and hardware are documented.

Make your image
with intention.

Explore a scene from your necklace photo