02 / A PRACTICAL WORKFLOWSTART WITH YOUR PHOTO
01Capture the silhouette first
Photograph the actual bag against an uncluttered background. Keep the full outline and both handle attachments visible; if the strap is important, include it in a separate source view. A single image cannot reliably reveal the front, back, interior, and all hardware at once.
Show size with real evidence — Choose measured or verified scale views rather than inferred generated proportions.
Choose a setting that does not hide construction
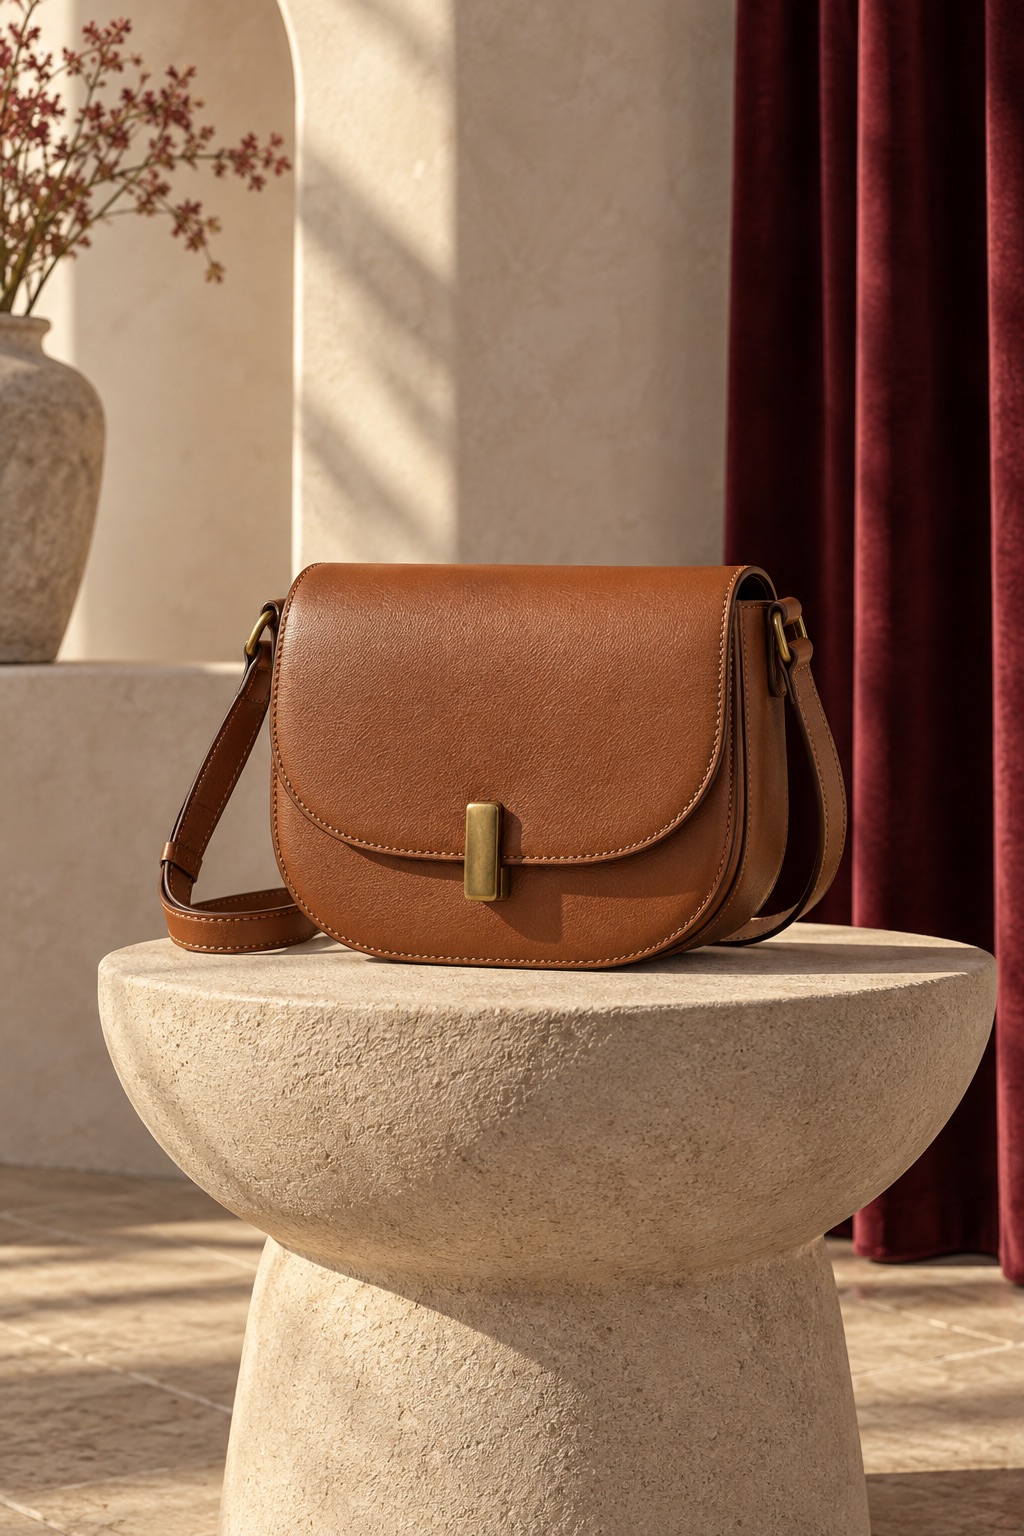
A pedestal or shelf can frame a structured bag without pretending it is worn. Keep the subject large enough to see the opening, corners, and material. A lifestyle scene can support the product gallery, while a clear original photo remains useful for shape and dimensions.
- Ask for lighting that reveals leather grain without turning it into another material.
- Avoid props crossing the handle, zipper, clasp, or logo.
Document real leather patina — Separate natural material variation from damage and a digitally smoothed surface.
Check what the image cannot prove
Compare the handle count, strap length, seam placement, zipper or clasp, metal color, and bag proportions with your SKU. Do not infer interior pockets, exact dimensions, or a wearable fit from a generated scene. Include real product specifications elsewhere on the page.
Plan laptop sleeve product photographs — Photograph laptop sleeve openings, actual interior measurements, lining and pocket contents. Keep styling apart from verified device fit and protection claims.