All product image guides Cutting Board Product Photography

Show the board’s surface and construction before serving food.

A cutting board styled with food can hide its grain layout, groove and actual thickness. Give shoppers clear empty-board photographs first, then use a separate kitchen composition. A scene cannot establish food-contact suitability, wood species or durability.

Explore a scene from your real photo Two free credits when you sign up. Review the result before publishing.
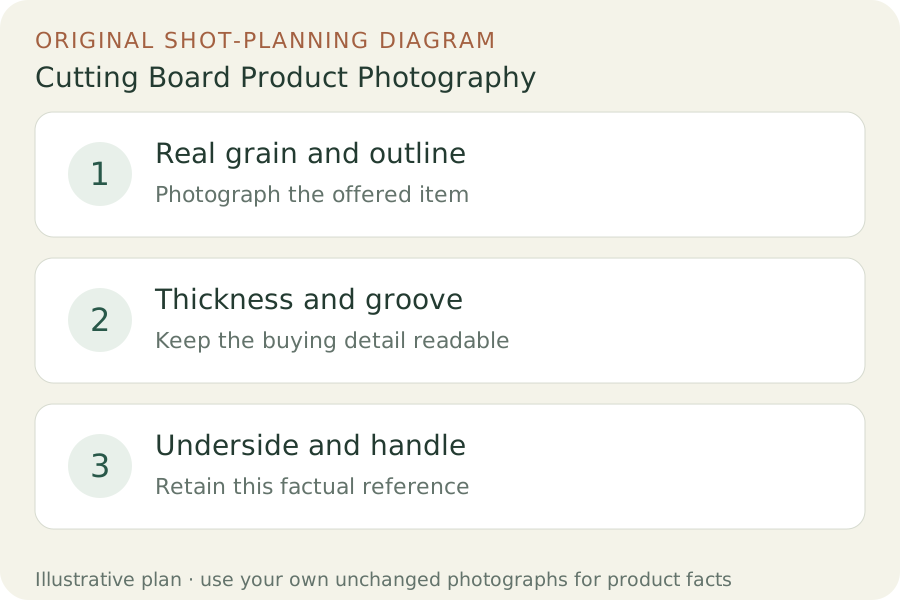
Original teaching diagram: Real grain and outline, Thickness and groove, Underside and handle
EDITORIAL CONCEPT
01 / EXAMPLEILLUSTRATIVE CONCEPT
What this shows

Give each photograph one clear job.

Use the three labeled views to plan your factual gallery. The outlines show composition roles only; they contain no observed dimensions, verified materials or performance measurements. Keep real photographs beside any secondary scene candidate.

Original teaching diagram: Real grain and outline, Thickness and groove, Underside and handle
Editorial conceptOriginal teaching diagram for shot planning. Illustrative outlines, not a photograph of inventory, a Fayvoro output or a customer example.

This image is an editorial concept made for the site. It is not a Fayvoro generation or customer result. AI can change product shape, color, packaging, labels, and text. Check every important detail against the real item.

02 / A PRACTICAL WORKFLOWSTART WITH YOUR PHOTO
01

Connect the grain pattern to the offered board

Record the actual board model or inventory item, dimensions and documented material. Photograph the empty face nearly square to the camera with the full outline visible. Keep unique grain and knots connected to the actual piece when it is sold individually. For representative stock, describe natural variation rather than making every board appear identical.

John Boos distinguishes edge-grain and end-grain construction. Your gallery should show the construction of your own board, not borrow a checkerboard pattern for a different product. State wood species or treatment from reliable maker information; an image alone cannot authenticate them. Record whether the product is a cutting board, serving board or another offer with different documented use.

02

Give thickness, grooves and underside their own views

Take a real low-angle edge frame with enough surrounding board to locate it, then an underside view. Show a juice groove, handle, foot or reversible side where present. Keep the light broad enough to reveal the surface without making oiled wood look dry or a matte finish unusually glossy. Note any preparation actually performed before the session.

Measure the real width, length and thickness and state whether a handle is included in the length. Add a separate food-styled view only after the empty factual set. Keep food, knives and bowls explicitly excluded unless supplied. A staged chopping action is not evidence of knife resistance, hygiene or product approval for every food-contact use.

03

Explore a kitchen scene without changing the grain

Choose one actual board photograph for a Fayvoro scene candidate. Request a plain kitchen surface with the whole board visible and no food covering its details. Keep the actual grain, edge and underside photographs outside the attempt. This is not a wood-identification or material-testing workflow.

Check the grain orientation, patch layout, knots, groove, handle and corner radius. Reject an image that turns edge grain into end grain or adds feet to a flat board. Do not let a scene imply dimensions or a food-safety claim you have not substantiated. The factual empty-board set remains the useful buying reference.
Direction to try

A useful starting note.

Use this as a starting point, then adjust it for your own product. No prompt can guarantee exact product details.

Use my actual cutting board photograph for one quiet kitchen-display scene. Keep the empty board, grain, outline and visible groove unobstructed on a neutral worktop with soft light. Add no food, knife, feet or new handle. I will compare the candidate with the actual construction photographs.
Before you publish

Check the details.

  • Real grain arrangement belongs to the offered item or labeled stock sample.
  • Wood and finish descriptions come from actual documentation.
  • Thickness, groove, handle and underside are clearly photographed.
  • Length measurements explain whether a handle is included.
  • Kitchen props do not imply supplied goods or performance testing.
Common questions

A few things to know.

Can a wood photo establish the species or food safety?

No. Use reliable maker documentation and any relevant real evidence. Appearance and a generated kitchen scene cannot establish those claims.

Should I cover the board with food in its main gallery view?

Keep an empty factual view first so shoppers can inspect the outline, groove and grain. A separate serving view can then add context.

Can I reuse a perfect grain pattern for all handmade boards?

Do not silently replace the grain of unique stock. Use actual-item photos or state natural variation for representative photographs.

Make your image
with intention.

Explore a scene from your real photo