All product image guides Laptop Sleeve Product Photography

Show usable sleeve space instead of relying on a screen-size label.

A sleeve named for a screen diagonal can still differ in usable length, width and thickness. Document the actual interior and opening before placing the sleeve in a desk or travel scene.

Explore a scene from your laptop sleeve photo Two free credits when you sign up. Review the result before publishing.
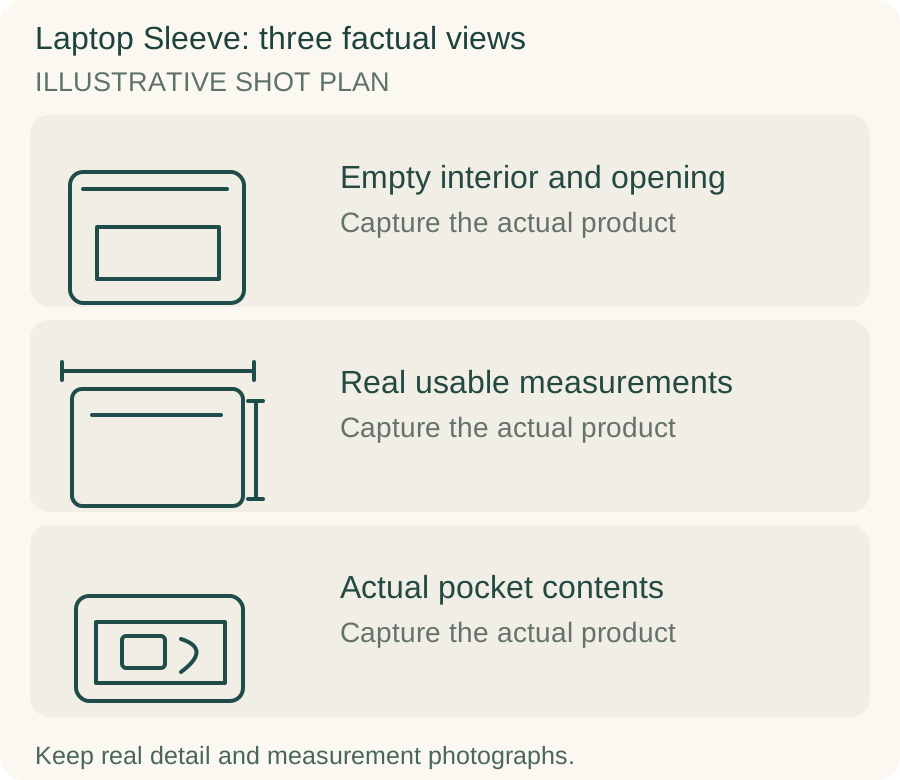
Original teaching diagram for laptop sleeve: Empty interior and opening, Real usable measurements, Actual pocket contents
EDITORIAL CONCEPTOriginal illustrative shot plan. These outlines are not photographs of stock, measured technical drawings, a Fayvoro output or a customer example.
01 / EXAMPLEILLUSTRATIVE CONCEPT
What this shows

Three different jobs for a laptop sleeve gallery.

Use the empty interior and opening, real usable measurements and actual pocket contents panels to plan separate actual-product captures. The teaching outlines contain no observed dimensions, verified specifications or tested performance. They do not replace your real photographs.

Original teaching diagram for laptop sleeve: Empty interior and opening, Real usable measurements, Actual pocket contents
Editorial conceptOriginal illustrative shot plan. These outlines are not photographs of stock, measured technical drawings, a Fayvoro output or a customer example.

This image is an editorial concept made for the site. It is not a Fayvoro generation or customer result. AI can change product shape, color, packaging, labels, and text. Check every important detail against the real item.

02 / A PRACTICAL WORKFLOWSTART WITH YOUR PHOTO
01

Keep the empty shape and loaded shape separate

Photograph the closed empty sleeve, its opening and its real lining. Use a support only when needed and disclose an illustrative loading setup if it changes the silhouette. Take a second frame with a verified compatible device fitted inside if that demonstrates a useful feature. Do not let one tightly cropped loaded view stand in for the actual interior construction.

Show the zipper or flap fully open without stretching the sleeve. Keep corner padding, seams and the path of the closure visible in close-up. A dark interior may need a separate exposure to remain readable, but avoid processing that makes a thin lining look like thicker cushioning. The laptop is a demonstration prop unless it is explicitly part of the offer.

02

Measure the usable interior, not just the outside

State the maker’s usable internal length, width and thickness and preserve a real measurement record. tomtoc distinguishes internal, external and front-pocket dimensions on its listing. This avoids using the exterior size as available device space. Follow the exact product’s method and compatibility list rather than inferring fit from a screen diagonal alone.

Photograph a real ruler or tape on the appropriate plane when showing dimensions. Test the actual intended device, including any attached shell that changes its size, without forcing the closure. Show accessories separately and label whether they fit the front pocket or the main sleeve. A generated laptop nestled inside a sleeve is not a physical fit check.

03

Explore a commute scene after a genuine fit check

Fayvoro can explore one desk or travel setting from a clear sleeve source. Keep the closure and front pocket unobstructed. The tool does not verify laptop compatibility, padding thickness, impact protection or spill resistance. Retain the actual open-interior and fitted-device views alongside the scene candidate.

Inspect zipper length, opening shape, pocket count, lining color and seam placement against the original. Watch for a sleeve that gains a handle or becomes a hard case. A generated rain or drop scene would not establish protection performance. Use verified product information for such claims and preserve the real dimensions that explain which device fits.
Direction to try

A useful starting note.

Use this as a starting point, then adjust it for your own product. No prompt can guarantee exact product details.

Use my laptop sleeve photo for one secondary work-desk scene with gentle daylight. Keep the sleeve closed and show its actual zipper and pocket. Add no laptop, handle, extra compartment or protective test setup. I will compare seams and dimensions with the real sleeve.
Before you publish

Check the details.

  • Usable internal dimensions are distinct from exterior size.
  • Closure and lining have readable actual-product photographs.
  • Device-fit example uses a verified real model and any shell is recorded.
  • Pocket contents are separate from included items.
  • Generated scenes do not imply tested impact or spill protection.
Common questions

A few things to know.

Is a 14-inch sleeve guaranteed to fit every 14-inch laptop?

No. Screen diagonal is not the device’s full body size. Compare usable interior dimensions and the exact compatibility information, then verify the physical fit if needed.

Should I photograph the sleeve empty or with a laptop?

Use both for different questions: an empty interior for construction and a genuine loaded view for an identified fit example. Label the device as a prop when it is not included.

Can a generated sleeve scene demonstrate padding performance?

No. It is composition exploration. Protection claims need appropriate product evidence, and the actual lining and dimensions should remain in the gallery.

Make your image
with intention.

Explore a scene from your laptop sleeve photo