All product image guides Water Bottle Product Photography

Let the buyer see which bottle and drinking lid arrive.

A bottle color can be obvious while its drinking system remains hidden. Show the closed bottle, open mouth and supplied lid components as separate factual views before creating a commute or kitchen composition.

Explore a scene from your water bottle photo Two free credits when you sign up. Review the result before publishing.
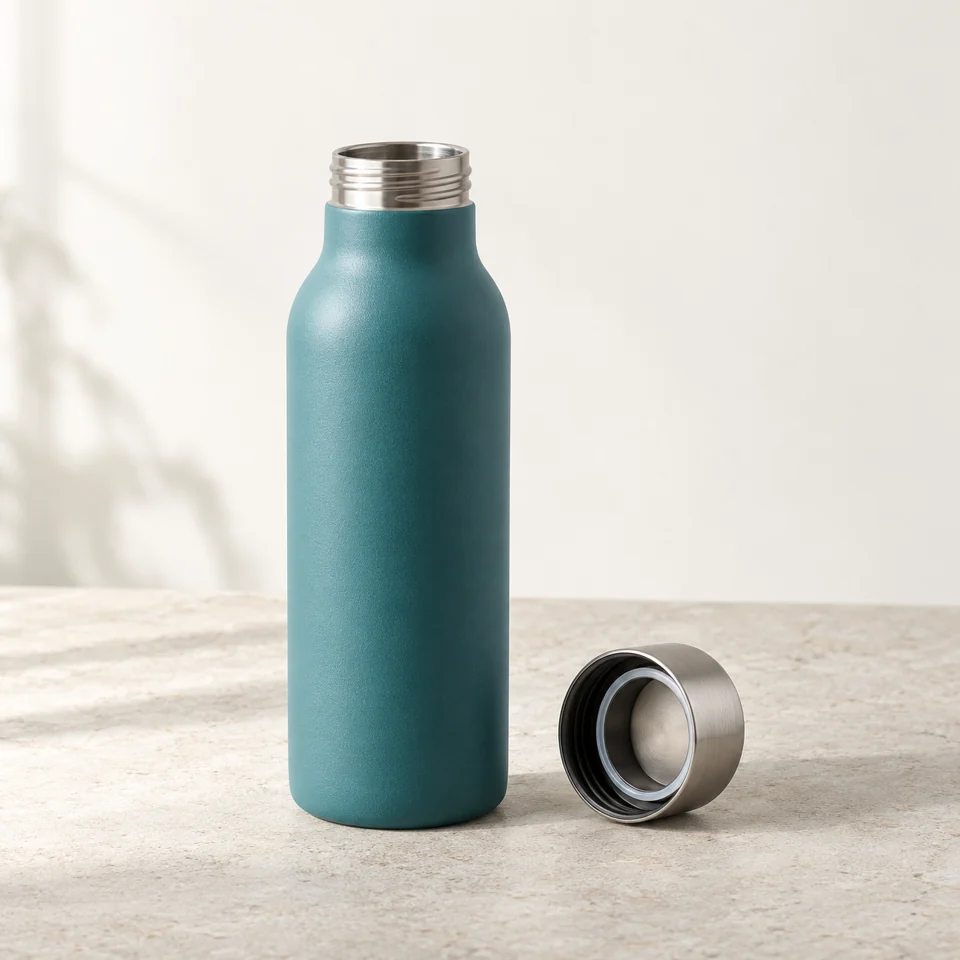
Editorial composition concept for water bottle product photography
EDITORIAL CONCEPTEDITORIAL CONCEPT. Fictional water bottle composition for visual direction, not stocked merchandise, exact construction or color evidence, a customer example or a live Fayvoro result.
01 / EXAMPLEILLUSTRATIVE CONCEPT
What this shows

Three different jobs for a water bottle gallery.

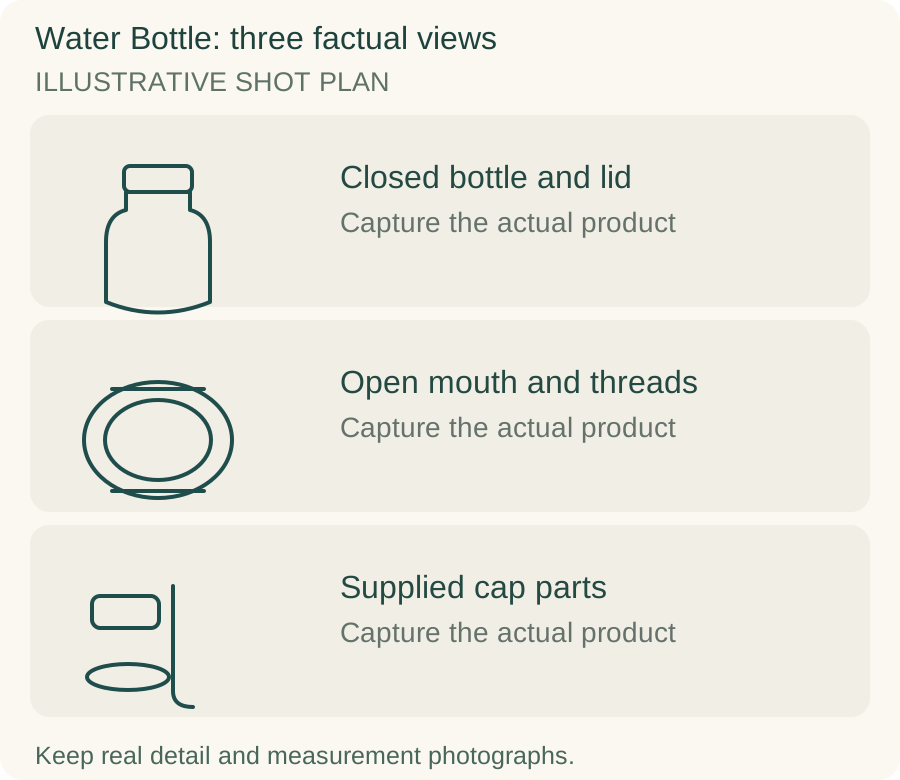
Use the closed bottle and lid, open mouth and threads and supplied cap parts panels to plan separate actual-product captures. The teaching outlines contain no observed dimensions, verified specifications or tested performance. They do not replace your real photographs.

Original teaching diagram for water bottle: Closed bottle and lid, Open mouth and threads, Supplied cap parts
Editorial conceptOriginal illustrative shot plan. These outlines are not photographs of stock, measured technical drawings, a Fayvoro output or a customer example.

This image is an editorial concept made for the site. It is not a Fayvoro generation or customer result. AI can change product shape, color, packaging, labels, and text. Check every important detail against the real item.

02 / A PRACTICAL WORKFLOWSTART WITH YOUR PHOTO
01

Identify the body and lid as one offer

Record the actual bottle capacity, body finish and lid name together in the shot list. Photograph the complete closed bottle square enough to see its proportions. Then remove the lid for an overhead mouth view that makes the opening and threads visible. A photograph of the body alone can leave a shopper unsure whether the offer includes a straw, chug cap or plain screw cap.

Hydro Flask distinguishes wide-mouth and standard-mouth lids and several drinking styles. That is a useful reminder to keep compatibility tied to the particular product, not to a bottle that merely looks similar. Place alternate lids in separate, explicitly optional images. Do not show every available lid beside one bottle without stating which one is supplied.

02

Photograph the parts that affect daily use

Show a removable straw, carry loop, mouthpiece and sealing parts only when they are present in the actual kit. Keep removable parts arranged beside the real body without borrowing components from another lid. For a flip or twist mechanism, photograph the actual open and closed states. A single open-cap image cannot tell the buyer whether the cap stays attached.

Keep capacity and external dimensions in written specifications backed by the maker’s documentation or your real measurements. Photograph a genuine base marking if it carries the model or capacity. A familiar backpack, generated ruler or water line does not establish volume. Condensation styling should be treated as presentation; it does not measure how long a bottle retains temperature.

03

Explore one believable bottle scene

Upload a clean photograph of the assembled bottle to explore a desk or kitchen setting in Fayvoro. Choose a scene that leaves the cap and body outline visible. The tool is an image generator, not a lid compatibility checker or a test of seals, materials and thermal performance. Keep the actual open-mouth and included-parts shots unchanged.

Before using a candidate, count cap components and inspect the mouthpiece, loop, threading and logo. Reject added straws, duplicated bottles and changes in the neck width. Do not present a generated bottle on its side as proof of leak resistance. Such a claim depends on the actual product and documented conditions, including how the lid is closed.
Direction to try

A useful starting note.

Use this as a starting point, then adjust it for your own product. No prompt can guarantee exact product details.

Place the bottle from my uploaded photo on a clean kitchen counter in soft window light. Keep the assembled lid, mouthpiece and carry loop recognizable. Add no ice, text, extra bottles or alternate caps. This is a scene candidate, not a leak or insulation demonstration.
Before you publish

Check the details.

  • Body capacity and lid version are recorded together.
  • Actual mouth and thread views correspond to the supplied bottle.
  • Straw, seals and accessories match the included kit.
  • Generated condensation does not support a thermal claim.
  • The scene has no altered neck, cap mechanism or invented marking.
Common questions

A few things to know.

Can a styled image prove the bottle is leakproof?

No. A generated image cannot test a seal. Use verified product information and the relevant closure conditions for any leak-resistance claim.

Should I show replacement lids in the main image?

Only include the lid supplied with the selected offer. Put compatible optional lids in separate images and clearly identify their separate status.

Can a bottle photo establish its capacity?

Appearance alone cannot. Use documented capacity and genuine dimensions or markings; a generated scale cue or fill line is not a measurement.

Make your image
with intention.

Explore a scene from your water bottle photo