02 / A PRACTICAL WORKFLOWSTART WITH YOUR PHOTO
01Record the actual ends and profile
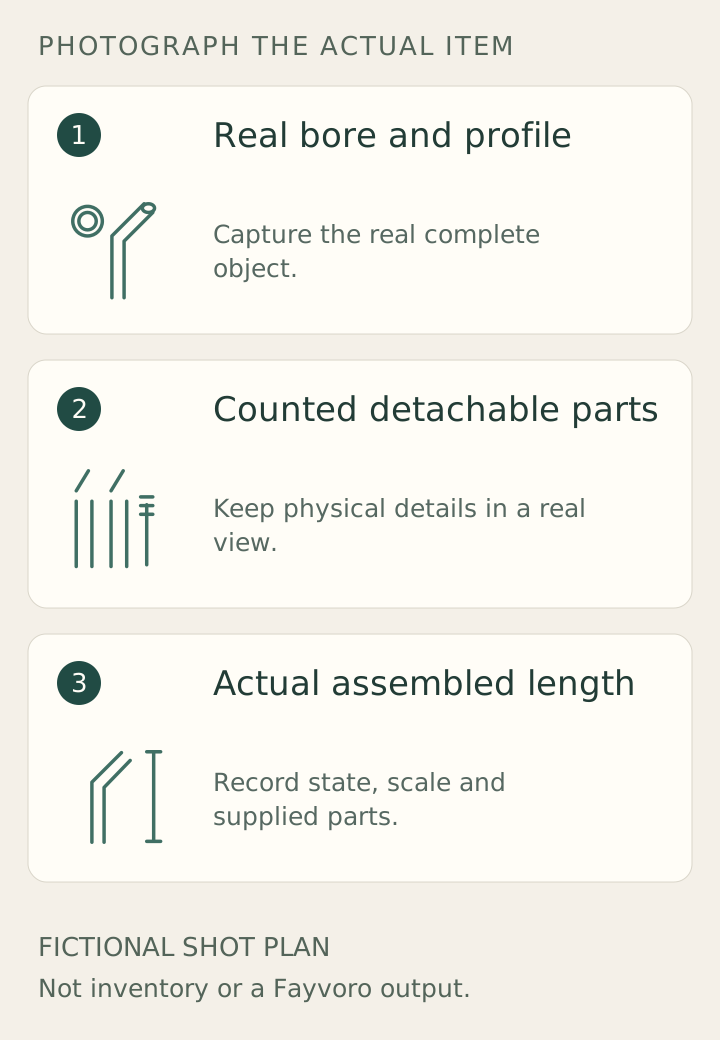
Photograph the whole straw from the side and add a real end-on view that shows the bore. Keep the camera aligned so an opening does not become a misleading flattened slit. For a bent form, show where the bend lies rather than shortening the apparent tube with a steep angle.
Klean Kanteen’s example distinguishes steel tubes and removable silicone tips. Your set may be constructed differently. Show actual joints and detachable pieces without inventing a split or treating a fixed mouthpiece as removable because another product is built that way.
Count the set and measure the right dimensions
Lay out each supplied tube, tip, brush and pouch separately, then identify their counts. A spare tip is not an additional complete straw. Record total length in the correct assembled state, and distinguish outer diameter from the internal bore if both are stated.
For a real cup or bottle fit demonstration, identify the vessel and state that it is a prop unless sold. An appealing smoothie picture cannot verify every drink’s flow or a leakproof seal. Cleaning and heat-use instructions must come from checked product information, not droplets or steam added to a photograph.
Inspect each part in an AI scene
Use an owned photo of the actual assembled item in Fayvoro and request a dry, uncluttered surface. Check the continuous tube, mouthpiece connection and opening count. Reject a candidate with a sealed end, impossible bend or new loose components.
Keep real end views and counted contents in the gallery. A generated brush inside a tube is not a cleaning demonstration; it may not even fit physically. Use the original photographs when accurate bore or joint details cannot be retained. The teaching drawing here is not a manufactured straw specification.