All product image guides Nail Polish Product Photography

Separate the bottle photograph from what the polish looks like applied.

The color visible through a bottle is not the same view as applied polish. A listing needs the exact bottle identity and genuine application samples before it can use an optional styled still life.

Explore a scene from your nail polish photo Two free credits when you sign up. Review the result before publishing.
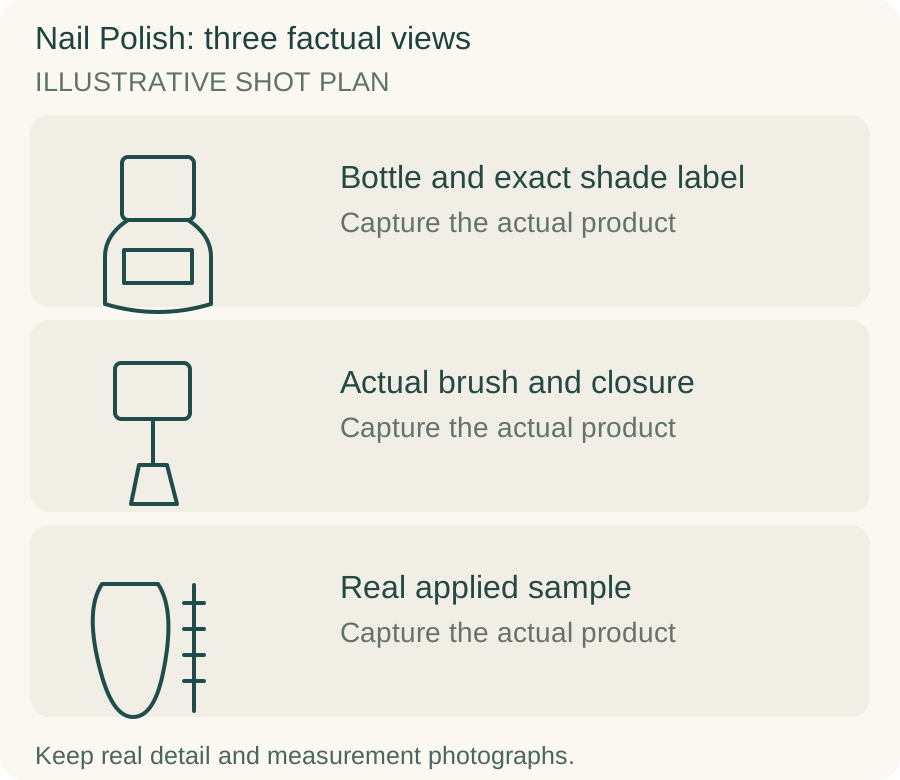
Original teaching diagram for nail polish: Bottle and exact shade label, Actual brush and closure, Real applied sample
EDITORIAL CONCEPTOriginal illustrative shot plan. These outlines are not photographs of stock, measured technical drawings, a Fayvoro output or a customer example.
01 / EXAMPLEILLUSTRATIVE CONCEPT
What this shows

Three different jobs for a nail polish gallery.

Use the bottle and exact shade label, actual brush and closure and real applied sample panels to plan separate actual-product captures. The teaching outlines contain no observed dimensions, verified specifications or tested performance. They do not replace your real photographs.

Original teaching diagram for nail polish: Bottle and exact shade label, Actual brush and closure, Real applied sample
Editorial conceptOriginal illustrative shot plan. These outlines are not photographs of stock, measured technical drawings, a Fayvoro output or a customer example.

This image is an editorial concept made for the site. It is not a Fayvoro generation or customer result. AI can change product shape, color, packaging, labels, and text. Check every important detail against the real item.

02 / A PRACTICAL WORKFLOWSTART WITH YOUR PHOTO
01

Keep the formula and shade identity together

Photograph the real bottle upright with its front label readable, then its underside or reverse shade identifier. Record the formula type and package size with the SKU rather than grouping similarly colored bottles as interchangeable. Photograph the supplied brush separately if its shape is a useful buying detail. Keep the cap and bottle from the same product together.

OPI’s product page separates the bottle, manicure and shade-swatch views. That division helps a seller answer package and appearance questions without letting one attractive frame do every job. Use your own authorized photographs. A differently colored label, changed cap or missing identifier should not be hidden by a scene that focuses only on the liquid color.

02

Make a color sample reproducible enough to understand

Apply the actual product to a real sample or a permitted hand photograph. Record the base, coat count, lighting and relevant application method in your working notes. A sheer polish can look different over different bases, so keep comparison samples on the same basis. Do not use digitally painted nails as evidence of coverage.

For shimmer or reflective effects, capture a neutral overview and a second angle that shows the effect without replacing it with invented sparkle. Keep editing consistent across shades and retain the source files. A static image cannot prove drying, curing requirements or wear duration. Present those as documented product information, not conclusions from a glossy-looking photograph.

03

Use scene generation for a bottle still life

Choose one actual bottle source to explore a simple vanity composition in Fayvoro. Keep the genuine swatch alongside it. This workflow does not apply the sold polish to nails, verify a formula or provide a safe manicure procedure. A generated hand may also have implausible anatomy and should not become a customer-use example.

Compare shade identifiers, label wording, bottle volume marking, cap shape and visible brush with the real product. Inspect glass reflections and the apparent fill level. A generated spill or brushstroke is an editorial styling element, not a measured sample. Reject any result that makes the polish seem a different color, formula or quantity.
Direction to try

A useful starting note.

Use this as a starting point, then adjust it for your own product. No prompt can guarantee exact product details.

Use the nail polish bottle in my photo for a secondary still life on a plain vanity surface. Keep the bottle and cap visible in neutral light. Add no hand, manicure, liquid spill, brushstroke or new label text. I will compare the identifier and package with the source.
Before you publish

Check the details.

  • Formula, shade identifier and actual bottle belong to one SKU.
  • Real label and package-size views remain readable.
  • Applied samples use real polish and recorded conditions.
  • No generated nails or brushstroke are presented as use evidence.
  • Color, fill level and cap details have not changed in the scene.
Common questions

A few things to know.

Can I use the bottle color as the only swatch?

It does not show application. Add a genuine sample and explain relevant base and coat conditions when those affect appearance.

Can Fayvoro make a real manicure demonstration?

A generated manicure would be an illustrative concept. It is not evidence that the actual polish produced that color, coverage or finish.

What should I record for each shade sample?

Keep the exact product identity, actual base, coat count and lighting in your working record. Use consistent editing so comparisons do not rely on different processing.

Make your image
with intention.

Explore a scene from your nail polish photo