02 / A PRACTICAL WORKFLOWSTART WITH YOUR PHOTO
01Photograph cap, bullet and shade identity
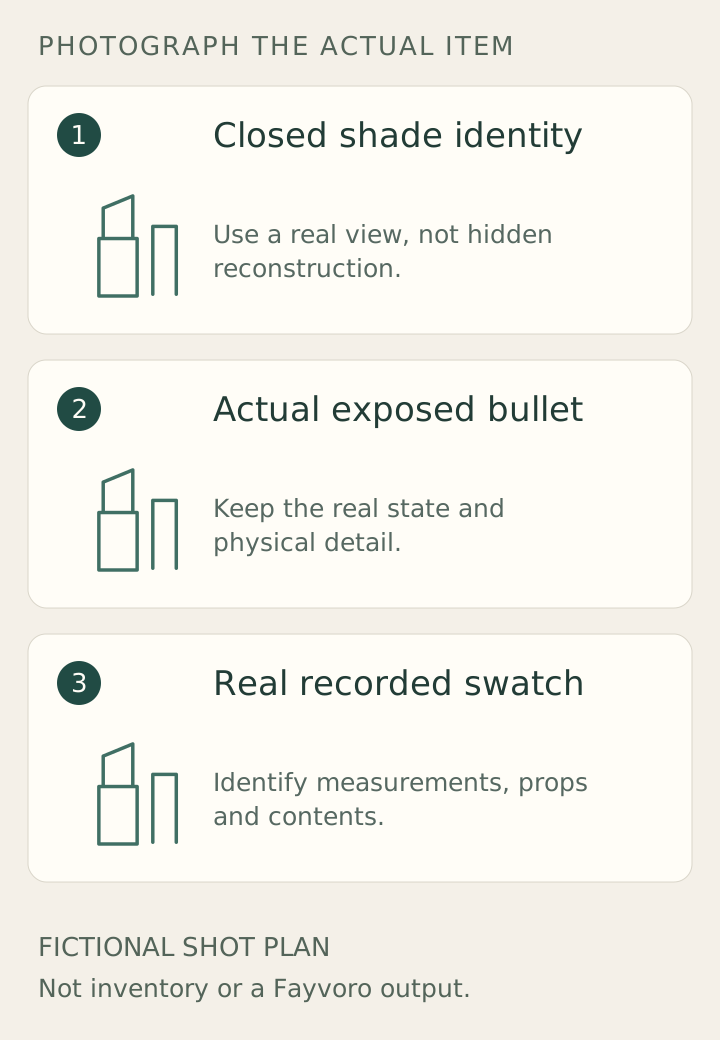
Start with the actual package closed, then show a dedicated sample opened to an ordinary safe twist height. Keep the cap in a separate identifiable position and avoid an angle that hides the bullet tip. Revlon’s product example shows why bullet shape can be a meaningful feature alongside the case.
Photograph the shade name or code on the real base or packaging. Use that identifier in your file mapping rather than relying on a colour nickname. If a sample is opened or applied for the shoot, keep it separate from an unopened unit offered as new.
Make swatches from the physical shade
Create any swatch with a real sample on a stated surface, using consistent light and a checked colour workflow. Record which shade, application and surface were used. A bullet colour, a paper swatch and a permitted real lip photograph show different appearances and should not be presented as interchangeable.
Keep shade variants separate during capture and approval. Do not generate a row of colour swatches from one bullet and treat it as tested pigment output. A still image cannot establish wear duration, transfer resistance, comfort or a formula claim; use verified product information for those statements.
Use a scene for the package, then inspect it
For a Fayvoro trial, choose a clear real package or sample photograph and ask for one plain vanity surface. Check the cap-to-case relationship, bullet shape and displayed shade. Reconstructed logos, shade labels and an invented lipstick smear are reasons to reject the result.
Keep the factual shade view and real swatch available even if a secondary scene is selected. This workflow returns an image candidate, not calibrated cosmetics colour, a shade-matched try-on or a transfer test. If the scene changes the pigment, retain the original rather than using it to sell that shade.