All product image guides Belt Product Photography

Show where a belt measurement starts and where it ends.

A neatly coiled belt hides the length and adjustment that help a shopper choose the correct size. Pair that presentation view with a laid-out real measurement, buckle detail and reverse before making a styled scene.

Explore a scene from your belt photo Two free credits when you sign up. Review the result before publishing.
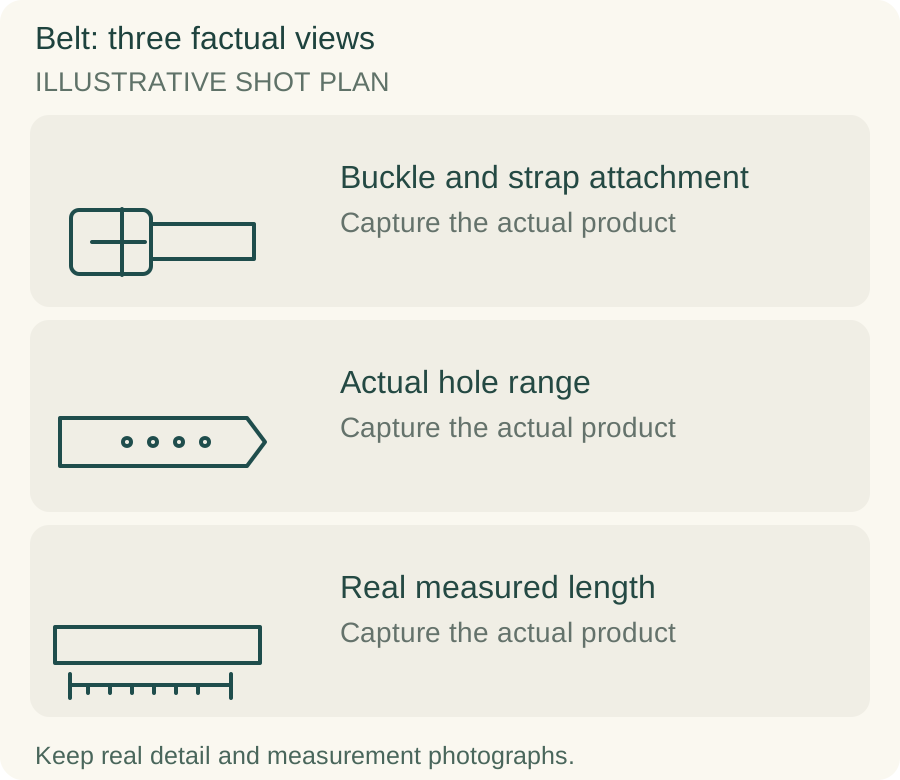
Original teaching diagram for belt: Buckle and strap attachment, Actual hole range, Real measured length
EDITORIAL CONCEPTOriginal illustrative shot plan. These outlines are not photographs of stock, measured technical drawings, a Fayvoro output or a customer example.
01 / EXAMPLEILLUSTRATIVE CONCEPT
What this shows

Three different jobs for a belt gallery.

Use the buckle and strap attachment, actual hole range and real measured length panels to plan separate actual-product captures. The teaching outlines contain no observed dimensions, verified specifications or tested performance. They do not replace your real photographs.

Original teaching diagram for belt: Buckle and strap attachment, Actual hole range, Real measured length
Editorial conceptOriginal illustrative shot plan. These outlines are not photographs of stock, measured technical drawings, a Fayvoro output or a customer example.

This image is an editorial concept made for the site. It is not a Fayvoro generation or customer result. AI can change product shape, color, packaging, labels, and text. Check every important detail against the real item.

02 / A PRACTICAL WORKFLOWSTART WITH YOUR PHOTO
01

Document the buckle and adjustment system

Photograph the buckle face, its attachment and the complete adjustment area. For a pin buckle, show the actual holes clearly; for another fastening design, show its real mechanism without pretending it uses the same measuring convention. Lay the strap on a smooth surface with a gentle natural curve. Keep decorative coiled views for presentation after the factual set is complete.

Turn the belt over for a separate view of the reverse, stitched edge and buckle fixing. If the buckle is removable, photograph the real fixing and state whether a second buckle is supplied or optional. Do not infer a leather construction from the exterior grain. Keep material claims tied to your product documentation and actual batch.

02

Use visible measurement endpoints

Place a real tape along the strap and identify both endpoints in the caption. Hanks Belts measures from where the buckle joins the leather to the used hole, excluding the buckle length. Your listing should use the method for your own product and state it clearly, rather than mixing a total end-to-end length with a wearable size.

For each offered size, record the selected reference hole and the shortest and longest usable adjustment if relevant. Capture strap width separately on the same plane as the tape. Do not use a generated tape, a trousers-size label or a familiar waist silhouette as measurement evidence. A belt can fit differently when worn at a different position or over thicker clothing.

03

Try a wardrobe scene after the size record is complete

Use one source photo with the real buckle and strap edge visible to explore a simple wardrobe or tabletop scene in Fayvoro. The tool does not calculate wearable length, reconstruct hidden holes or confirm material grade. Preserve the factual laid-out size view instead of replacing it with an attractive coil.

Check for added holes, changed spacing, a different prong, altered stitching and an invented embossed mark. Compare the leather finish under the scene light with the actual product, especially if the strap has visible wear or patina. A generated belt wrapped around clothing is not evidence of fit; use a real permitted styling photograph if worn placement matters.
Direction to try

A useful starting note.

Use this as a starting point, then adjust it for your own product. No prompt can guarantee exact product details.

Use my belt photo for a quiet wardrobe still life on a neutral wooden surface. Keep the actual buckle, visible holes and strap edge clear. Add no new stitching, embossing, person or extra belt. I will compare hardware and material with the original.
Before you publish

Check the details.

  • Buckle and attachment match the selected product.
  • All real adjustment holes or fastening parts are documented.
  • Size caption names the measured start and end points.
  • Strap width and usable range come from real measurements.
  • Leather finish, stitching and wear are not upgraded by the generated scene.
Common questions

A few things to know.

Is total belt length the same as belt size?

Often it is not. State the manufacturer’s convention and show the actual measurement endpoints so a shopper can compare like with like.

Can a coiled belt image replace the measurement view?

No. A coil is a presentation choice that can hide usable length and the hole range. Keep a laid-out factual view alongside it.

Can an AI scene demonstrate how the belt fits trousers?

Accurate worn fit is not demonstrated here. Use the actual belt and permitted real styling photographs when waist placement or adjustment needs to be shown.

Make your image
with intention.

Explore a scene from your belt photo