All product image guides Storage Jar Product Photography

Show how the actual jar closes before filling it with styling props.

A full pantry jar can make the contents look appealing while hiding the mouth, seal and supplied lid. Build a factual empty-jar set and an actual closure view before adding a presentation scene.

Explore a scene from your storage jar photo Two free credits when you sign up. Review the result before publishing.
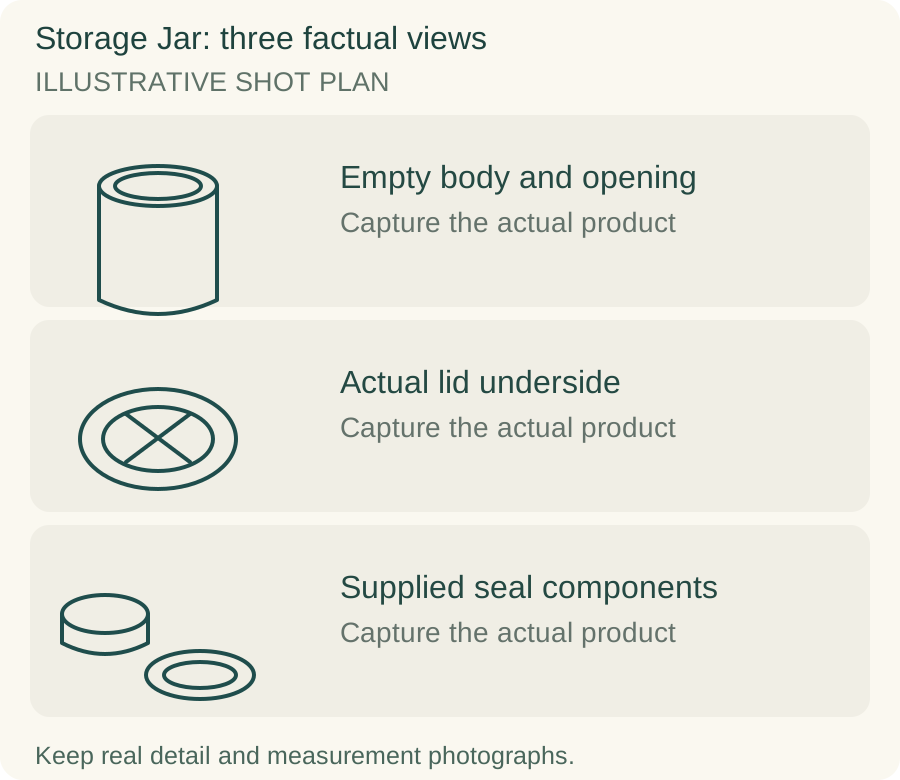
Original teaching diagram for storage jar: Empty body and opening, Actual lid underside, Supplied seal components
EDITORIAL CONCEPTOriginal illustrative shot plan. These outlines are not photographs of stock, measured technical drawings, a Fayvoro output or a customer example.
01 / EXAMPLEILLUSTRATIVE CONCEPT
What this shows

Three different jobs for a storage jar gallery.

Use the empty body and opening, actual lid underside and supplied seal components panels to plan separate actual-product captures. The teaching outlines contain no observed dimensions, verified specifications or tested performance. They do not replace your real photographs.

Original teaching diagram for storage jar: Empty body and opening, Actual lid underside, Supplied seal components
Editorial conceptOriginal illustrative shot plan. These outlines are not photographs of stock, measured technical drawings, a Fayvoro output or a customer example.

This image is an editorial concept made for the site. It is not a Fayvoro generation or customer result. AI can change product shape, color, packaging, labels, and text. Check every important detail against the real item.

02 / A PRACTICAL WORKFLOWSTART WITH YOUR PHOTO
01

Separate body shape from closure construction

Photograph the real jar empty from the front and above, with its opening unobstructed. Keep a transparent rim from disappearing into the background by changing the light position rather than inventing an outline. Add the base and any actual marking in a separate frame. A jar filled with dry goods can hide its inner profile and does not establish usable capacity.

Remove the lid only as allowed by its actual design, then photograph the underside, gasket and fastening parts. OXO’s description of its POP mechanism shows that the visible seal and internal construction have specific roles. Do not transfer those details to a different jar because both have a push-button lid. Your source photos should show the actual product you supply.

02

Keep assembly and contents unambiguous

Show the real lid seated and the opening state as separate photographs. Do not dismantle a part that is not intended to be removed merely to resemble a generic exploded view. If a gasket is a replacement accessory, photograph it separately and label its status. Count supplied jars and lids in a factual set image rather than adding a decorative lid from another size.

State the documented storage capacity and any limits on intended contents, temperature or cleaning from the exact maker’s instructions. A generated jar of coffee or liquid does not establish suitability for that use. Keep food and utensils clearly labeled as presentation props when excluded. Airtightness, leak resistance and food-contact properties require evidence beyond the appearance of a lid.

03

Explore a pantry composition after documenting the seal

Use a rights-cleared empty or honestly labeled filled source to explore one pantry scene in Fayvoro. Keep the physical jar and lid visible without asking the tool to create an unseen mechanism. The generator does not verify capacity, food safety or how well the closure seals. Retain the factual opening and lid-underneath photographs.

Compare the neck width, lid fit, hinge or clasp, gasket location and body proportions with the original. Watch for a clip-top jar that has become a screw-top design or a seal that disappeared. Generated neatness is presentation only; it cannot demonstrate freshness over time. Use the actual package and documented operating instructions to describe the product’s intended function.
Direction to try

A useful starting note.

Use this as a starting point, then adjust it for your own product. No prompt can guarantee exact product details.

Place the storage jar from my photo on a quiet pantry shelf in soft side light. Keep its actual lid and body outline visible. Add no food, liquid, label, extra jar or invented closure part. I will compare the opening and seal construction with the original.
Before you publish

Check the details.

  • Body, opening and actual lid belong to the selected size.
  • Lid underside and real sealing parts have factual photographs.
  • Supplied jar and lid counts match the offer.
  • Capacity and intended-use limits come from the exact product documentation.
  • Pantry scene is not presented as freshness, airtightness or food-safety proof.
Common questions

A few things to know.

Can a filled jar photograph prove its capacity?

No. Use documented capacity and a relevant real measurement record if needed. Fill appearance and a generated volume cue are not measurements.

Should I make an exploded lid image?

Only show the actual components and permissible disassembly. An imagined mechanism or a borrowed gasket layout does not document your closure.

Does a sealed-looking jar prove it is airtight?

No. A photograph shows a state, not seal performance. Use verified information for the exact jar and keep a generated pantry scene as presentation.

Make your image
with intention.

Explore a scene from your storage jar photo