02 / A PRACTICAL WORKFLOWSTART WITH YOUR PHOTO
01Make the well and channel visible
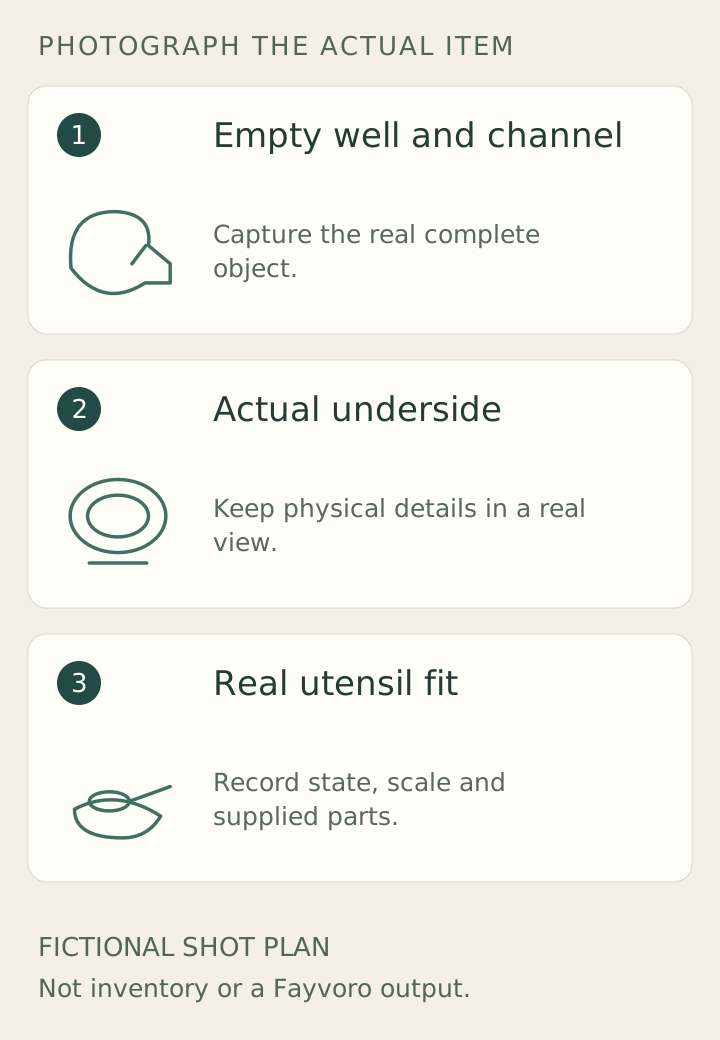
Photograph the actual rest empty from above and at a low side angle. Show the depth and shape of the utensil well and where a handle can sit. Turn over the same piece for a real underside, foot and maker’s mark if present.
East Fork’s example distinguishes a broad well and an open side for longer handles. Your rest may be a round tray, a spoon outline or another form. Do not add a channel in editing or borrow another product’s dimensions because the glazes look similar.
Record a real fit without promising universal fit
Measure the full outer footprint separately from the usable well and handle channel. A long external handle shape does not mean the entire rest is a usable flat well. For handmade items, keep dimensions and glaze variation tied to the actual unit or clearly described representative.
If demonstrating fit, place a real identified utensil in the same physical rest and show its contact points. State whether the utensil is excluded. A posed ladle cannot establish stability for every implement, and a clean kitchen scene cannot prove resistance to hot cookware, staining or microbial contamination.
Check the resting geometry after generation
For a Fayvoro trial, upload an owned empty-rest reference and request a plain countertop. Inspect the well, channel, rim and underside visibility against the source. AI may turn a shallow well into a solid plate, create a drainage hole or add a spoon.
Keep the actual empty and fit-demonstration photographs in the gallery. Do not use an imagined pan, flame or dripping utensil as a test result. Use verified care information for cleaning and heat limits. The fictional shot plan here provides no measurements or performance evidence for the object you sell.