02 / A PRACTICAL WORKFLOWSTART WITH YOUR PHOTO
01Show the supplied pair and orientation
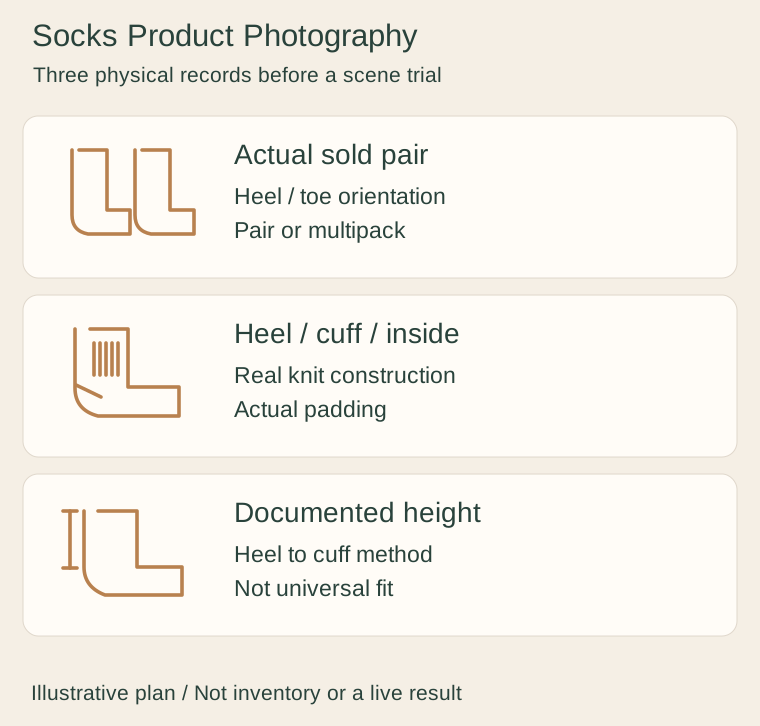
Lay out the actual pair so both heels and toes are distinguishable. Match the visible design and cuff orientation to the sold style; state a single sock, pair or multipack explicitly. If a pattern changes around the foot, add a second angle rather than duplicating one front-facing image.
Capture the cuff and a real inside-out detail where appropriate, without damaging the item or altering its sale condition. Show the knit structure that is actually present at the heel and toe. A smooth outside image does not establish the type or position of internal padding.
Separate height from the size selection chart
Record sock height with your maker’s method and identify the measuring points. Darn Tough, for example, distinguishes heel-to-cuff height, shoe-size selection and cushioning. Use your own product’s chart; do not copy that brand’s values onto another knitted construction.
Photograph the unforced shape before any real worn view. A stand can stretch the foot or cuff and is useful only when the display state is clear. A permitted real fitting example does not establish fit for every wearer, compression performance, durability or warmth. Keep size and composition statements tied to product records.
Keep any generated styling secondary
Use a clear real pair photo to explore one folded wardrobe or shelf scene in Fayvoro. Avoid requesting an invented leg or shoe to establish fit. Generation may merge the pair, move the heel, repeat the pattern incorrectly or change the knitted cuff.
Check both toes, heel pockets, pattern positions and sold count against the originals. Keep real inside-knit and size-selection images available. Reject a candidate that makes a crew sock look knee high or changes the amount of padding. One flat output is a presentation candidate, not a tested garment or a set of separate fitting views.