PRODUCT STORIES / A CREATIVE GUIDE

Scissors Product Photography

Make blade orientation and condition easy to inspect.

Scissors need more than a metallic outline: buyers may need to identify handedness, blade shape and the pivot. Photograph the actual tool in controlled closed and open states, with its cutting edges handled appropriately. Keep an attractive scene separate from a real cutting demonstration.

Sign up for 3 free credits · Your starting direction is included.See the example
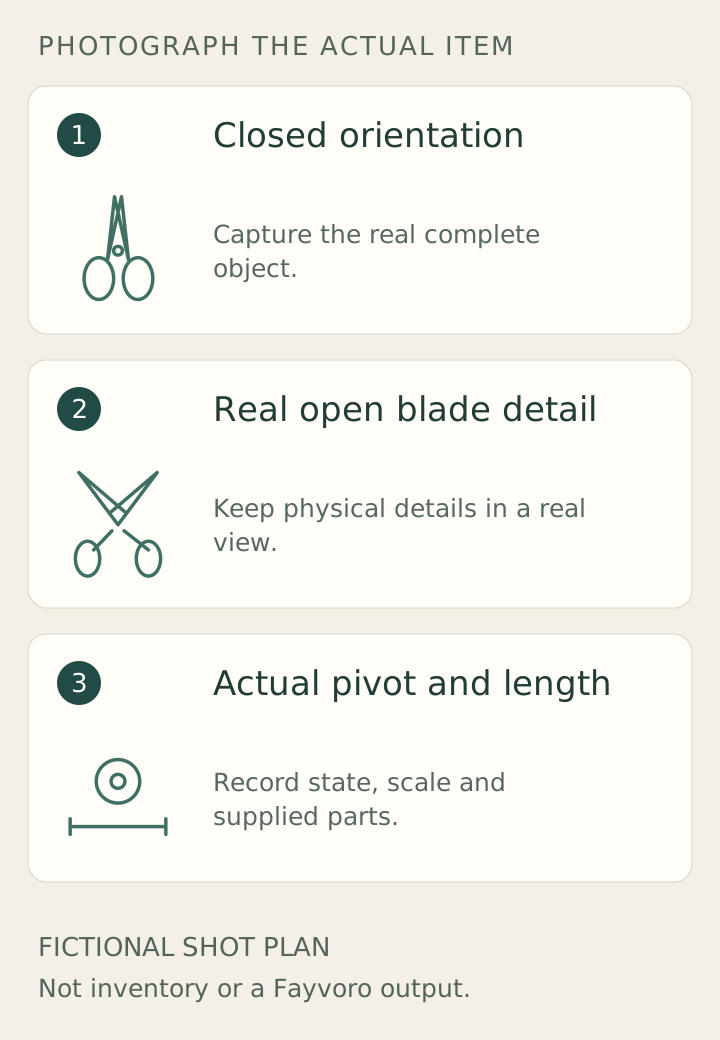
Original teaching plan: Closed orientation, Real open blade detail, Actual pivot and length
EDITORIAL CONCEPT
01 / EXAMPLEILLUSTRATIVE CONCEPT
What this shows

Give each factual view a separate job.

These original schematic drawings organize a real shoot. Their shapes and labels are illustrative; they are not specifications for a manufactured item.

Original teaching plan: Closed orientation, Real open blade detail, Actual pivot and length
Editorial conceptOriginal fictional shot plan, not an inventory photograph, a Fayvoro output or a customer result. Photograph the actual item for construction, dimensions, included parts and performance.

This image is an editorial concept made for the site. It is not a Fayvoro generation or customer result. AI can change product shape, color, packaging, labels, and text. Check every important detail against the real item.

YOUR STARTING IDEA

Take the direction. Make it your own.

Explore a plain work-surface scene using my actual closed-scissors photo. Add no hand, cut material, sheath, new loop or lettering. Keep the visible tool orientation; I will verify blades, pivot and handle shape.
Add your reference photo in the studio, then adjust the direction.
Before you publish

Compare the result with your real product and your destination’s requirements.

  • Both sides show the same actual blade and handle construction.
  • Handedness comes from verified construction, not colour.
  • Closed total length and blade length are clearly distinguished.
  • Condition and real cutting samples are not reconstructed.
02 / A PRACTICAL WORKFLOWSTART WITH YOUR PHOTO
01

Show both sides of the actual tool

Photograph the scissors closed from each side, including both handle loops and the pivot. Then show a safely supported open state without using your hand as a scale reference near the blades. Keep a real detail of the tip, edge and pivot fastener.

Fiskars distinguishes left-handed designs by reversed blades and handles. Handle colour alone cannot identify that construction. Do not mirror a photograph to improve composition: reversing the image can misrepresent blade overlap and any readable mark, especially when the listing distinguishes handed variants.

02

Separate measurements from cutting evidence

State whether the listed measurement is total closed length or blade length, and show the corresponding real setup. A ruler must follow the measured dimension rather than an arbitrary diagonal. Keep any sheath or storage lock visible and identify whether it ships with the tool.

For used or vintage scissors, retain edge chips, rust, loose-pivot evidence and previous repairs in condition photographs. A clean-looking blade does not prove sharpness. If a physical cutting sample is included, record the material and actual tool tested; do not generalize one sample into an all-material performance claim.

03

Reject impossible blade geometry in a scene

Upload an owned closed-scissors reference to Fayvoro and choose one plain work surface. Inspect the number of loops, pivot position, blade crossing and visible tip. AI may fuse the blades, add a finger loop or put a cutting edge on the wrong side.

Retain the original side and open-state pictures for the factual gallery. Do not use a generated hand, cut line or flying material as proof of handling or cutting ability. The schematic here explains photo roles; it is not a technical drawing of a particular scissor mechanism.

Common questions

A few things to know.

May I flip the photo horizontally?

Avoid that for a handed tool. A mirrored image can reverse blade overlap and markings.

Can a polished picture prove sharpness?

No. Use verified information or a documented real test appropriate to the claim.

Make your image with intention.