02 / A PRACTICAL WORKFLOWSTART WITH YOUR PHOTO
01Identify the mounting form and actual rubber
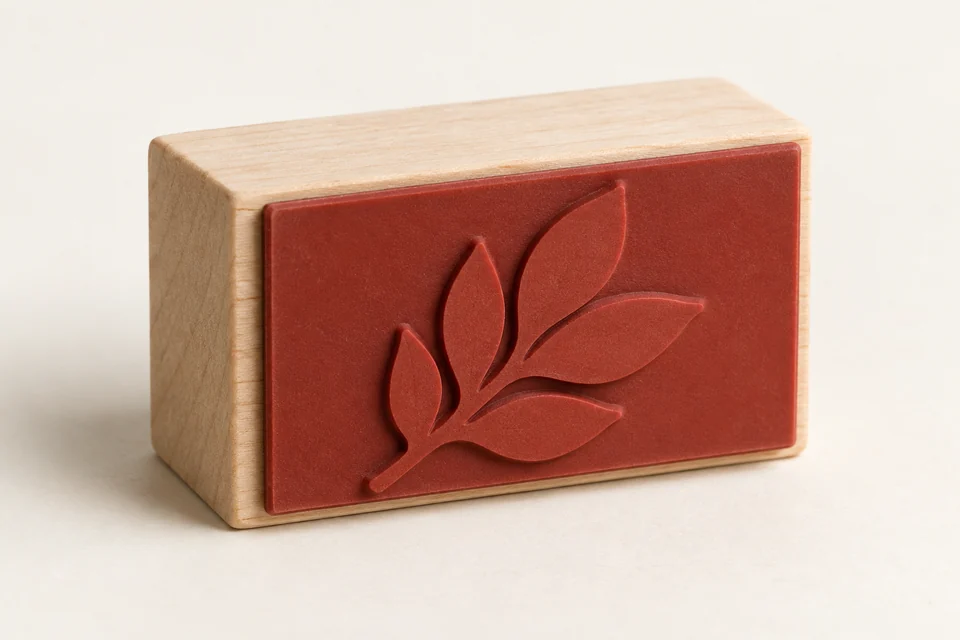
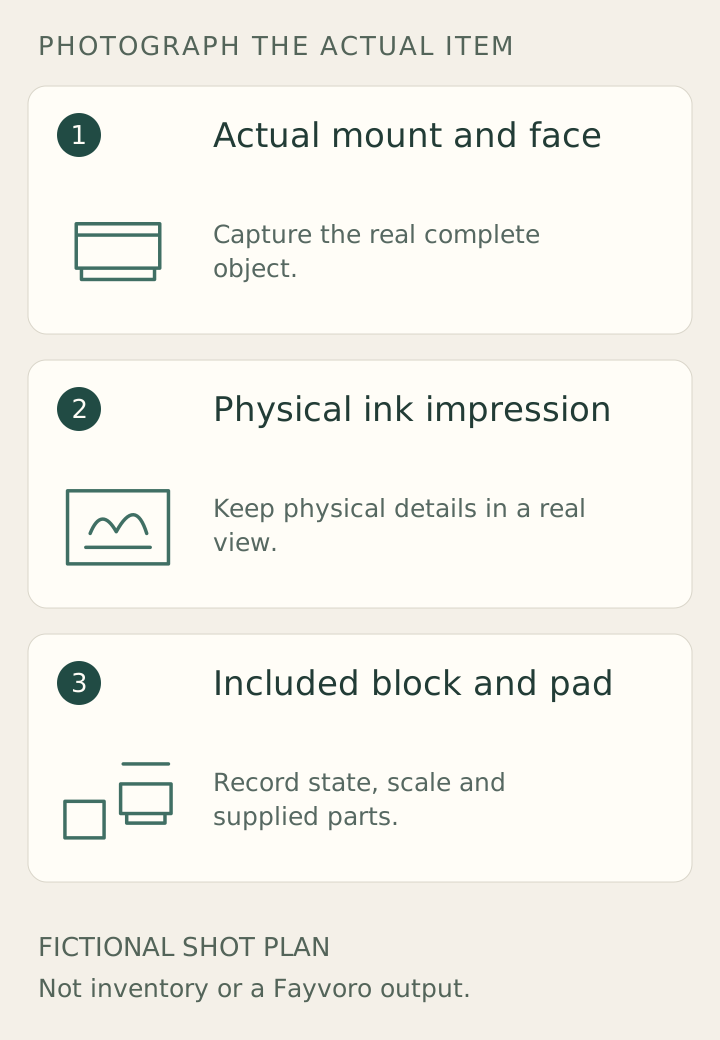
Photograph the complete stamp and its working face, keeping the two views tied to the same design. A mounted block, loose cling stamp and self-inking body are different offers. Show any mounting interface or removable protective backing that is relevant to the supplied item.
Stampin’ Up’s guide separates stamp materials, mounting blocks and actual inking. Apply that separation to your own listing. A top-side index picture may read normally while the physical printing face is reversed; do not silently flip the face photograph into an imagined finished print.
Make an impression with the physical sample
Stamp a real impression using the identified tool and record the ink and paper. Show the whole printed area with a scale reference when size matters. Preserve imperfect edges honestly; do not digitally invent complete fine lines or remove a missing part while claiming the picture is a test print.
For a custom design, label digital approval artwork separately from a sample impression, and keep order-specific names out of a generic demo unless permission is established. State whether a block, ink pad, storage case or sample card is included. A staged envelope must not turn into an unstated extra.
Keep any AI scene away from print evidence
Upload an owned real stamp photo to Fayvoro and request a simple desktop with no printed paper. Check the block, mount and visible rubber edge against the original. Reject newly invented text, an extra pad or an inaccurate rubber pattern.
Use the actual face and physical impression in the product gallery regardless of scene choice. AI lettering or a fictional mark is not proof of print quality, spelling or the customer’s approved design. The editorial wooden stamp concept here illustrates an object composition and has no verified imprint.