PRODUCT STORIES / A CREATIVE GUIDE

Product Photography Depth of Field

Name the details that must share one sharp frame.

A sharp front label does not guarantee a sharp rear closure. Decide which depths need to be inspectable, then test one real exposure before using blur as a stylistic choice.

Sign up for 3 free credits · Your starting direction is included.See the example
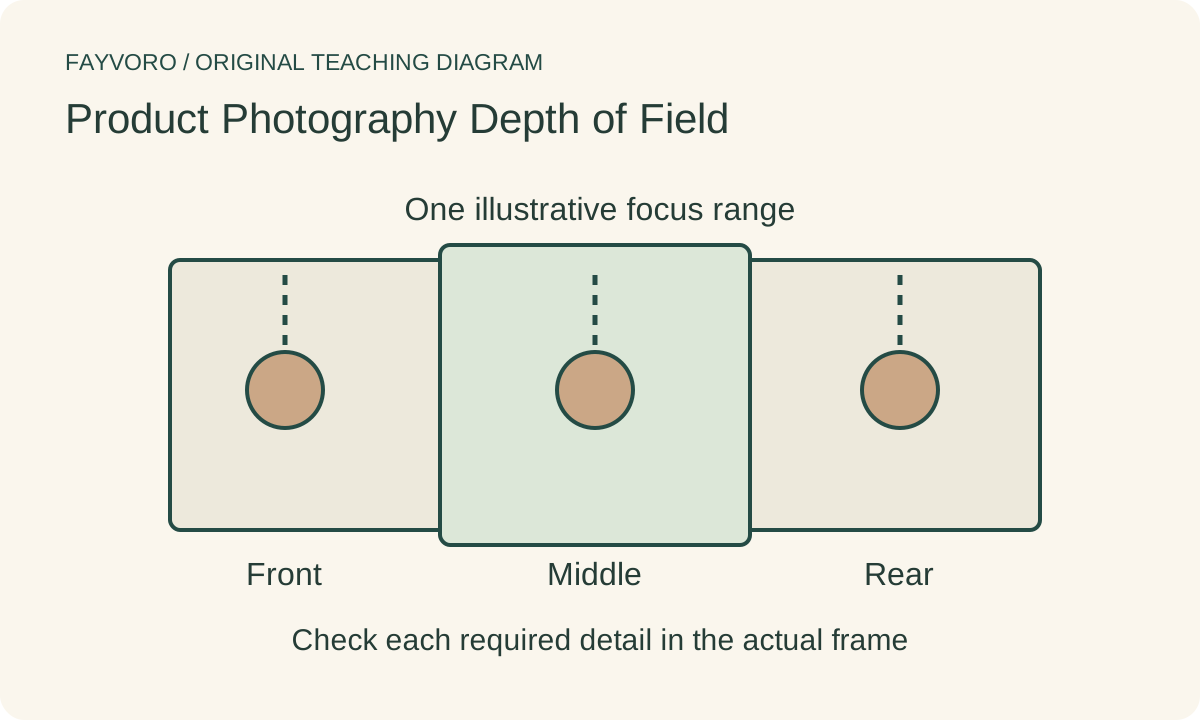
Three illustrative product-depth markers crossing a single focus range, followed by separate front, middle and rear inspection checks.
EDITORIAL CONCEPT
01 / EXAMPLEILLUSTRATIVE CONCEPT
What this shows

Check front, middle and rear.

Colored regions are illustrative focus checks. They are not a calculated depth-of-field range.

Three illustrative product-depth markers crossing a single focus range, followed by separate front, middle and rear inspection checks.
Editorial conceptOriginal teaching diagram. It is not a measured lighting test, product photograph, Fayvoro result or customer case.

This image is an editorial concept made for the site. It is not a Fayvoro generation or customer result. AI can change product shape, color, packaging, labels, and text. Check every important detail against the real item.

YOUR STARTING IDEA

Take the direction. Make it your own.

Use my approved real product photo for one secondary scene with the important outline and construction visible. Avoid hiding essential detail in dramatic blur. I will compare the actual result against clear front and rear real views.
Add your reference photo in the studio, then adjust the direction.
Before you publish

Compare the result with your real product and your destination’s requirements.

  • Nearest and farthest required details are named.
  • Aperture tests use consistent composition and inspection scale.
  • Sharpness and diffraction are inspected in the actual captures.
  • Separate real detail views remain available when one frame fails.
02 / A PRACTICAL WORKFLOWSTART WITH YOUR PHOTO
01

Map the required depth in the real item

Identify the nearest and farthest important features in the chosen view. For a deep box, these may be a front label and a rear corner; for a ring, a raised stone and the band. Keep the camera angle fixed while selecting the focus point.

Nikon describes depth of field as a range of acceptable sharpness, affected by aperture and capture geometry. “Acceptable” depends on the actual display and detail role. A pleasing small preview may conceal a rear feature that fails at gallery zoom.

02

Compare two apertures without changing composition

Capture two or more real frames at different apertures, compensating exposure while keeping the camera, item and focus plan consistent. Compare the front, central and rear details at the same scale. Record which feature becomes acceptably sharp and which remains unresolved.

Do not assume the smallest available aperture gives the best detail. Diffraction and lens behavior can soften an image as you stop down. Nikon’s focus-shift discussion highlights this tradeoff; test your own lens instead of importing its example settings as a universal optimum.

03

Choose an honest fallback when one frame fails

Try an angle that places required features closer to the same focus plane, or provide separate detail photographs. If genuine full-depth inspection is necessary, evaluate a real focus-stacking capture and merge workflow using retained source frames.

A blurred construction feature should not be described as visible evidence. Keep atmospheric shallow-focus photographs as secondary assets when shoppers also have clear factual views.

04

Do not use generated blur as an optical measurement

Fayvoro is not a depth-of-field calculator, focus-stacking service or lens simulator. Start a scene trial from a clear reference, then inspect the actual generated front and rear features. Keep real photographs for details that a scene hides or changes.

Common questions

A few things to know.

Is a high f-number always sharper?

No. More depth of field and fine-detail sharpness are different considerations. Compare real files and consider diffraction and lens behavior.

How is this different from focus stacking?

This guide tests a single frame. Focus stacking combines a series with changing focus and has its own capture and merge checks.

Can a prompt prove an optical focus range?

No. Generated blur and sharpness are visual output, not measurements of a physical camera or lens.

Make your image with intention.