02 / A PRACTICAL WORKFLOWSTART WITH YOUR PHOTO
01Ask for the original before adding pixels
Check whether the photographer, manufacturer or your own archive has a larger master. A thumbnail copied from a live storefront may already be resized or compressed. Record the actual width and height, the planned display slot and the amount of cropping needed. Compare like-for-like exports instead of changing the crop and enlargement together.
If the source is blurred, blocked by glare or missing a label, retrieve a clearer capture or reshoot. Enlargement may make a damaged edge look cleaner without revealing the real product. Treat unresolved text or construction as a factual gap.
Keep conventional resampling and enhancement separate
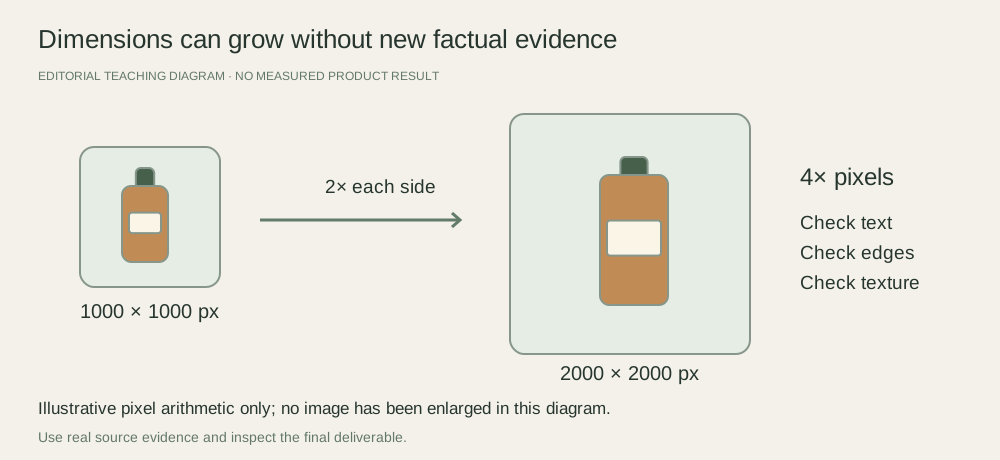
An editor can interpolate additional pixels. AI enhancement can also alter apparent detail. Adobe’s Camera Raw documentation says Super Resolution doubles width and height, producing four times the pixel count; that is a feature of that tool, not a Fayvoro upscale guarantee.
Choose one representative file for a pilot. Export a baseline and one enlarged candidate from a retained master, then compare both at the intended placement size and at a close inspection scale. Do not repeatedly enlarge a previously enhanced file and treat each pass as more evidence.
Approve pixels and facts independently
Inspect label characters, seams, tiny holes, gemstone facets and repeating patterns. Watch for invented strokes, halos and overly smooth texture. A sharper-looking word can still be the wrong word. Keep the original visible beside the candidate and have the product owner confirm details.
Fayvoro makes new scenes from references or descriptions; it is not a dedicated upscaler. A resolution option in the studio is a generation setting, not proof that an uploaded photo was enlarged without changes. Verify the downloaded dimensions and review the actual product before using any scene.