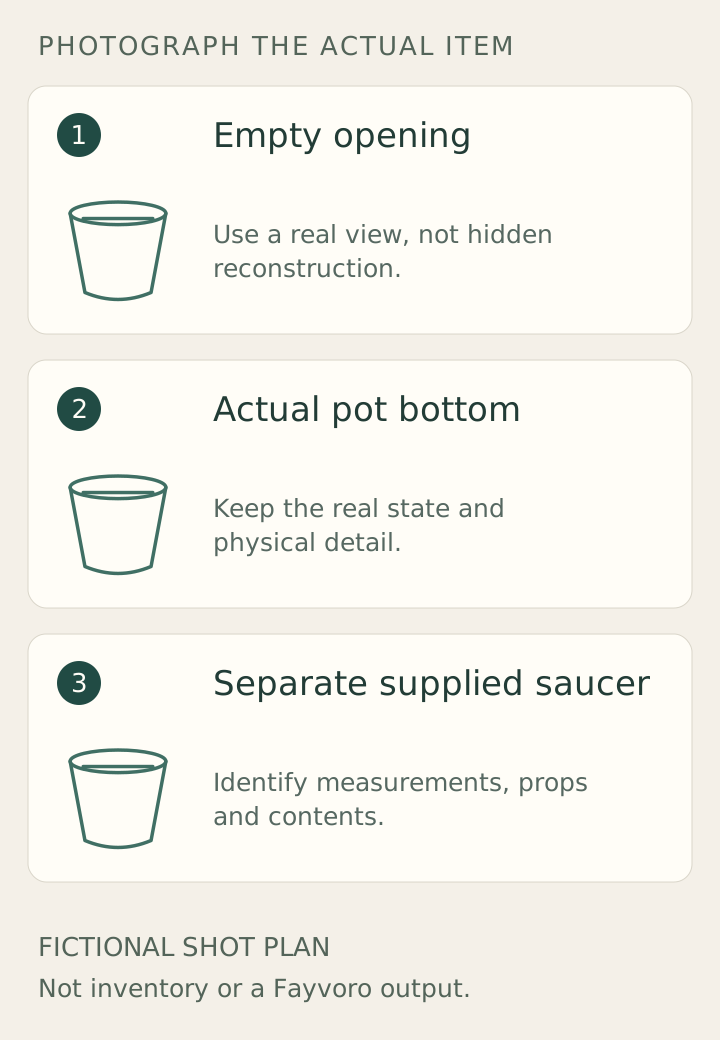
02 / A PRACTICAL WORKFLOWSTART WITH YOUR PHOTO
01Identify the pot construction with real views
Photograph the actual planter empty, then expose the bottom without damaging it. Show real drainage holes, a sealed base or any removable plug as fitted to that unit. A dark spot in a styled front view is not enough to establish a through-hole.
If a saucer is supplied, show it both separated and in its normal relationship to the pot. IKEA’s MUSKOTBLOMMA example describes its drain hole and matching saucer separately from the pot’s dimensions. Do not add a saucer to every photograph if your offer is a pot alone.
Measure the space a nursery pot uses
Record the inner opening and usable depth separately from the outside body diameter. For tapered pots, the top opening is not the same as the narrower internal base. If you show a real nursery-pot fit, use an identified pot and record the tested dimensions rather than claiming any similarly named size will fit.
State whether the pictured plant, soil, liner, drainage plug and saucer are included. Decorative planted images often conceal the insert and base. Material, outdoor use, frost resistance and waterproofing must remain tied to verified specifications; foliage and a garden background cannot establish them.
Keep the optional composition empty and inspectable
Upload a clear actual empty-pot photo to Fayvoro and request a simple shelf setting. Check that the lip, base, taper and any visible separate saucer remain plausible. The model may add plants or invent a hole; those changes cannot be used to answer the buyer’s construction question.
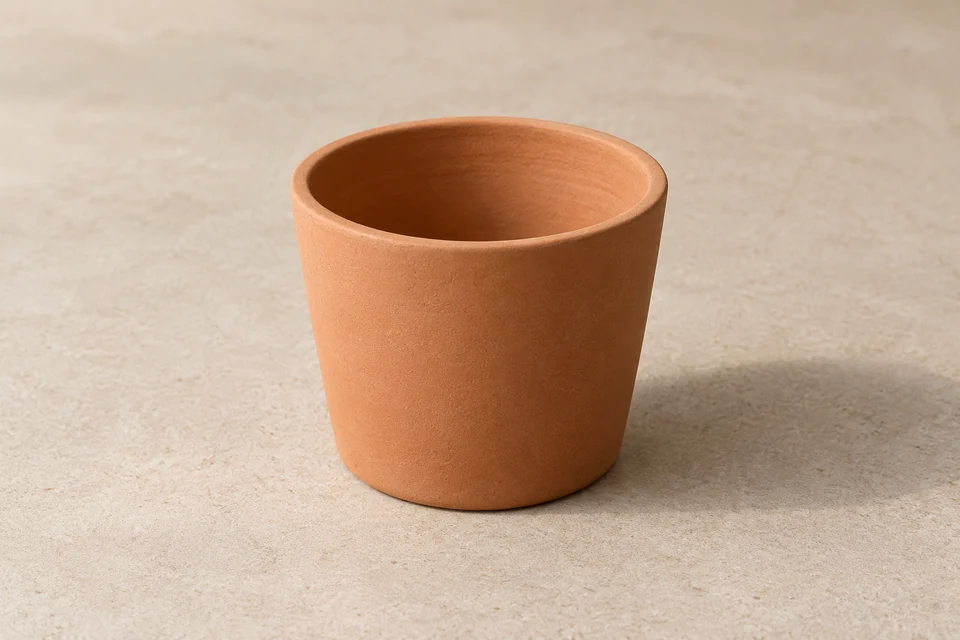
Retain the actual bottom and fit views if you use a reviewed secondary scene. For a planted demonstration, photograph the real assembly yourself. The editorial concept on this page is only a composition reference and does not verify drainage, inner dimensions or water management.