All product image guides Picture Frame Product Photography

Separate the frame’s outside size from the picture it accepts.

A framed print can hide both the frame’s construction and whether artwork is included. Give a frame gallery a real front view, profile and rear record, then explain the picture size with and without its mount. A room concept is not a compatibility measurement.

Explore a scene from your real photo Two free credits when you sign up. Review the result before publishing.
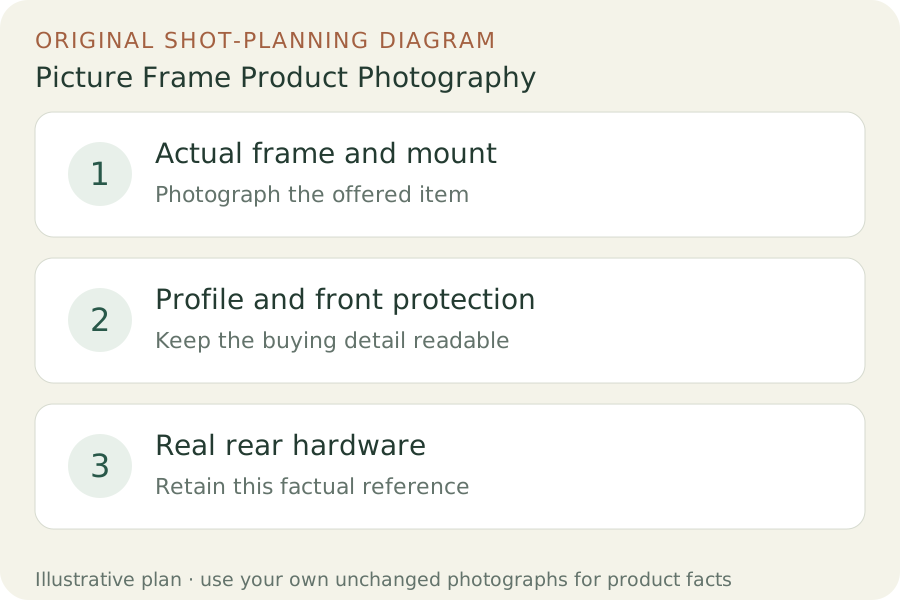
Original teaching diagram: Actual frame and mount, Profile and front protection, Real rear hardware
EDITORIAL CONCEPT
01 / EXAMPLEILLUSTRATIVE CONCEPT
What this shows

Give each photograph one clear job.

Use the three labeled views to plan your factual gallery. The outlines show composition roles only; they contain no observed dimensions, verified materials or performance measurements. Keep real photographs beside any secondary scene candidate.

Original teaching diagram: Actual frame and mount, Profile and front protection, Real rear hardware
Editorial conceptOriginal teaching diagram for shot planning. Illustrative outlines, not a photograph of inventory, a Fayvoro output or a customer example.

This image is an editorial concept made for the site. It is not a Fayvoro generation or customer result. AI can change product shape, color, packaging, labels, and text. Check every important detail against the real item.

02 / A PRACTICAL WORKFLOWSTART WITH YOUR PHOTO
01

Name the frame, picture opening and included pieces

Record the selected frame size, finish, front protection and any included mount. State whether the artwork is supplied or only a display sample. Photograph the actual frame with an unobstructed border and a separate mount view where useful. Keep a rights-cleared sample picture distinct from a product being sold as frame-only.

IKEA’s RÖDALM example distinguishes picture dimensions when used with and without the mount. Apply that distinction to your own frame instead of treating outer dimensions as the accepted picture size. Measure or verify the actual opening, profile depth and orientation options. A digitally resized artwork inside a generated frame is not proof that the print physically fits.

02

Show profile, front reflections and rear construction

Take a nearly square front photograph, a real angled profile and an actual rear view. Make the stand, hanger or closure visible where present. Keep each view tied to the same size model; a larger frame may not use the same table stand or rear hardware as a smaller one. Do not invent a hanging method from a similar frame.

Move broad light reflections away from the sample image while keeping the actual front surface believable. Identify whether the protection is the material documented for this offer rather than assuming every clear front is glass. Add real closer views for corners or surface condition. Display props and surrounding wall art should not become included items by implication.

03

Explore a display setting with the real frame as reference

Use one actual rights-cleared frame photograph for a Fayvoro tabletop or room-display scene. Choose a source with the relevant border and mount already visible. Do not use generation to create an unseen rear or a precise wall-size plan. Keep the factual dimensions and hardware photographs in the gallery.

Review border width, corner joins, mount opening, front reflection and artwork. Reject a changed profile, an added stand or a picture that now implies included licensed art. If exact artwork must stay readable, use the unchanged real photograph. The scene should support styling while leaving size compatibility and supplied contents to real records.
Direction to try

A useful starting note.

Use this as a starting point, then adjust it for your own product. No prompt can guarantee exact product details.

Use my actual picture frame photograph for one quiet display-scene candidate. Keep the real frame border and visible mount unobstructed with soft light. Add no artwork, hanger, stand or extra frame. The visible picture is a styling sample unless my offer includes it; I will compare the physical construction with the original.
Before you publish

Check the details.

  • Outer frame size and accepted picture dimensions are distinguished.
  • Mount inclusion and with/without-mount fit are stated.
  • Artwork is supplied or clearly identified as an excluded sample.
  • Profile and rear hardware belong to the same actual frame model.
  • Generated room is not used as a scale or hanging-compatibility plan.
Common questions

A few things to know.

Does the frame’s outside size equal the picture size?

Do not assume it does. State the actual accepted picture dimensions, including how an included mount changes the opening.

Can I show artwork in a frame-only listing?

Use rights-cleared imagery and make its excluded sample status clear. Keep the frame and included components visible enough to inspect.

Can Fayvoro add the correct rear stand from a front image?

An invented rear is not evidence of supplied hardware. Photograph the actual back of the selected frame model.

Make your image
with intention.

Explore a scene from your real photo