All product image guides Phone Case Product Photography

Make the phone model and its openings unmistakable.

Two cases can share a color and rear design while fitting different phones. A useful listing separates the exterior artwork from the exact camera, control and charging openings a buyer needs to verify.

Explore a scene from your phone case photo Two free credits when you sign up. Review the result before publishing.
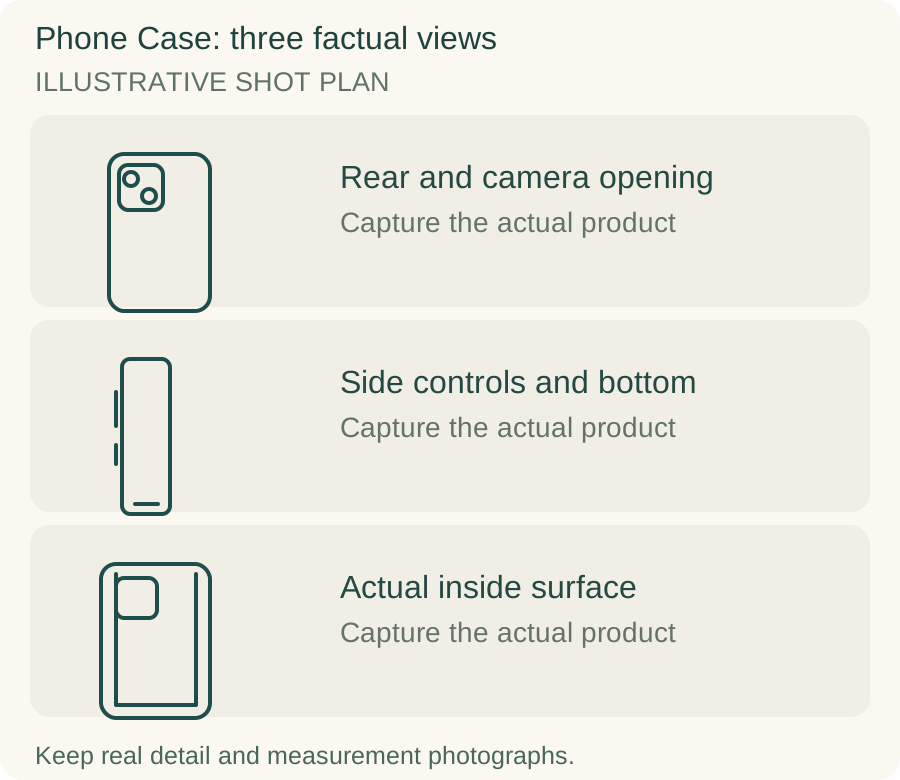
Original teaching diagram for phone case: Rear and camera opening, Side controls and bottom, Actual inside surface
EDITORIAL CONCEPTOriginal illustrative shot plan. These outlines are not photographs of stock, measured technical drawings, a Fayvoro output or a customer example.
01 / EXAMPLEILLUSTRATIVE CONCEPT
What this shows

Three different jobs for a phone case gallery.

Use the rear and camera opening, side controls and bottom and actual inside surface panels to plan separate actual-product captures. The teaching outlines contain no observed dimensions, verified specifications or tested performance. They do not replace your real photographs.

Original teaching diagram for phone case: Rear and camera opening, Side controls and bottom, Actual inside surface
Editorial conceptOriginal illustrative shot plan. These outlines are not photographs of stock, measured technical drawings, a Fayvoro output or a customer example.

This image is an editorial concept made for the site. It is not a Fayvoro generation or customer result. AI can change product shape, color, packaging, labels, and text. Check every important detail against the real item.

02 / A PRACTICAL WORKFLOWSTART WITH YOUR PHOTO
01

Build a model-specific reference set

Give each phone-model variant its own source photographs and SKU record. Take an unobstructed rear view, an inside view and a low side view of the real case. If you fit a phone for the shoot, verify its exact model first. A phone silhouette from a nearby generation can conceal a wrong button location even when the case seems to fit in an overview.

Spigen’s model-specific listing separates rear, inner, side and camera-control details. Use that image-role separation when planning your own gallery without borrowing its artwork or specifications. The variant selector should point to the photographed model, including a different camera opening or additional control cutout where relevant. Do not silently reuse a rear design image across incompatible case molds.

02

Use low angles to expose the important edges

Photograph the camera rim from a shallow side angle, then the charging opening and side-button covers. Diffuse the light enough to see a clear or glossy edge without flooding it with reflections. Keep the opening in focus; a deep shadow inside a port can make an incorrectly placed cutout look acceptable. Take a separate close-up if the case uses an open cutout instead of a button cover.

Show the actual interior and any supplied insert or attachment as its own frame. Do not infer magnetic strength, drop protection or charging performance from a visible ring or a raised edge. Those features need specifications or appropriate real evidence. Mark the phone and charger as demonstration props when they are not included in the case offer.

03

Keep an AI scene separate from compatibility evidence

A Fayvoro desk scene can explore a presentation for one case source. It should not be used to reconstruct unseen cutouts, add a different phone or establish that an accessory works. Choose a source with the most important opening already visible and keep the real inside and edge photographs available to the buyer.

Compare every camera hole, speaker opening, control cover and printed motif with the original. Pay particular attention to mirrored designs and a camera block that has gained an extra hole. If a generated phone is inserted into the case, treat that fit as unverified and use a real fitted photograph instead. Reject the scene if its physical construction changes.
Direction to try

A useful starting note.

Use this as a starting point, then adjust it for your own product. No prompt can guarantee exact product details.

Use my photo of this exact phone case for a simple secondary desk scene. Keep the case empty and its rear design and camera opening fully visible. Add no phone, charger, magnetic ring, new button or extra cutout. I will verify every edge against the source.
Before you publish

Check the details.

  • Selected phone model matches the photographed case mold.
  • Camera opening, side controls and bottom cutouts match the original.
  • Inside view documents any real insert or ring.
  • Phone and charging accessories are labeled as props when excluded.
  • Fit, charging and protection claims have evidence beyond a generated scene.
Common questions

A few things to know.

Can I use one case image for several phone variants?

Only if it truthfully represents the selected variant. When the mold, openings or controls differ, make a separate factual image set and test the variant-to-image mapping.

Does a visible magnetic ring prove accessory compatibility?

No. It shows an appearance. Compatibility and performance need verified product information or a relevant real test.

Can Fayvoro add a phone that accurately fits the case?

Accurate physical fitting is not demonstrated here. Photograph the actual case on a verified compatible device if that view is needed.

Make your image
with intention.

Explore a scene from your phone case photo