All product image guides Keyboard Product Photography

Keep the key layout readable enough to choose the right version.

A keyboard scene can look complete while showing the wrong Enter key, legends or number pad. Build a factual overview of the selected layout and supplied kit before exploring a secondary workspace image.

Explore a scene from your keyboard photo Two free credits when you sign up. Review the result before publishing.
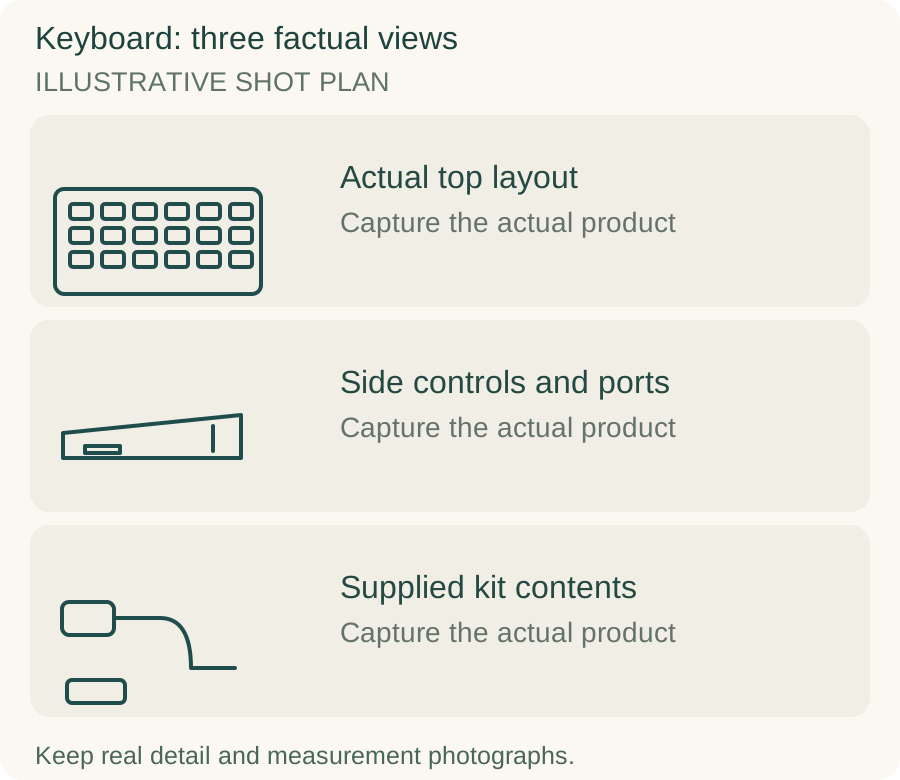
Original teaching diagram for keyboard: Actual top layout, Side controls and ports, Supplied kit contents
EDITORIAL CONCEPTOriginal illustrative shot plan. These outlines are not photographs of stock, measured technical drawings, a Fayvoro output or a customer example.
01 / EXAMPLEILLUSTRATIVE CONCEPT
What this shows

Three different jobs for a keyboard gallery.

Use the actual top layout, side controls and ports and supplied kit contents panels to plan separate actual-product captures. The teaching outlines contain no observed dimensions, verified specifications or tested performance. They do not replace your real photographs.

Original teaching diagram for keyboard: Actual top layout, Side controls and ports, Supplied kit contents
Editorial conceptOriginal illustrative shot plan. These outlines are not photographs of stock, measured technical drawings, a Fayvoro output or a customer example.

This image is an editorial concept made for the site. It is not a Fayvoro generation or customer result. AI can change product shape, color, packaging, labels, and text. Check every important detail against the real item.

02 / A PRACTICAL WORKFLOWSTART WITH YOUR PHOTO
01

Photograph the exact assembled or barebone offer

Record layout, language legends, switch option and assembly state with the SKU. Take a true top view where every key position can be inspected, including the Enter key, shift keys and any number pad. For a barebone offer, photograph what actually ships instead of filling it with keycaps and switches that are not included.

Keychron publishes separate ANSI, ISO and JIS plate files for a model. The practical lesson is that a product name alone does not identify the physical layout. Keep a distinct real reference for each offered arrangement. If keycaps are optional styling parts, label them and retain a factual contents photograph of the selected kit.

02

Separate hardware detail from a connection claim

Photograph side switches, the actual port and the underside label without turning the product away so far that the label becomes unreadable. Add a side profile for key height and case slope. Keep the lighting consistent with the top view so that the keycap colors remain comparable. A macro of a port should show its shape, not just a dark recess.

Arrange the supplied cable, receiver, tools and spare keys in a real contents view. State each item’s included status and use documentation for supported modes and operating-system behavior. A visible receiver or wireless icon is not a connectivity test. Lighting demonstrations should come from the actual keyboard in the actual state being described.

03

Explore the desk while guarding the key legends

Use a clean real top or three-quarter photograph to explore a workspace scene in Fayvoro. The service does not generate reliable layout diagrams, preserve all legends exactly or establish switch feel and latency. Keep the factual top view as the buyer’s layout reference. Do not replace a real lighting photograph with imagined illumination.

Count keys row by row in a candidate and compare the Enter shape, space bar, legends, knob and number pad. Watch for merged keys and text that looks plausible only at thumbnail size. Reject a scene with changed layout even if the overall board color is correct. A generated monitor connection or cable routing is presentation, not proof of supported connectivity.
Direction to try

A useful starting note.

Use this as a starting point, then adjust it for your own product. No prompt can guarantee exact product details.

Place the keyboard from my actual photograph in a simple uncluttered desk scene. Keep the visible key arrangement and case outline unobstructed. Add no new knob, number pad, cable or glowing keys. I will inspect all key legends and hardware against the real source.
Before you publish

Check the details.

  • Selected layout and language legends match the factual top view.
  • Assembled or barebone state accurately describes the offer.
  • Real side controls, port and underside label are documented.
  • Supplied accessories are counted separately from styling props.
  • Generated key text, row count and lighting are checked at close zoom.
Common questions

A few things to know.

Can an AI desk image replace a layout diagram?

No. Preserve a factual top photograph or authorized accurate diagram for the selected layout. Generation can change key shapes, positions and legends.

How should I photograph a barebone keyboard?

Show the supplied assembly state and real kit contents. If you also show a finished build, label its added parts and do not imply they are included.

Does a visible wireless receiver prove the connection works?

No. It documents a component. Supported modes and operation require product information or an appropriate real test.

Make your image
with intention.

Explore a scene from your keyboard photo