02 / A PRACTICAL WORKFLOWSTART WITH YOUR PHOTO
01Prepare the actual garment and support
Record the SKU, size, color and intended shape. Use a support appropriate for the garment rather than stretching or pinning it into an inaccurate silhouette. Steam and arrange it as appropriate for its material, while retaining details buyers need to judge.
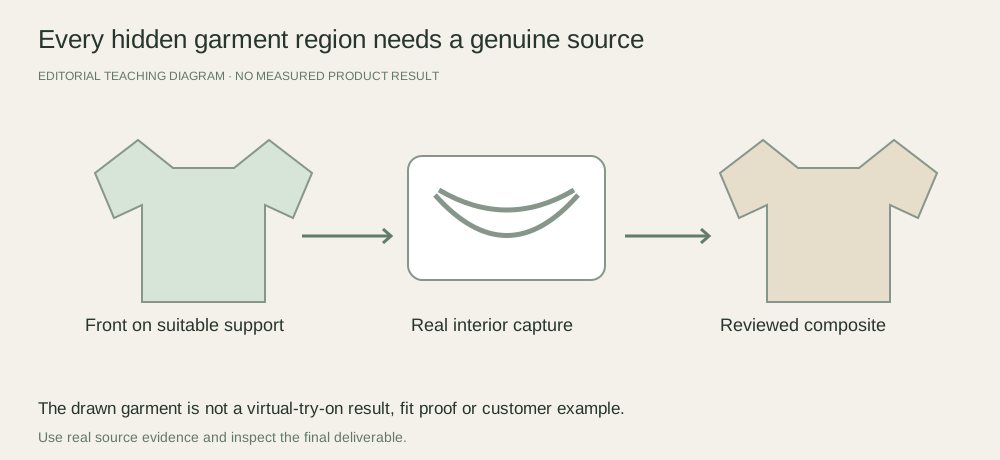
Orbitvu’s own workflow explains photographing on a mannequin and removing the support in post-production. Detachable support sections can expose more of the real neckline and reduce the amount that needs compositing. This guide does not recommend buying a specific mannequin or promise a fit outcome.
Capture interior evidence with matching conditions
Plan real source views for the collar, inner back, lining or hem that the support hides. Keep lighting and camera geometry as compatible as possible with the main view. Document which source supplies each area so the editor does not have to guess construction.
Do not mirror a visible seam to invent the hidden side, manufacture a label or assume an unphotographed lining. If the necessary area is missing, capture it. A clear inside-detail photograph can be more useful than an elaborate composite when the sources do not join convincingly.
Review the composite as a garment
Inspect neckline joins, seam continuation, symmetry, sleeve openings and fabric volume. Check that cleanup has not removed stitching or changed the cut. Keep a real detail or on-body image for fit information where needed; an invisible support does not prove how a particular person will wear the garment.
Fayvoro does not currently provide a demonstrated ghost-mannequin workflow, precise garment masking or virtual try-on. Use a suitable editing process and genuine sources for this deliverable. A separate scene may be explored only if its product details can be reviewed independently.