02 / A PRACTICAL WORKFLOWSTART WITH YOUR PHOTO
01Photograph the hook and shoulder geometry
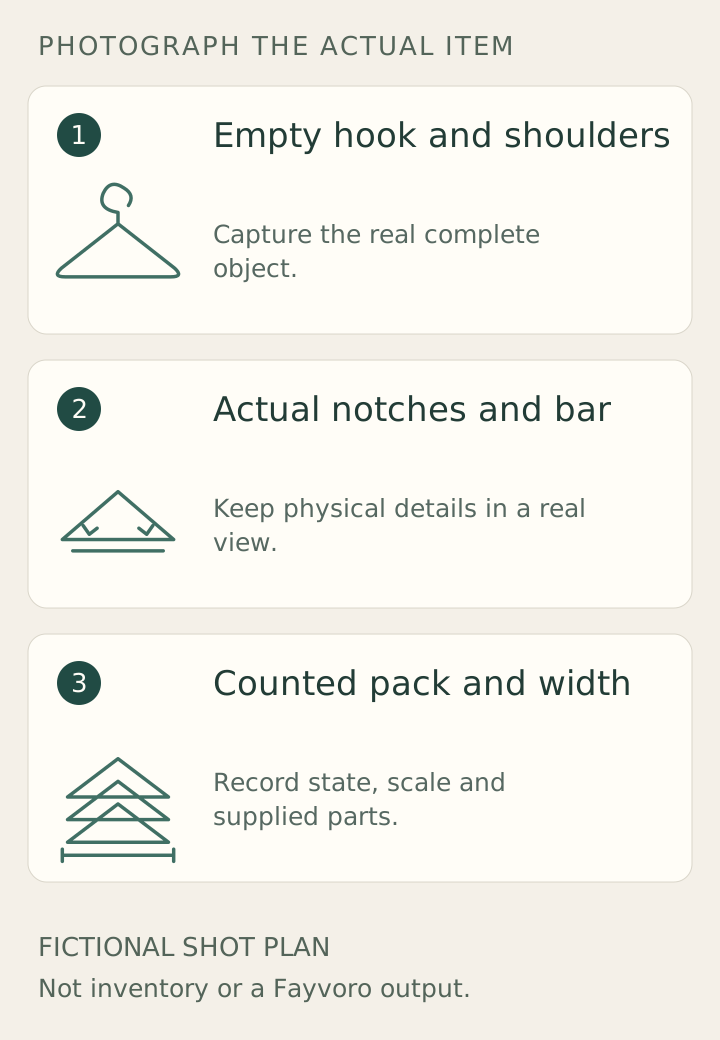
Capture the actual empty hanger straight on and from a shallow side angle. Keep the hook, both shoulder ends, strap notches and any trouser bar visible. A narrow front silhouette can conceal curved shoulders or a thick padded section; the second angle should resolve that construction rather than exaggerate it.
IKEA’s BUMERANG example separately lists grooves, width, thickness and pack quantity. Use those categories to check your own hanger, not to copy its measurements or material. A fixed hook, rotating hook, clip hanger and notched wooden hanger need different real detail views and an accurate product title.
Measure the support and count the sale pack
Record the actual widest shoulder span separately from height including the hook and from thickness. If garment fit matters, photograph the specific garment sitting normally on the real hanger and explain the contact points. Do not stretch clothing or crop the shoulder tips to make a poor fit look natural.
Arrange the complete pack so every hanger can be counted, or provide a clear count record with a representative-detail view. Distinguish optional shoulder covers, clips and display rails from included pieces. A heavy coat staged on one item is not a load rating, anti-slip test or guarantee against shoulder marks.
Keep AI from redesigning the support
Use an owned empty-hanger photograph for a Fayvoro wardrobe-background trial. Compare the hook direction, shoulder curve, notches and bar against the source. AI may turn a fixed hook into an apparent swivel, add trouser clips or produce an impossible connection between the hook and wooden body.
Retain the real empty front, side and pack photographs in the listing. Reject extra garments or hangers that change the counted offer. The fictional editorial plan is a composition aid, not a real support test or stocked pack, and the styled scene cannot establish strength or long-term garment care.