02 / A PRACTICAL WORKFLOWSTART WITH YOUR PHOTO
01Photograph the empty holder in each permitted role
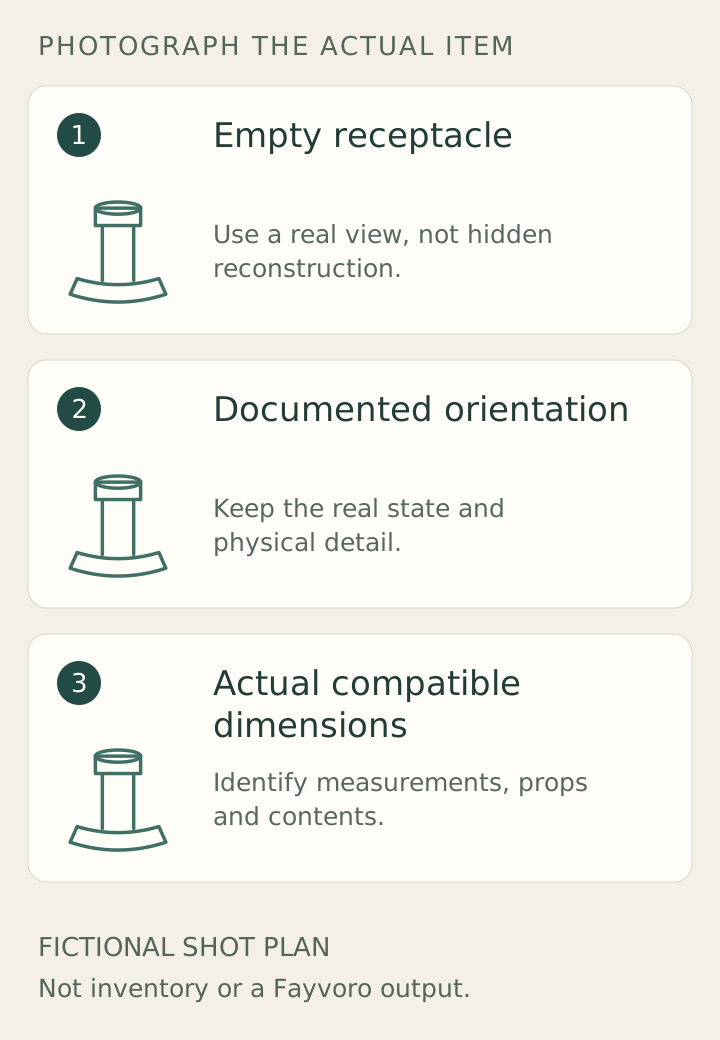
Capture the actual item empty so its socket or tealight well is visible. Include the base and any removable insert. If the design is reversible, show both real orientations separately instead of duplicating one shape and adding a different candle digitally.
IKEA’s STOCKHOLM 2025 example explicitly distinguishes a taper side and a tealight side. That is a feature of the particular holder, not a rule for yours. Do not invert a holder that is not designed for it, or use image styling to imply a second unverified function.
Separate compatibility, included items and condition
Record the checked opening dimensions and any relevant insertion depth using a real measurement view. Follow the maker’s candle-type and placement instructions. A loose or implausibly deep generated candle cannot establish fit, and an attractive scene cannot prove stability, temperature behaviour or fire safety.
Count the holders actually sold and identify candles as props unless included. Photograph chips, repairs or uneven bases on the exact offered unit. Keep a real empty view for construction; if a real unlit candle demonstrates fit, identify its verified dimensions and keep flame claims out of that fit record.
Begin the scene with an empty or unlit reference
Upload a clear owned photograph to Fayvoro and explore one simple tabletop with the original holder fully visible. Request no flame, extra candles or new sockets. Compare the result with the real base, opening and rim; reflective metal and symmetric shapes can still be reconstructed incorrectly.
Reject a floating candle, changed well or duplicated holder. Retain the actual socket and measurement views if using a reviewed composition. A fictional warm-light scene is direction for styling, not evidence that the support is safe under a lit candle or compatible with a particular candle size.