PRODUCT STORIES / A CREATIVE GUIDE

Camera Strap Product Photography

Document both attachment ends before the carrying scene.

Camera straps are bought for a particular attachment system, adjustment and supplied hardware. Show both actual ends and the complete strap path before styling it beside a camera. A similar-looking clip or webbing loop does not establish compatibility, safe loading or correct assembly.

Sign up for 3 free credits · Your starting direction is included.See the example
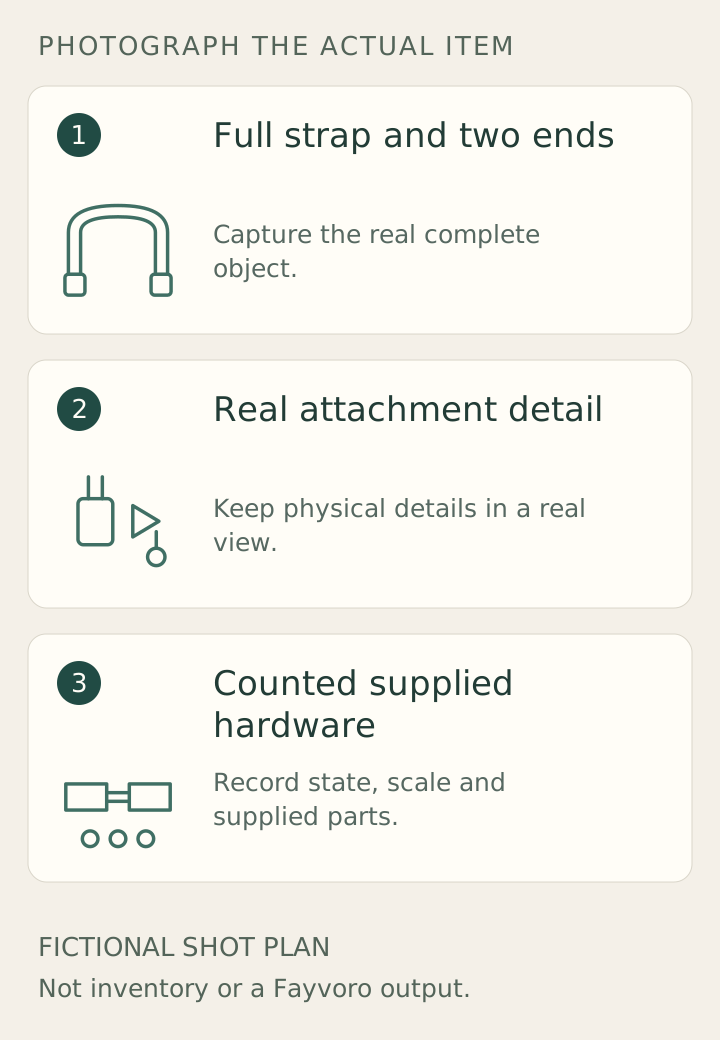
Original teaching plan: Full strap and two ends, Real attachment detail, Counted supplied hardware
EDITORIAL CONCEPT
01 / EXAMPLEILLUSTRATIVE CONCEPT
What this shows

Give each factual view a separate job.

These original schematic drawings organize a real shoot. Their shapes and labels are illustrative; they are not specifications for a manufactured item.

Original teaching plan: Full strap and two ends, Real attachment detail, Counted supplied hardware
Editorial conceptOriginal fictional shot plan, not an inventory photograph, a Fayvoro output or a customer result. Photograph the actual item for construction, dimensions, included parts and performance.

This image is an editorial concept made for the site. It is not a Fayvoro generation or customer result. AI can change product shape, color, packaging, labels, and text. Check every important detail against the real item.

YOUR STARTING IDEA

Take the direction. Make it your own.

Make one plain surface around my actual unattached camera strap. Add no camera, body, load, anchor or new connector. I will inspect the two ends, adjustment hardware and webbing route against the source.
Add your reference photo in the studio, then adjust the direction.
Before you publish

Compare the result with your real product and your destination’s requirements.

  • Both real attachment ends are documented.
  • Spare anchors and assembled connectors are counted correctly.
  • Length states and adjustment hardware are recorded.
  • Compatibility and load claims come from verified instructions.
02 / A PRACTICAL WORKFLOWSTART WITH YOUR PHOTO
01

Lay out the actual interfaces

Photograph the full uncoiled strap and both ends in one coherent record. Add close-ups of the actual loops, split rings, connectors or anchor housings fitted to the sold version. Keep separate loose anchors beside their matching receiver rather than hiding them under the strap.

Peak Design’s Leash example separates adjustment and anchor components. That design is a reference for identifying distinct parts, not evidence that your strap uses the same connector. Record the real hardware and avoid presenting a generic snap clip as an interchangeable camera attachment.

02

Identify supplied parts and adjustment state

Count every supplied anchor, plate and accessory, distinguishing spares from assembled strap ends. Photograph the actual adjustment hardware and state the measured length configuration. A coiled product shot is useful for an overview but cannot establish the available end-to-end length or usable adjustment range.

For compatibility, check the actual camera attachment and the strap maker’s instructions. If a real attached demonstration is appropriate, show the connection clearly and identify the camera as a prop. A photograph alone cannot establish load rating, secure latching or universal camera fit; do not stage an unsupported load to imply one.

03

Keep generated hardware under close review

Use an owned unattached strap photo in Fayvoro and request one plain tabletop. Inspect connector count, webbing route, buckles and the two ends. AI may merge a loose anchor into its housing, add a clip or make the strap into a closed belt.

Retain actual attachment and included-part photographs even if a secondary scene is selected. Never use an imagined carrying shot as assembly instructions or strength evidence. The guide’s schematic identifies photo roles only; it does not show a verified connector mechanism or authorize a particular camera setup.

Common questions

A few things to know.

Can any similar clip replace an anchor?

Do not infer interchangeability from appearance. Follow verified hardware and attachment instructions for the actual strap.

Does a carrying scene prove strength?

No. Use the maker’s checked specifications and appropriate real evidence; AI imagery is not a load test.

Make your image with intention.