02 / A PRACTICAL WORKFLOWSTART WITH YOUR PHOTO
01Decide whether you need a product scene or a finished banner
If you need a sale template with editable prices, a store header, a countdown or a finished ad, begin in the tool that will own that layout. Fayvoro creates product image candidates; it does not lay out an editable Black Friday banner, configure discounts or publish advertisements. Use it when your missing piece is the product photograph within that design.
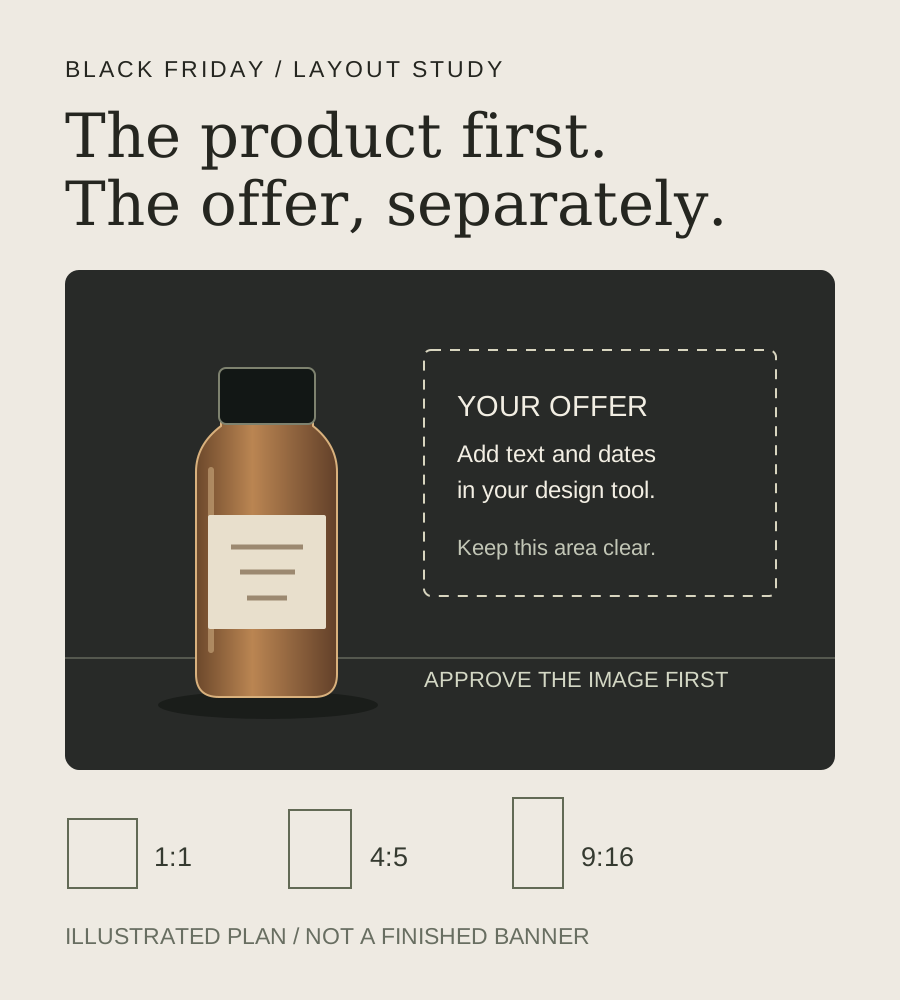
For a single item, try a dark neutral studio direction with a visible edge light and one clear subject. A dark background is optional: pale products can work on charcoal, while a dark bottle may need a lighter surface to keep its outline readable. Avoid busy gift piles, added stock, and props that compete with the offer.
Reserve copy space and plan the crop before generating
Choose the destination first. For a square tile, place one product away from the edge and leave an open corner. For a 4:5 feed layout, leave space above the product. For a 9:16 story, test the actual placement interface so its controls do not cover the label or call to action. The supported ratios are starting formats, not a guarantee of every platform’s current specifications.
Fayvoro does not offer a wide landscape ratio. If your store needs a horizontal banner, assemble one in a separate editor and position an approved product image within it. A square image stretched across a wide header can distort the product or cut away the subject. Preview the final layout on mobile as well as desktop.
- Image asset: approved product, clear outline and intentional negative space.
- Copy layer: your actual offer, currency, eligibility, dates and call to action.
- Destination check: the final placement, linked page and configured store offer agree.
Prepare Black Friday and Cyber Monday as separate copy versions
In 2026, Black Friday is November 27 and Cyber Monday is November 30. You can reuse an approved product scene when the same item and styling remain relevant, but keep the two promotions in separate layout files. Review each version’s wording, time zone, stock and destination before it is scheduled.
Open the studio in photo mode, choose a base scene and paste the direction below into extra instructions. Inspect one output against the real product before making more. Add promotional text in your editor after approval. Record the source photo and final asset name with the campaign so a later offer revision does not accidentally use the wrong product image.