02 / A PRACTICAL WORKFLOWSTART WITH YOUR PHOTO
01Choose transmission, rim or silhouette deliberately
Name the job before moving the light: reveal a clear wall, outline a dark edge or create a silhouette for an internal concept. These are different results. A silhouette may communicate shape while withholding almost all the facts on the front of a package.
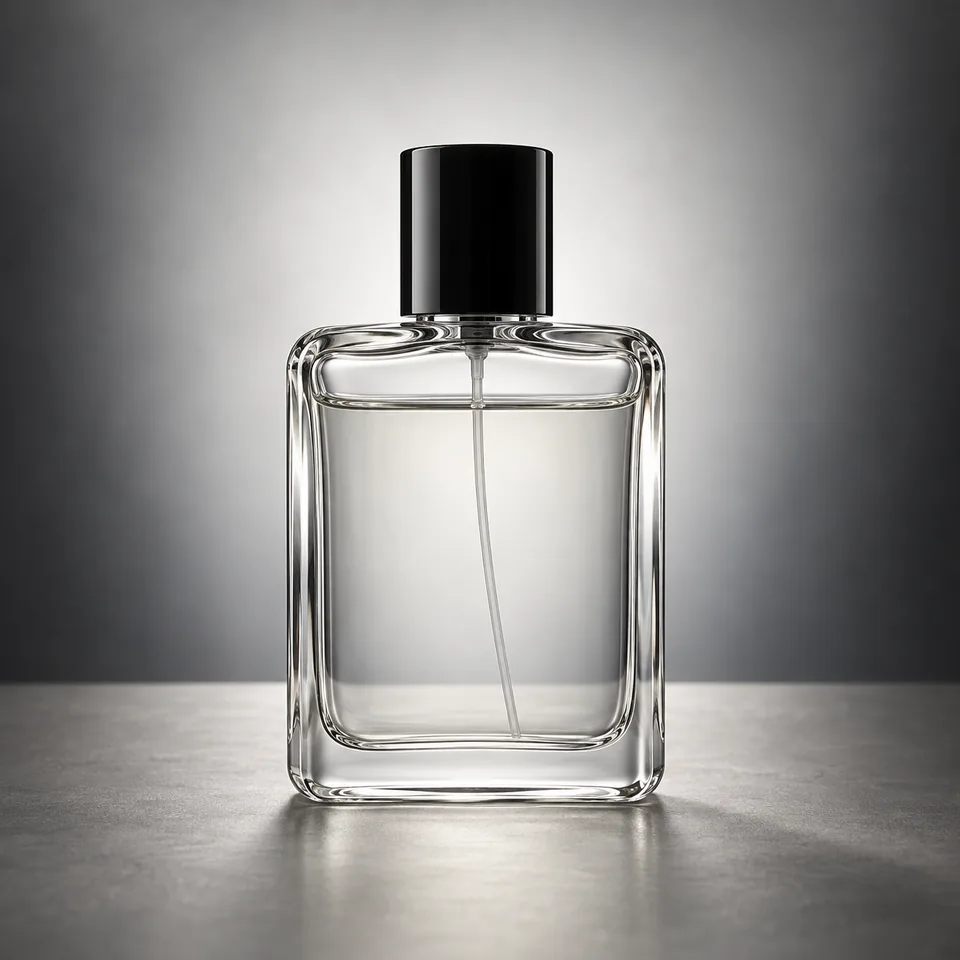
Start with the real item and a reference showing its cap, label and actual fill level. Use suitable equipment and a stable surface. Photograph liquids in their genuine state; a pleasing glowing color is not evidence of formulation or transparency.
Make a backlight test with controlled spill
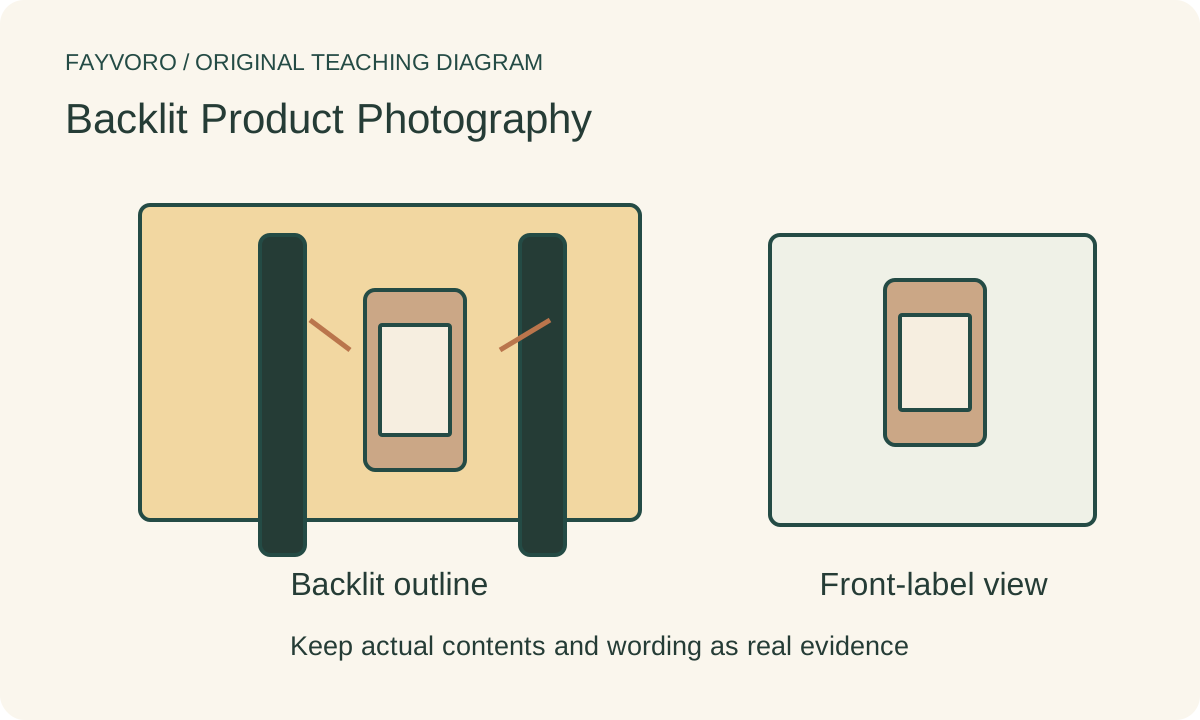
Position a suitable source behind the item, keeping direct light out of the lens where possible. Use securely supported flags or cards to control spill and edge separation, then inspect flare and the whole outline in the captured frame.
Compare one change at a time: background brightness, card position or source distance. Do not brighten the background until the rim disappears. Profoto’s bottle example uses separate lighting jobs, which is a useful distinction rather than a universal equipment recipe.
Give the label its own evidence view
If the backlit frame cannot show accurate front text, retain a separate front-lit real photograph. Adjusting one light for the label may change the transmitted appearance, so inspect both instead of assuming the same setup can serve every role.
Review edge thickness, cap alignment, liquid level, color and any clear window in the packaging. If you combine real exposures in an editor, retain the source frames and inspect the joins; no measured refraction or compositing result is supplied here.
Use scene direction without treating it as a glass test
Fayvoro is not a transmission, relighting or optical simulation tool. A generated scene can alter glass thickness, liquid color and reflections. Try a secondary direction from a clear photo, then reject changes that misrepresent the actual SKU; use real capture for factual views.