All product image guides Apron Product Photography

Show the apron body separately from the straps that make it fit.

A neatly tied apron can hide the strap length, rear construction and pockets a working buyer needs. Photograph those facts before exploring a kitchen composition or adding a permitted real worn example.

Explore a scene from your apron photo Two free credits when you sign up. Review the result before publishing.
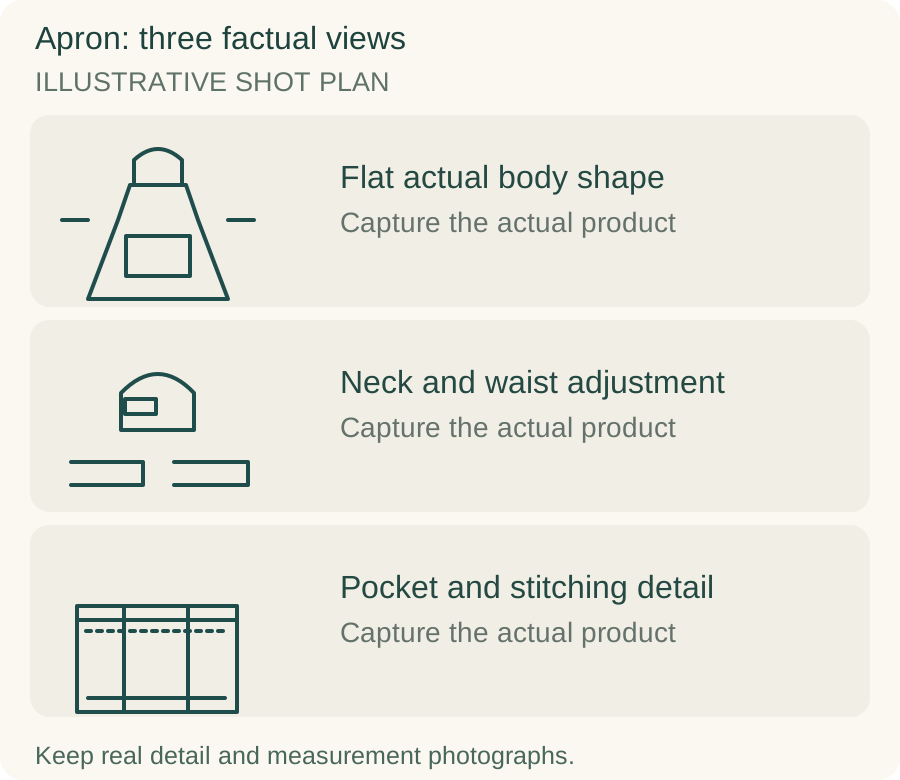
Original teaching diagram for apron: Flat actual body shape, Neck and waist adjustment, Pocket and stitching detail
EDITORIAL CONCEPTOriginal illustrative shot plan. These outlines are not photographs of stock, measured technical drawings, a Fayvoro output or a customer example.
01 / EXAMPLEILLUSTRATIVE CONCEPT
What this shows

Three different jobs for a apron gallery.

Use the flat actual body shape, neck and waist adjustment and pocket and stitching detail panels to plan separate actual-product captures. The teaching outlines contain no observed dimensions, verified specifications or tested performance. They do not replace your real photographs.

Original teaching diagram for apron: Flat actual body shape, Neck and waist adjustment, Pocket and stitching detail
Editorial conceptOriginal illustrative shot plan. These outlines are not photographs of stock, measured technical drawings, a Fayvoro output or a customer example.

This image is an editorial concept made for the site. It is not a Fayvoro generation or customer result. AI can change product shape, color, packaging, labels, and text. Check every important detail against the real item.

02 / A PRACTICAL WORKFLOWSTART WITH YOUR PHOTO
01

Lay out the complete body and straps

Photograph the actual apron flat with its bib, hem, neck strap and both waist ties visible. Smooth temporary folds without stretching the fabric. Take the reverse as another frame so a shopper can inspect how the adjustment and pockets are attached. An apron tied around a form can conceal missing ties or make a short body appear longer.

Record the chosen size and fabric together with the stock item. Hedley & Bennett describes body dimensions, strap dimensions and pocket construction separately. Use that separation for your own factual shot list rather than applying another apron’s measurements. For custom embroidery, retain an accurate actual stitch close-up and label any design mockup as a preview.

02

Give each measurement and pocket a clear purpose

Measure body width and length with a real tool on the same plane, and state the endpoints. Record the waist-tie length and relevant neck adjustment separately. A size label alone may not explain how a short or tall buyer can wear the garment. Keep a genuine worn photo identified by the actual size and obtain permission for the person’s image.

Photograph the pockets empty and in close-up, then add a separately labeled working example with real tools if useful. Show an actual divided pen pocket or utility loop rather than hiding it behind a towel. Tools are props unless included. A pocket that looks reinforced does not establish its load limit, and a kitchen scene does not prove heat, cut or water protection.

03

Explore a product-only kitchen composition

Choose a real source where the apron body and pocket placement are visible to explore a hook or folded tabletop scene in Fayvoro. Keep the factual laid-out measurement and reverse views. The tool does not verify worn fit, create matching embroidery or test fabric performance. Avoid presenting a generated wearer as a customer or proof of comfortable working movement.

Check neck strap attachment, waist-tie count, pocket positions, seam paths and any embroidery against the source. A generated fold can create an extra pocket or conceal the true hem. Reject changes that affect the sold garment. Do not upgrade stains or wear on a resale apron, and keep care instructions tied to the exact fabric and product label.
Direction to try

A useful starting note.

Use this as a starting point, then adjust it for your own product. No prompt can guarantee exact product details.

Use my actual apron photo for a simple product-only kitchen still life on a plain hook. Keep the body, ties and pocket placement recognizable. Add no person, tool, embroidery or extra pocket. I will compare straps, seams and fabric with the original.
Before you publish

Check the details.

  • Actual body, neck adjustment and both waist ties are documented.
  • Body and strap measurements state their real endpoints.
  • Pocket partitions and loops match the selected apron.
  • Embroidery is a real stitch photo or clearly labeled preview.
  • No generated wearer or kitchen scene is used as protection or fit evidence.
Common questions

A few things to know.

Is the body size enough to explain apron fit?

It leaves out strap length and adjustment. Show the body and fastening dimensions separately and use a genuine size-identified worn view when needed.

Should pockets be photographed full of tools?

Keep an empty construction view first. A labeled real working example can follow, with an explicit statement that the tools are props if they are excluded.

Can an AI kitchen scene prove the apron protects the wearer?

No. Heat, water or other protection requires verified product information and appropriate evidence. A generated kitchen image is visual direction only.

Make your image
with intention.

Explore a scene from your apron photo