All product image guides AI shoe product photography

Shoe product photography starts with the right pair.

Footwear buyers look for shape, materials, and sole details. Start with a clear image of the exact shoe, then use a scene image as an additional view after checking that those details survived.

Stage your sneaker Two free credits when you sign up. Review the result before publishing.
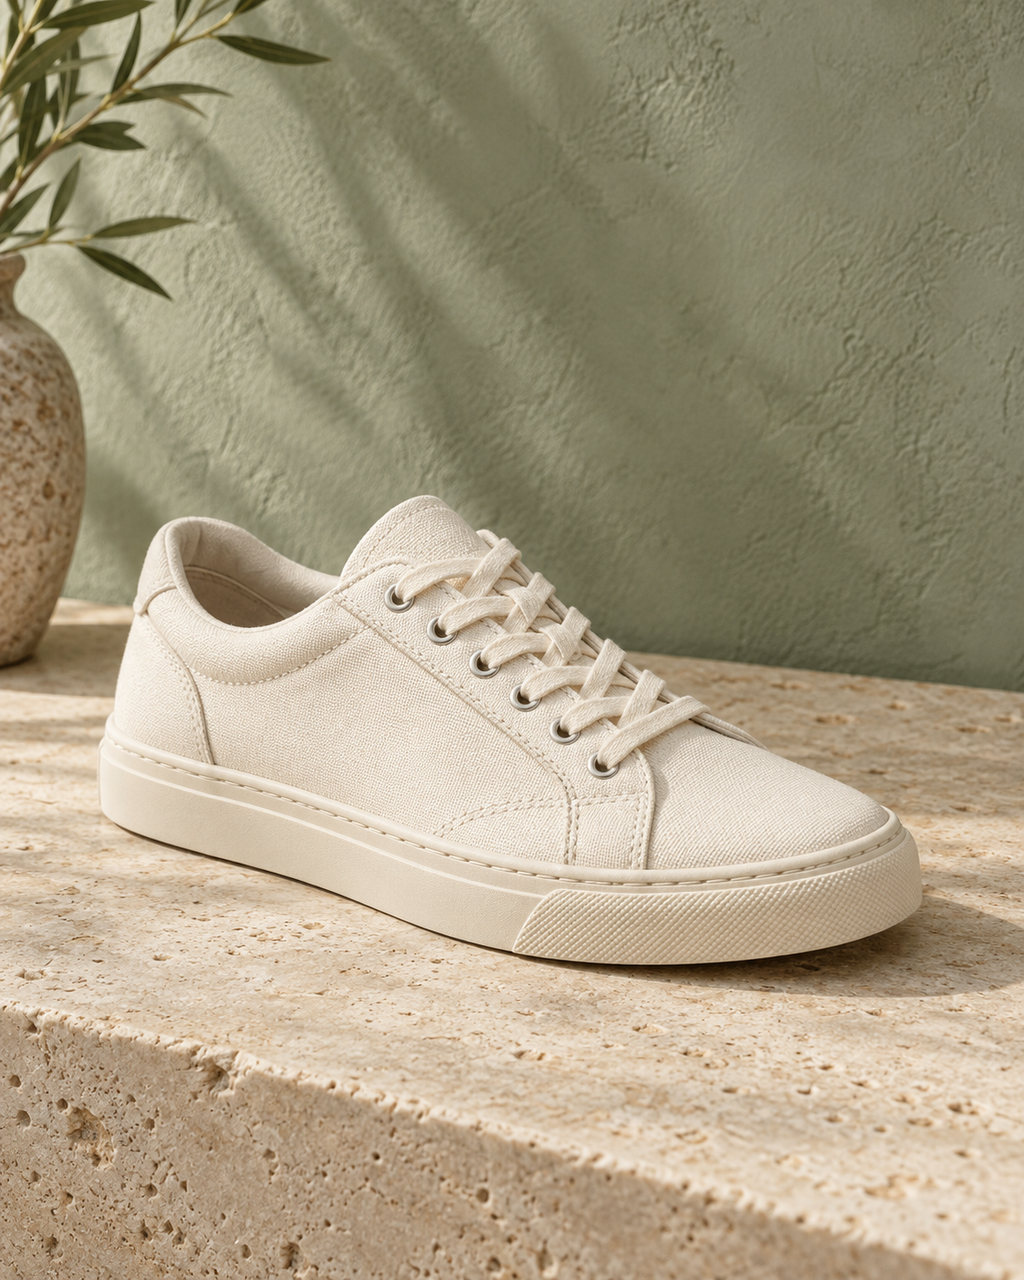
Ivory canvas sneaker on a pale stone step, an editorial concept made for the Fayvoro gallery
EDITORIAL CONCEPT
01 / EXAMPLEILLUSTRATIVE CONCEPT
What this shows

Let the outline lead.

The step and pale background keep the sneaker profile visible. This is editorial inspiration. No live shoe photo-to-scene result or fidelity claim is presented here.

Ivory canvas sneaker on a pale stone step, an editorial concept made for the Fayvoro gallery
Editorial conceptComposition reference only. This sneaker is an editorial concept, not a live Fayvoro generation, customer shoe, or on-foot fit example.

This image is an editorial concept made for the site. It is not a Fayvoro generation or customer result. AI can change product shape, color, packaging, labels, and text. Check every important detail against the real item.

02 / A PRACTICAL WORKFLOWSTART WITH YOUR PHOTO
01

Choose a source angle that reveals the shoe

A clean three-quarter or side photograph can show the toe, laces, side panels, and outsole edge. Capture a separate real sole view if tread matters. When selling a pair, do not rely on one generated shoe to establish left-right consistency.

Show size with real evidence — Choose measured or verified scale views rather than inferred generated proportions.

02

Stage for material, not only mood

Simple steps or a neutral floor can give a sneaker context while leaving room around the silhouette. Use soft light to reveal canvas, suede, or leather texture without shifting the colorway. Keep the outsole and lacing visible instead of hiding them behind props.

  • Set the desired crop before generating: square for a card or portrait for a campaign.
  • Keep a plain real product view available when the channel needs one.
03

Inspect both shape and specifications

Compare toe shape, eyelet count, lace path, panels, stitching, branding, outsole pattern, and heel height with the actual model. A generated image cannot verify fit, size, comfort, or performance. Put those claims in checked product copy rather than inferring them from the scene.
Direction to try

A useful starting note.

Use this as a starting point, then adjust it for your own product. No prompt can guarantee exact product details.

Use my uploaded sneaker photo as the reference. Place the shoe on a clean pale step with soft natural side light. Show the toe, laces, side panel, and sole edge; do not add a logo, person, or second shoe.
Before you publish

Check the details.

  • Toe box, heel, side panel, and outsole match the real model.
  • Lace path, eyelets, stitching, and branding are accurate.
  • Material texture and colorway have not changed.
  • Fit, size, and performance claims are based on real specifications.
Common questions

A few things to know.

Is the sneaker image a live Fayvoro result?

No. It is a labeled editorial concept used to illustrate composition, not a verified generation of an existing shoe.

Can I show how a shoe looks on foot?

This page does not demonstrate accurate on-foot imagery or fit. Use a verified photograph for worn scale, size, and styling claims.

What if the generated sole is different?

Do not use that result as an exact product image. Keep the original sole photograph and retry with a clearer source or a simpler scene.

Make your image
with intention.

Stage your sneaker