All product image guides 3D Printed Product Photography

Make the printed surface understandable before polishing the scene.

A render of a model is not a photograph of the finished print. Small-batch sellers need to show the surface buyers receive, including visible layers and the state of supplied parts. A secondary scene should preserve that story rather than turn the object into a smooth injection-molded product.

Explore a scene from your real photo Two free credits when you sign up. Review the result before publishing.
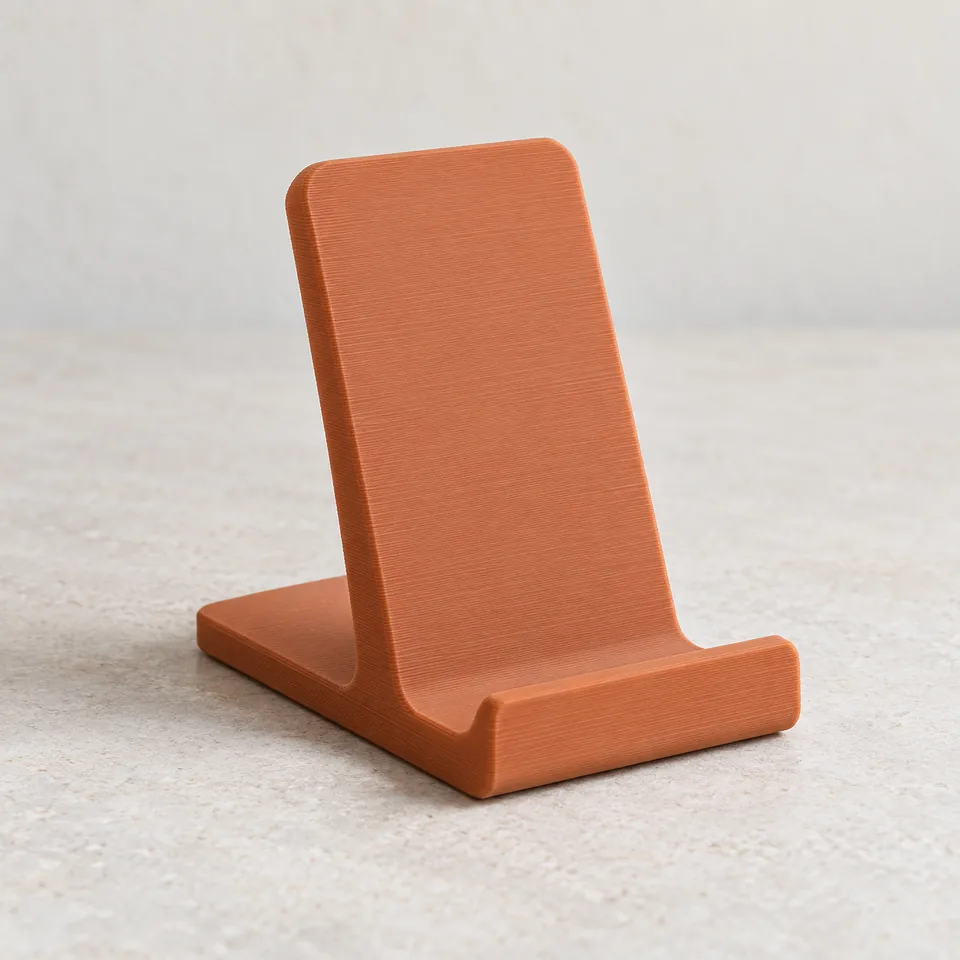
Editorial concept of a small printed object for maker-display planning
EDITORIAL CONCEPTEDITORIAL CONCEPT. Fictional print composition; visible texture is not a dimensional, material or durability test. Not a live Fayvoro result.
01 / EXAMPLEILLUSTRATIVE CONCEPT
What this shows

Give each photograph one clear job.

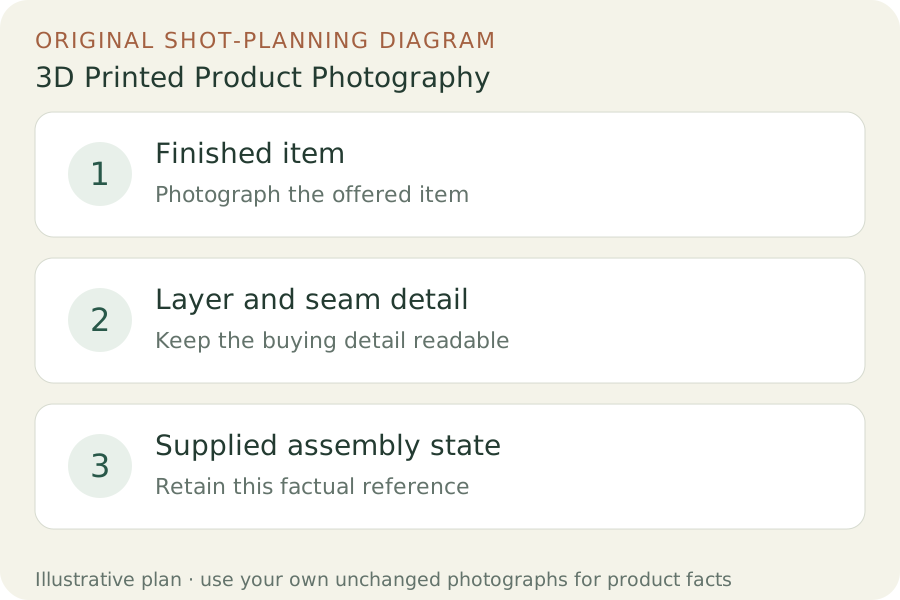
Use the three labeled views to plan your factual gallery. The outlines show composition roles only; they contain no observed dimensions, verified materials or performance measurements. Keep real photographs beside any secondary scene candidate.

Original teaching diagram: Finished item, Layer and seam detail, Supplied assembly state
Editorial conceptOriginal teaching diagram for shot planning. Illustrative outlines, not a photograph of inventory, a Fayvoro output or a customer example.

This image is an editorial concept made for the site. It is not a Fayvoro generation or customer result. AI can change product shape, color, packaging, labels, and text. Check every important detail against the real item.

02 / A PRACTICAL WORKFLOWSTART WITH YOUR PHOTO
01

Photograph the finished unit, not just the model file

Choose a representative finished print from the offer and record the variant, material claim you can substantiate and whether it is supplied assembled. If an item is made to order, explain any documented variation instead of labeling one flawless prototype as every future unit. Keep the model render separate and identify it as a render if it is useful in the listing.

Prusa describes layer and perimeter settings as parts of the print construction. Your photographs need not reproduce printer settings, but they should show the actual resulting surface. Identify the areas most likely to prompt a buyer question: the visible layer direction, a seam, support-contact marks and the joint between separate pieces. Do not infer dimensional tolerances from how smooth a surface looks.

02

Use light to reveal the finish buyers will handle

Take an overall frame with the whole object in view, then a closer surface image with broad side light. Move the light until layer relief is visible without turning a minor texture into a misleadingly deep ridge. Retain both overview and detail so the buyer can locate the photographed area. Record any sanding, painting or finishing that was actually applied to this version.

Lay out the included separate parts when the customer must assemble them. Show the real joint in a second frame if assembly is a buying concern, without implying strength or load capacity. A styled scene with a print carrying a heavy object is not a test record. For anything that needs fit, heat, safety or mechanical evidence, use the appropriate real measurement or documented test.

03

Review the scene for invented manufacturing quality

Use one clear photo of the printed item as the Fayvoro source and ask for a simple maker-desk display. Keep extra fixtures out unless they are actually included. This attempt explores a setting from one image; it does not repair print defects, reconstruct unseen joints or certify that a part fits another object.

Inspect the candidate for erased layers, missing seams, added holes, closed openings, changed wall thickness and a new assembly. If the image looks like a different manufacturing process, keep the real photo instead. A text instruction to retain texture is not a preservation guarantee, and an attractive result is not proof of material, tolerance or durability.
Direction to try

A useful starting note.

Use this as a starting point, then adjust it for your own product. No prompt can guarantee exact product details.

Use my actual finished 3D print photograph for one secondary maker-desk scene. Show the whole object on a neutral matte surface under soft side light. Do not add tools, parts, lettering or load-bearing use. I will compare the visible layers, seams and openings with the real print.
Before you publish

Check the details.

  • The offered version is a finished print, with any renders labeled separately.
  • Visible layers, seams and support-contact areas remain documented.
  • Assembly state and included parts match the actual shipment.
  • Material and tolerance statements come from records, not appearance.
  • Scene props do not imply a strength, heat or fit test.
Common questions

A few things to know.

Can Fayvoro turn a CAD render into proof of a finished print?

No. A generated image from a render remains an illustration, not evidence that the object was manufactured. Photograph a real finished print for the factual listing.

Should I remove all layer lines in the listing?

If those lines are present on the product, removing them changes the finish buyers expect. Use an honest surface photograph and state any finishing process actually applied.

Can the scene confirm that a printed bracket fits?

No. Fit and tolerances require the real parts, measurements or a documented trial. A secondary desk scene cannot certify them.

Make your image
with intention.

Explore a scene from your real photo