02 / A PRACTICAL WORKFLOWSTART WITH YOUR PHOTO
01Keep the original and export a copy
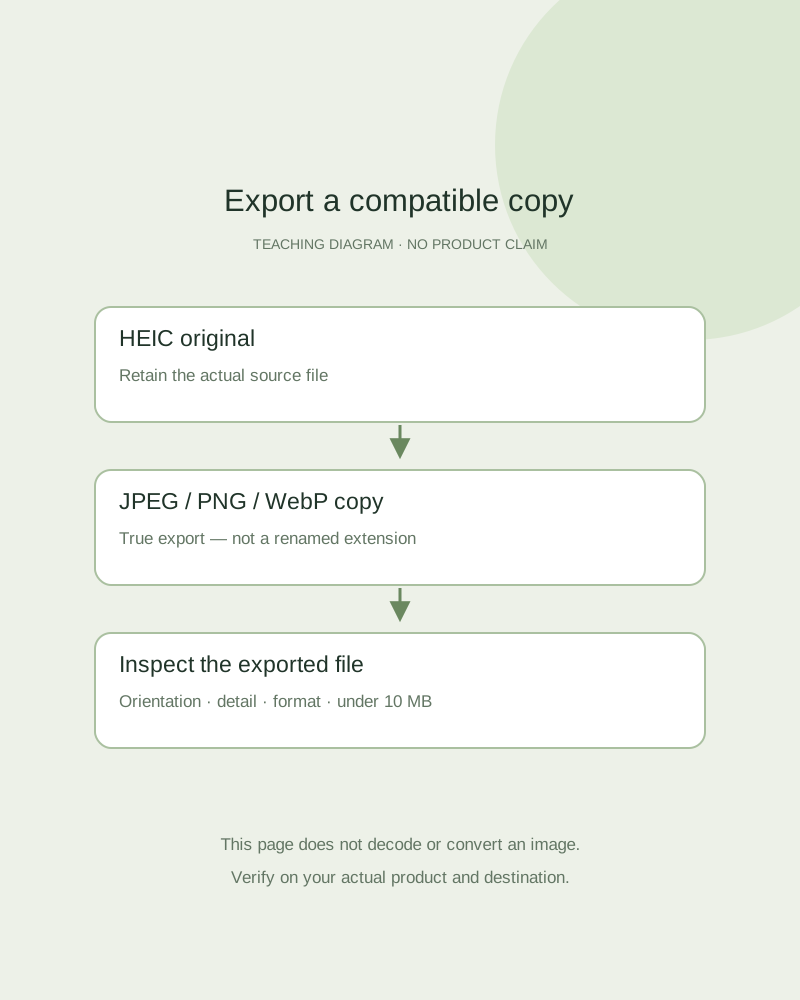
Retain the HEIC original with its product identity. On a Mac, open the file in Preview and use File → Export, then choose JPEG or PNG and a new destination. Apple documents available format options and JPEG quality controls. Use an app that actually decodes and exports the image; renaming .heic to .jpg is not conversion.
On another device, use a trusted local editor or the device’s documented export workflow. Check how a third-party converter handles uploaded files before giving it product photographs. You do not need to upload an unpublished catalog to an unfamiliar site just to change format.
Inspect the exported reference
Open the new file independently and check rotation, crop and the whole product outline. Compare important packaging text and small details with the original. Confirm actual file type, byte size and pixel dimensions in your file information or image app; a familiar extension does not prove the underlying file is usable.
Review appearance on the same display first. If colors or brightness look different, inspect the export settings and color workflow before correcting the product itself. Retain a higher-quality master for future delivery. This page does not certify profile retention or perform a calibrated color comparison.
Upload only the eligible copy
Fayvoro accepts JPG, PNG and WebP reference images under 10 MB. If the copy is too large, use an editor to make another export, then inspect fine details again. Do not assume that making a smaller file improves the source or repairs blur and glare.
Upload a photo that shows the real SKU clearly, select a scene and treat the output as a candidate. A compatible reference file can still produce altered text, shape or color. Keep the original and supported copy for the final comparison; conversion is preparation, not product-accuracy approval.