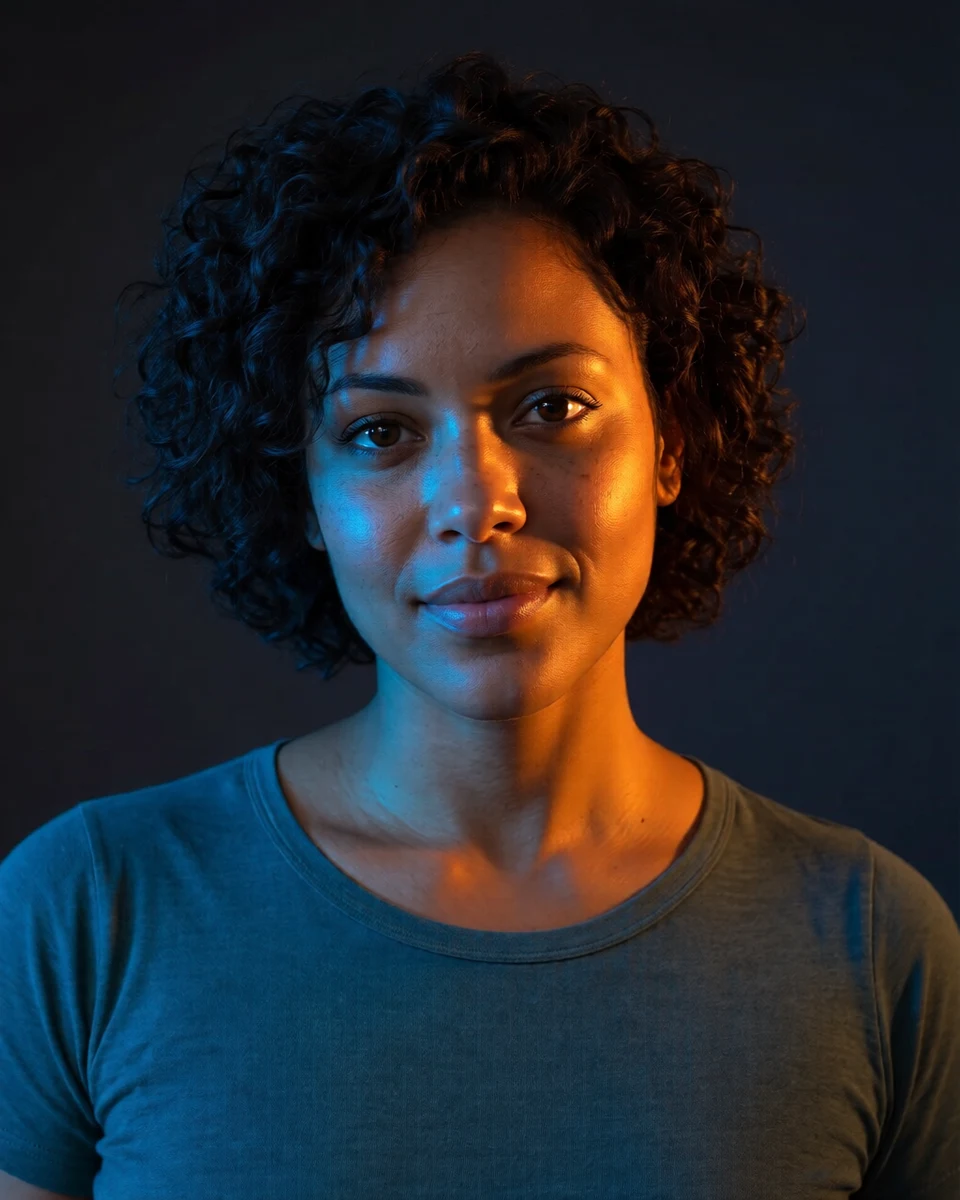
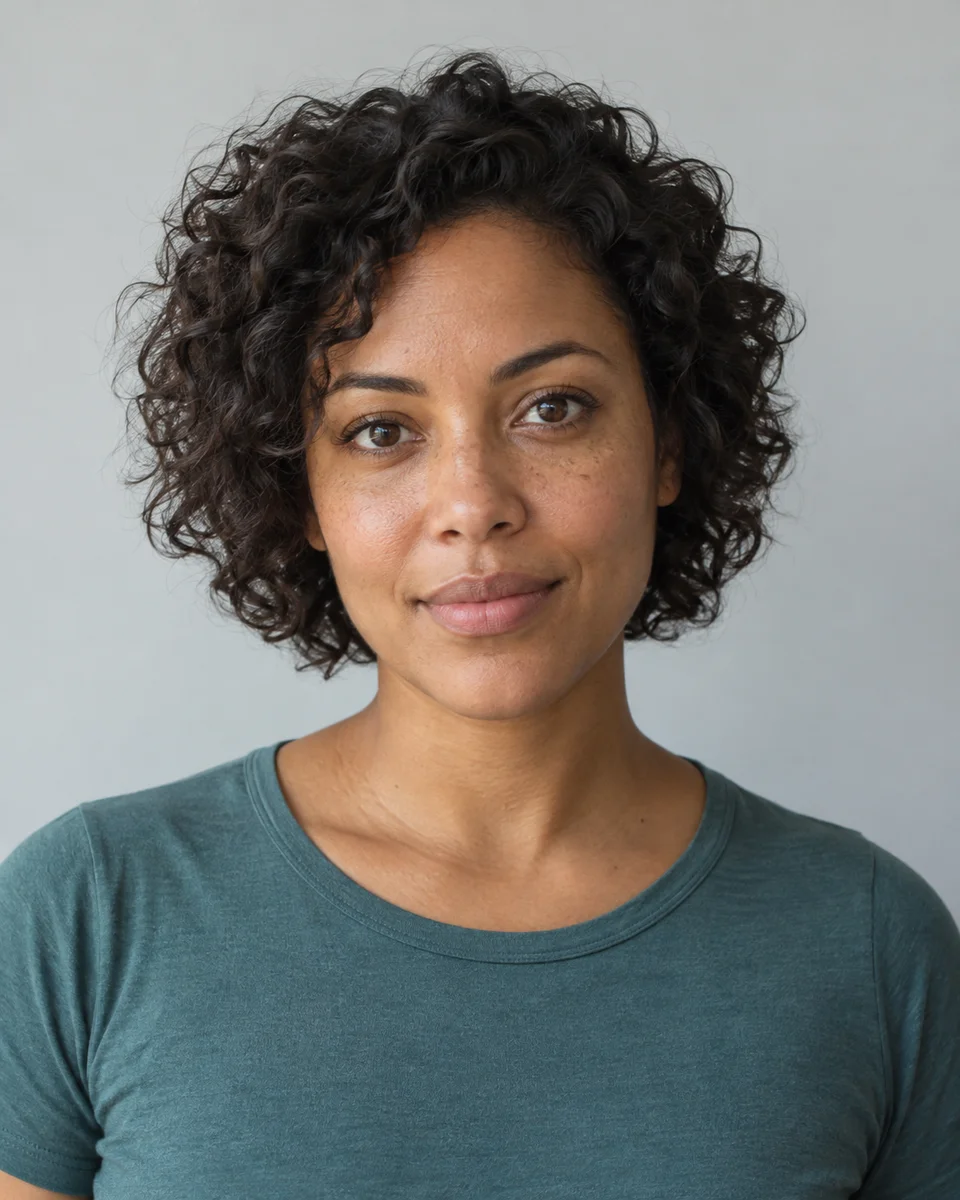
Upload a portrait and describe a new light direction, softness, and color. Fayvoro generates an alternate lighting interpretation, from a broad studio key light to a subtle colored rim.
JPG, PNG or WebP · Up to 10 MB
Review the prompt and credit cost in the studio before generating.
An AI-created edit of the fictional reference shown here. Compare the face, structure and details before using your own result.
A FEW WAYS IN
Explore the example. Make it yours.
Open a prompt to see the starting idea. You choose when to generate.
AI INSPIRATION
REFERENCE
Blue and amber, shaped by light
An AI-created edit of the fictional reference shown here. Compare the face, structure and details before using your own result.
Explore the prompt
Relight this fictional adult portrait with bold controlled cross-lighting. Keep her recognizable face, brown skin, freckles, short curls, teal top, pose and head crop. A saturated cobalt-blue light from camera left shapes the left cheek and hair; an intense warm amber key from camera right illuminates the right eye, cheek and shoulder. Deep charcoal background, crisp catchlights, sculpted shadows and natural skin texture. Make both colored lights unmistakable. No text or extra people.
MAKE IT MORE YOURS
A little intention. A different image.
01
Describe a light you could point to
A useful relighting prompt says where the main light sits, how large it feels, and what it should illuminate. Try a broad softbox at camera left for a gentle portrait or a narrow side light for stronger modeling. A clear source with visible eyes and skin texture helps you judge whether the new lighting still suits the person.
02
Separate the key, fill, and rim
The key light sets the face, the fill controls the depth of the shadows, and a rim can separate the hair or shoulder from the background. You do not need all three. Start with one main source and request a little fill if the face becomes too dark. Keep colored accents away from the whole face when natural skin color matters. Subtle eye highlights can help a softer portrait feel more alive.
03
Review the light across the whole scene
Look for agreement between facial shadows, highlights on clothing, and light on nearby objects. A dramatic new setup can change more than brightness, including texture or background detail. Compare the generated portrait with the source before using it professionally. To isolate the next adjustment, change only the direction, softness, or color in your prompt while keeping the other instructions consistent.
BEFORE YOU BEGIN
A few useful answers.
Can I choose which side the light comes from?+
Yes. Say camera left or camera right and describe whether the light should be high, low, broad, or narrow. Review the result to see how the model interprets the setup.
Can I add colored rim lighting?+
Yes. Name a restrained accent color and place it behind a shoulder or hair edge. Ask for a neutral key light if you want the face to keep natural skin color.
Does this preserve every original pixel?+
No. It generates a new interpretation guided by the photo and prompt. Facial texture, background objects, and other details may change.
Which input photo is easiest to evaluate?+
Choose a sharp portrait with visible eyes, an uncluttered background, and enough detail in both the light and shadow areas of the face.